★ Competition – win a riflescope – enter here! ★


Maintenance man: stripping & rebuilding an Air Arms S200
Part 1 of Richard Nash’s 2-part series – a step by step strip and rebuild of a classic Air Arms PCP air rifle

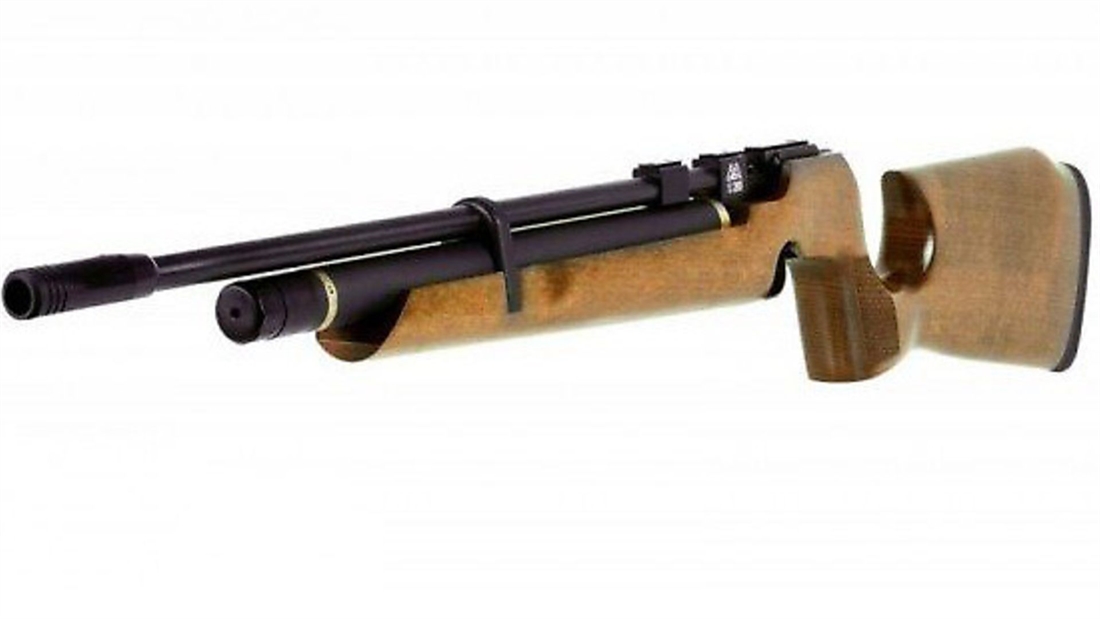
Since 1983 the Air Arms name has been synonymous with build quality and precision engineering. In 1987, Air Arms produced their first PCP rifle, the Shamal, and it was an instant success. Since then, Air Arms have built upon that popularity and have brought us some of the best rifles that money can buy.
In 1997, a previously forged relationship between Ceska Zbrojokia (AKA CZ) and Air Arms brought about the building of the S200 air rifle. The collaboration saw a development period of over four years to produce a rifle that we still see in production today. The S200 Mk1 was so called because its retail price, on launch, was £200, and was finally available mid-2001.
When it comes to servicing the S200, there are a few tools you will need, including a stock removal tool and a cylinder end removal tool, and although they might be readily available, I would advise using a reputable dealer, if possible.

1 The first step in this strip-down is to remove the magazine system. To do this, remove the top securing plate, cock the rifle and withdraw the magazine body. Fire the rifle to de-cock it.

2 Using a flat-blade screwdriver, remove the rear stock securing screw.

3 To remove the stock, undo the nut, using either the stock removal tool or a screwdriver, depending on the fixing on the rifle. This picture shows utilisation of the stock removal tool.

4 On this particular rifle, the stock fixing bolt has a flat-blade screwdriver slot. Undo and withdraw the nut/bolt, and pull away the rear stock section.

5 Unscrew and fully remove the air cylinder from the rifle. There is no need to drain the air from the cylinder to do this. However, if the cylinder seals are leaking, all the air needs to be drained before the cylinder is disassembled.

6 Undo and remove the fore stock securing screw. Put this somewhere safe for reassembly.

7 You are now left with the action and barrel.
8 Locate the barrel-securing grub screws, fully undo to enable the removal of the barrel from the action.

9 This is the action. As you can see, there are a few components that need to be removed to strip it down.

10 Firstly, remove the cocking link securing plate – this is made of plastic so take care when handling it.

11 With the cocking link plate removed, remove the stock bolt securing pin from the bottom corner of the action, taking the spring with it.

12 Now remove the cocking link pin and cocking link.

13 Next step is to remove retaining screw that holds in the pellet-probe bearing.

14 Remove the screw carefully so not to lose the spring and ball bearing it holds in place.

15 To remove the pellet probe from the action, undo the cocking pin and fully withdraw.

16 This is the pellet probe and cocking pin, once removed from the action. This picture shows the indent to hold the spring and ball bearing in place.

17 Moving to the back of the action; using a flat-blade screwdriver, fully unscrew the spring adjuster.

18 Remove the spring adjuster along with the hammer spring and spring guide.

19 Unscrew the cocking pin, taking with it the two bearings. With this removed the hammer can be withdrawn from the action.

20 This is the hammer in its component parts. Carefully inspect and check for wear, flat spots or damage. Also check the threads when reinserting the cocking pin. Do not over-tighten.

Next Month
Join me next month, when I rebuild the Air Arms S200.
Related Articles
HFT news
News
Life at the range - Gary Chillingworth
Gary Chillingworth reports from UKAHFT Nationals Round 7 at Anston, where Anne Higgins secured victory in the Ladies class with a superb 55
By Hollis Butler
HFT news
News
Life at the range - Gary Chillingworth
Shooting is a sport built on fun, friendship and competition, says Gary Chillingworth. Sometimes, that little plastic trophy feels priceless
By Gary Chillingworth
Get the latest news delivered direct to your door
Subscribe to Airgun World
Unlock the world of airgun shooting with a subscription to Airgun World magazine, Britain’s biggest-selling airgun publication.
Written by passionate, long-term airgun enthusiasts, each issue delivers expert insights, comprehensive gear reviews, and invaluable tips to enhance your shooting skills. Whether you’re a seasoned shot or new to the sport, Airgun World offers essential content covering shooting techniques, classic airguns, and the latest equipment innovations.
Save on shop price when you subscribe and pay just £4.07 per issue – 42% cheaper than buying in-store at £6.99!