Gun test: Umarex Legends Renegade Cowboy Rifle
Paddy Egan trials the latest Umarex Legends Cowboy Rifle – the Co2 powered lever-action Renegade rifle – and has great fun doing it! credit: Archant There’s a new cowboy gun in Umarex’s stable, and this time it is a bit of a renegade. Umarex have produced a variety of versions over the years, ranging from
Would you like to appear on our site? We offer sponsored articles and advertising to put you in front of our readers. Find out more.
Paddy Egan trials the latest Umarex Legends Cowboy Rifle – the Co2 powered lever-action Renegade rifle – and has great fun doing it!
There’s a new cowboy gun in Umarex’s stable, and this time it is a bit of a renegade. Umarex have produced a variety of versions over the years, ranging from original 8-shot circular magazine, 12g and 88g models, in various finishes from the brass Wells Fargo, to the newer Legends range, with the adoption of using shells for a more realistic shooting experience – all in keeping with the traditional look. So, why is the Renegade a renegade? Well, the trusty ol’ lever-action rifle has been modernised to fit into the 21st century.
The Renegade comes in a standard-style cardboard box adorned with the Legends logo, and it contains the rifle, two manuals and 10 shells. The rifle has an all-black finish with synthetic furniture, and initially, the rear stock felt a bit hollow and pliable, whereas the front handguard was sturdier.
One of the new features that stood out in the box was the oversized lever. This is just the same as the ‘Duke’ version, which helps if you are wearing gloves – handy in the coming winter months, but Umarex have wrapped black Paracord around the bottom portion on the Renegade, and in my opinion, it is a really nice touch. A Paracord sling would complement it very well indeed, and the Renegade already has the swivel ring on the side of the receiver, and a stud on the handguard for immediate fitment.
Umarex Renegade – first impressions
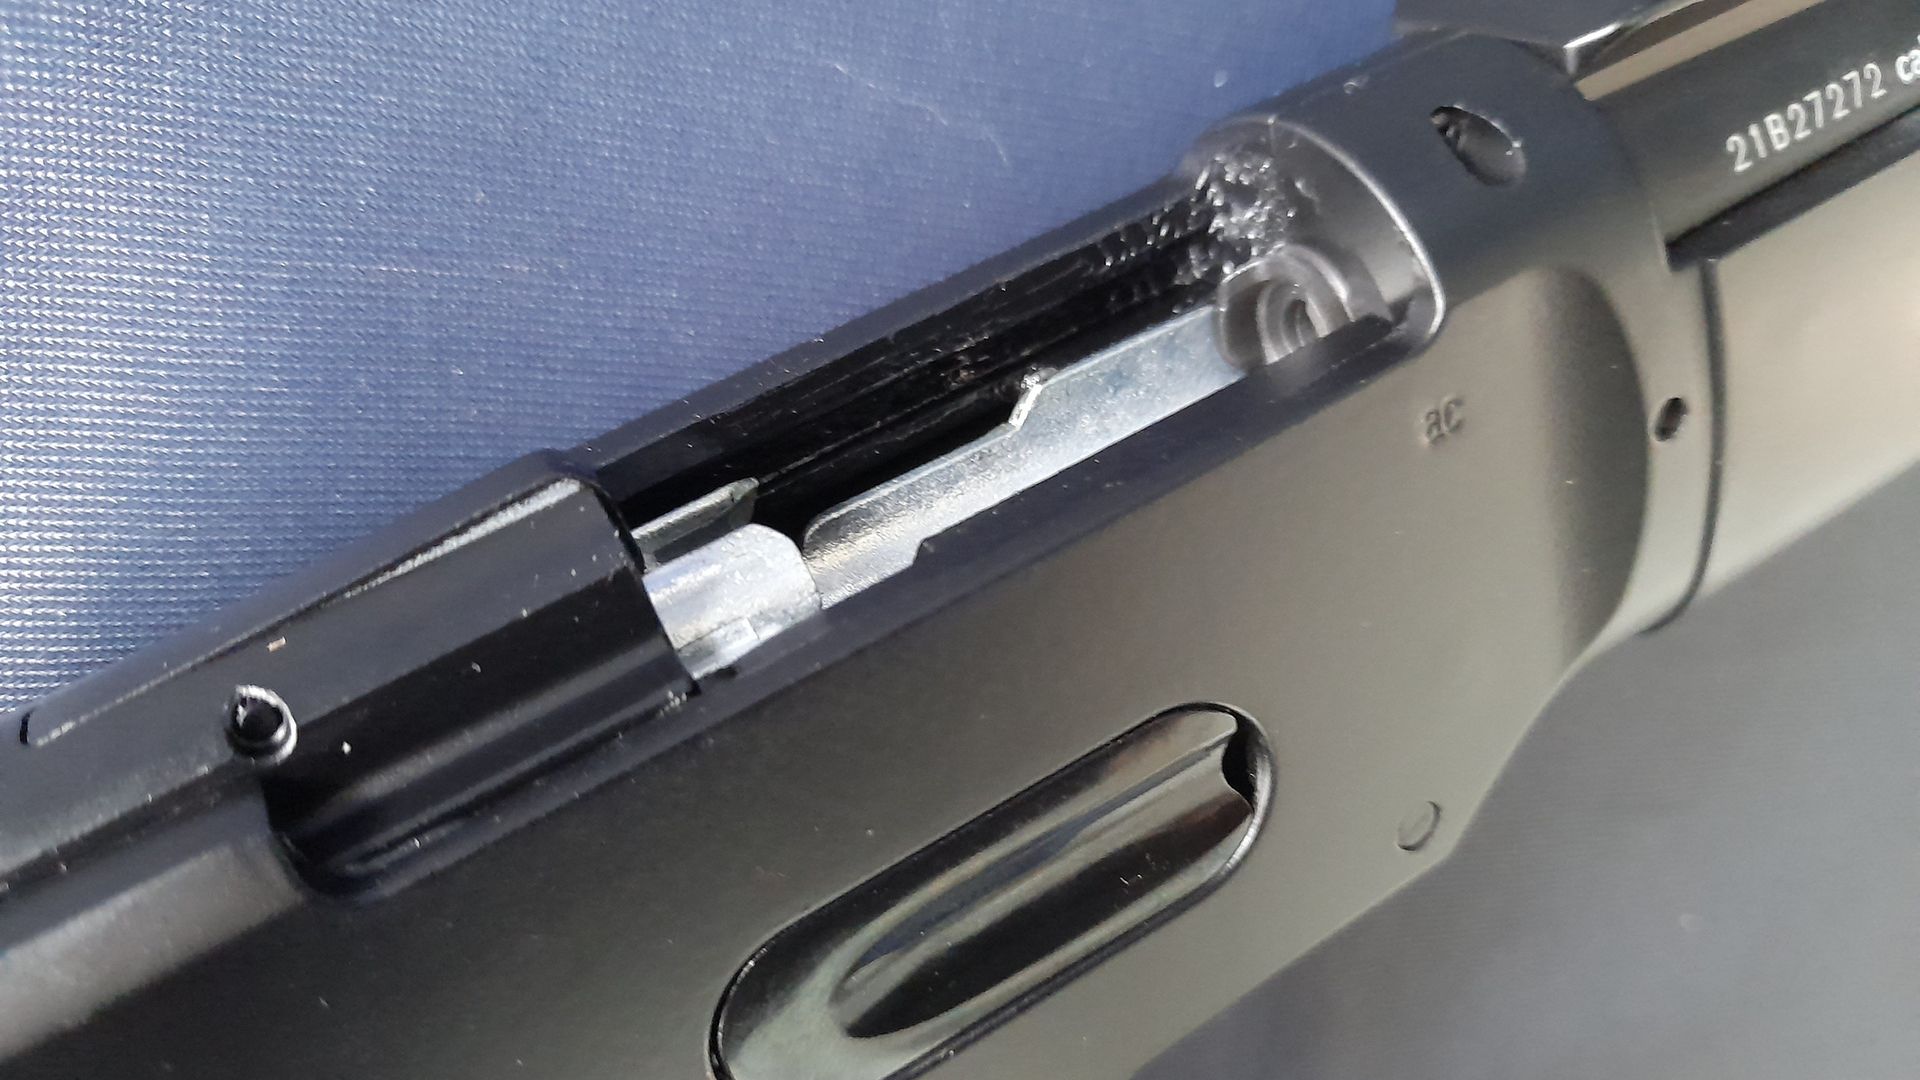
On top of the stock, just behind the hammer, there is a manual safety catch, push up for ‘Safe’, pull down for ‘Fire’. To activate the lever, the safety must be set to ‘Fire’ so that you can open it all the way. The travel of the lever seems to extend quite a bit more forward compared to my 8-shot, rotary magazine, lever-action rifle, although that may be due to the differences needed to cycling a circular magazine and inserting a shell into the breech of the Renegade. With the breech open, you can see all of the inside, and whether or not the breech is empty and clear of any obstructions.
The trigger is single-action and you can de-cock it whilst holding the hammer, pressing the trigger and controlling the hammer forward, then you can re-cock it by pulling back the hammer, if you so desire. Just be mindful of shells being in the breech and loading tube – always follow your NSPs.
The Renegade doesn’t come with any open sights, but it has a long Picatinny rail for your preferred type of optic. Definitely modern-day style where nearly every airgun now needs some sort of visual aid, even a Cowboy rifle.
Once a knurled muzzle cap is removed from the end of the barrel, a ½ UNF silencer can be added. This does come in handy if you are shooting in your garden range, and it suits the modern look that the Renegade is portraying.
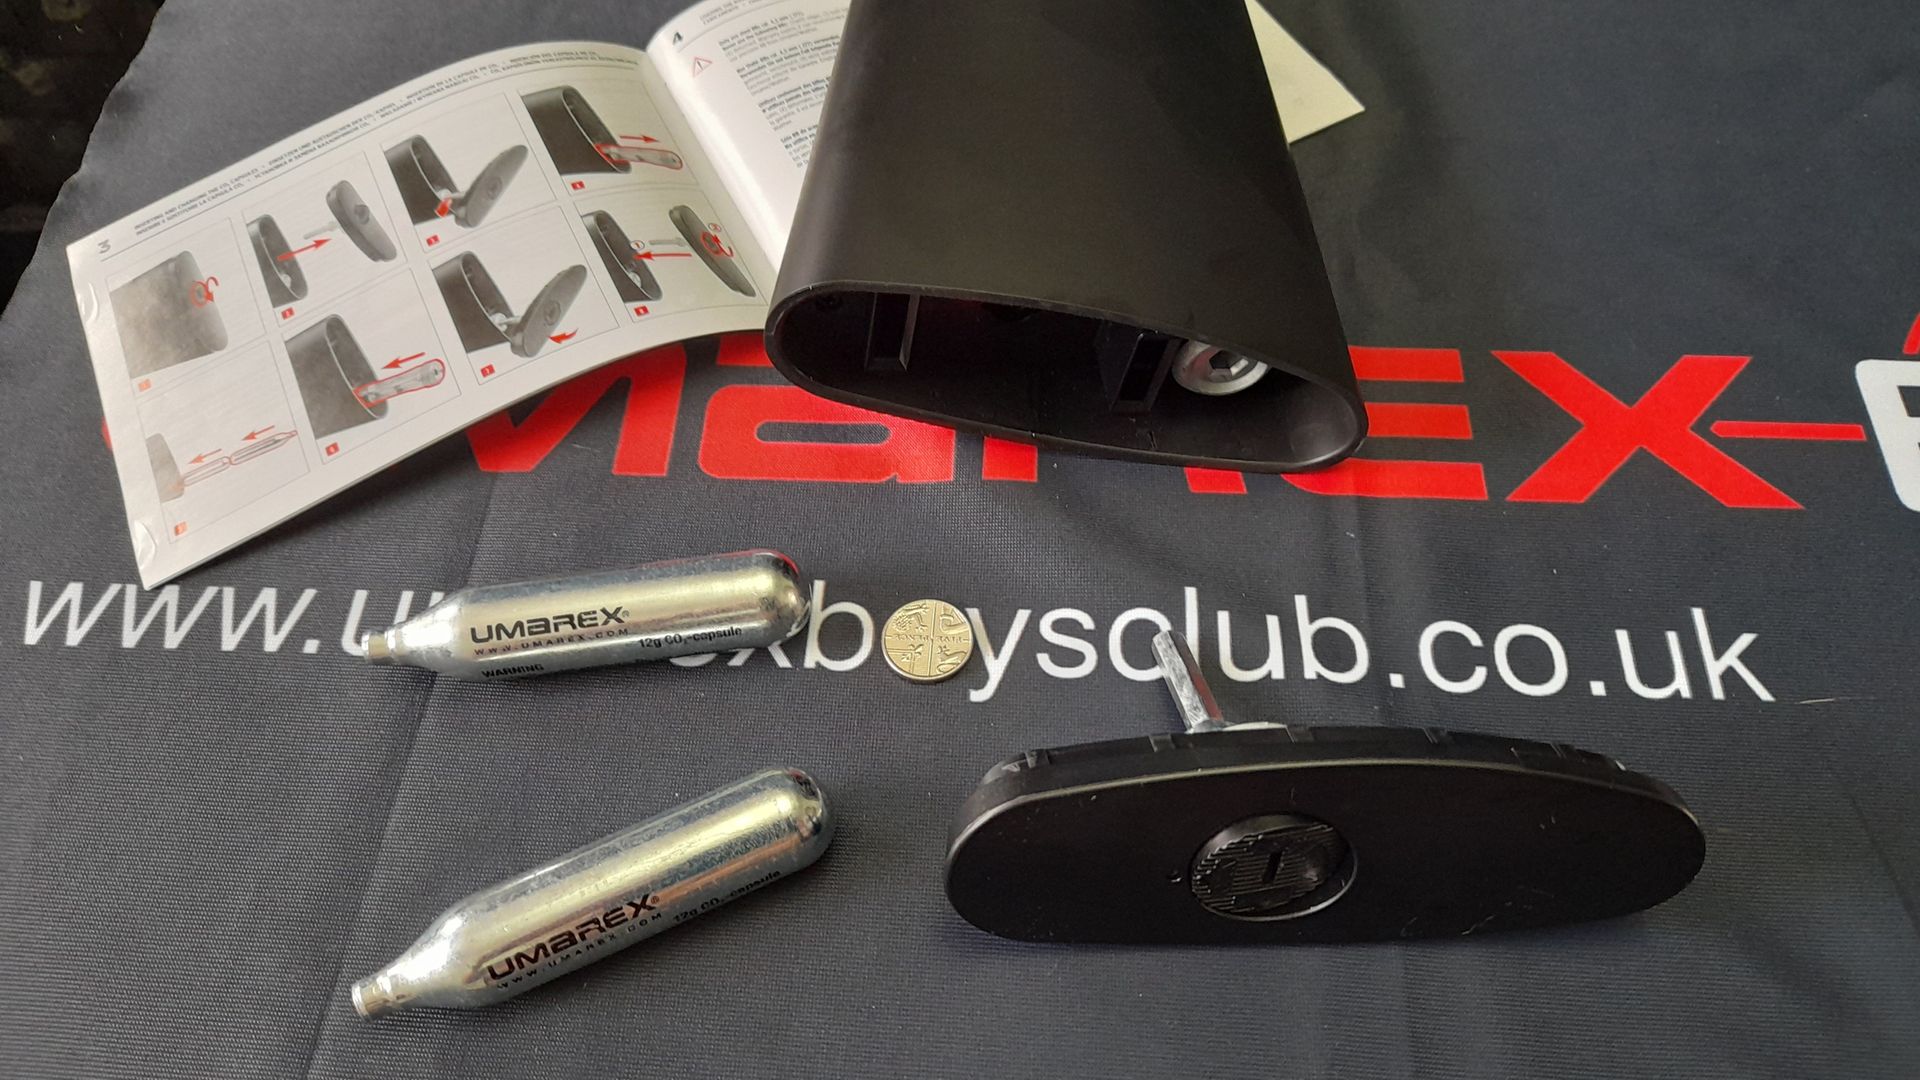
Going back to the rear stock; this is where you insert the two 12g CO2 capsules. You’ll need to use a coin to turn the backplate lock, release it, and then use the hex key attached to the backplate to undo the captive nut. You then insert the CO2 with ‘neck up & neck down’ – the manual shows you how – simple. The hex key is attached to the backplate, so this saves you either losing it, or rummaging to find it.
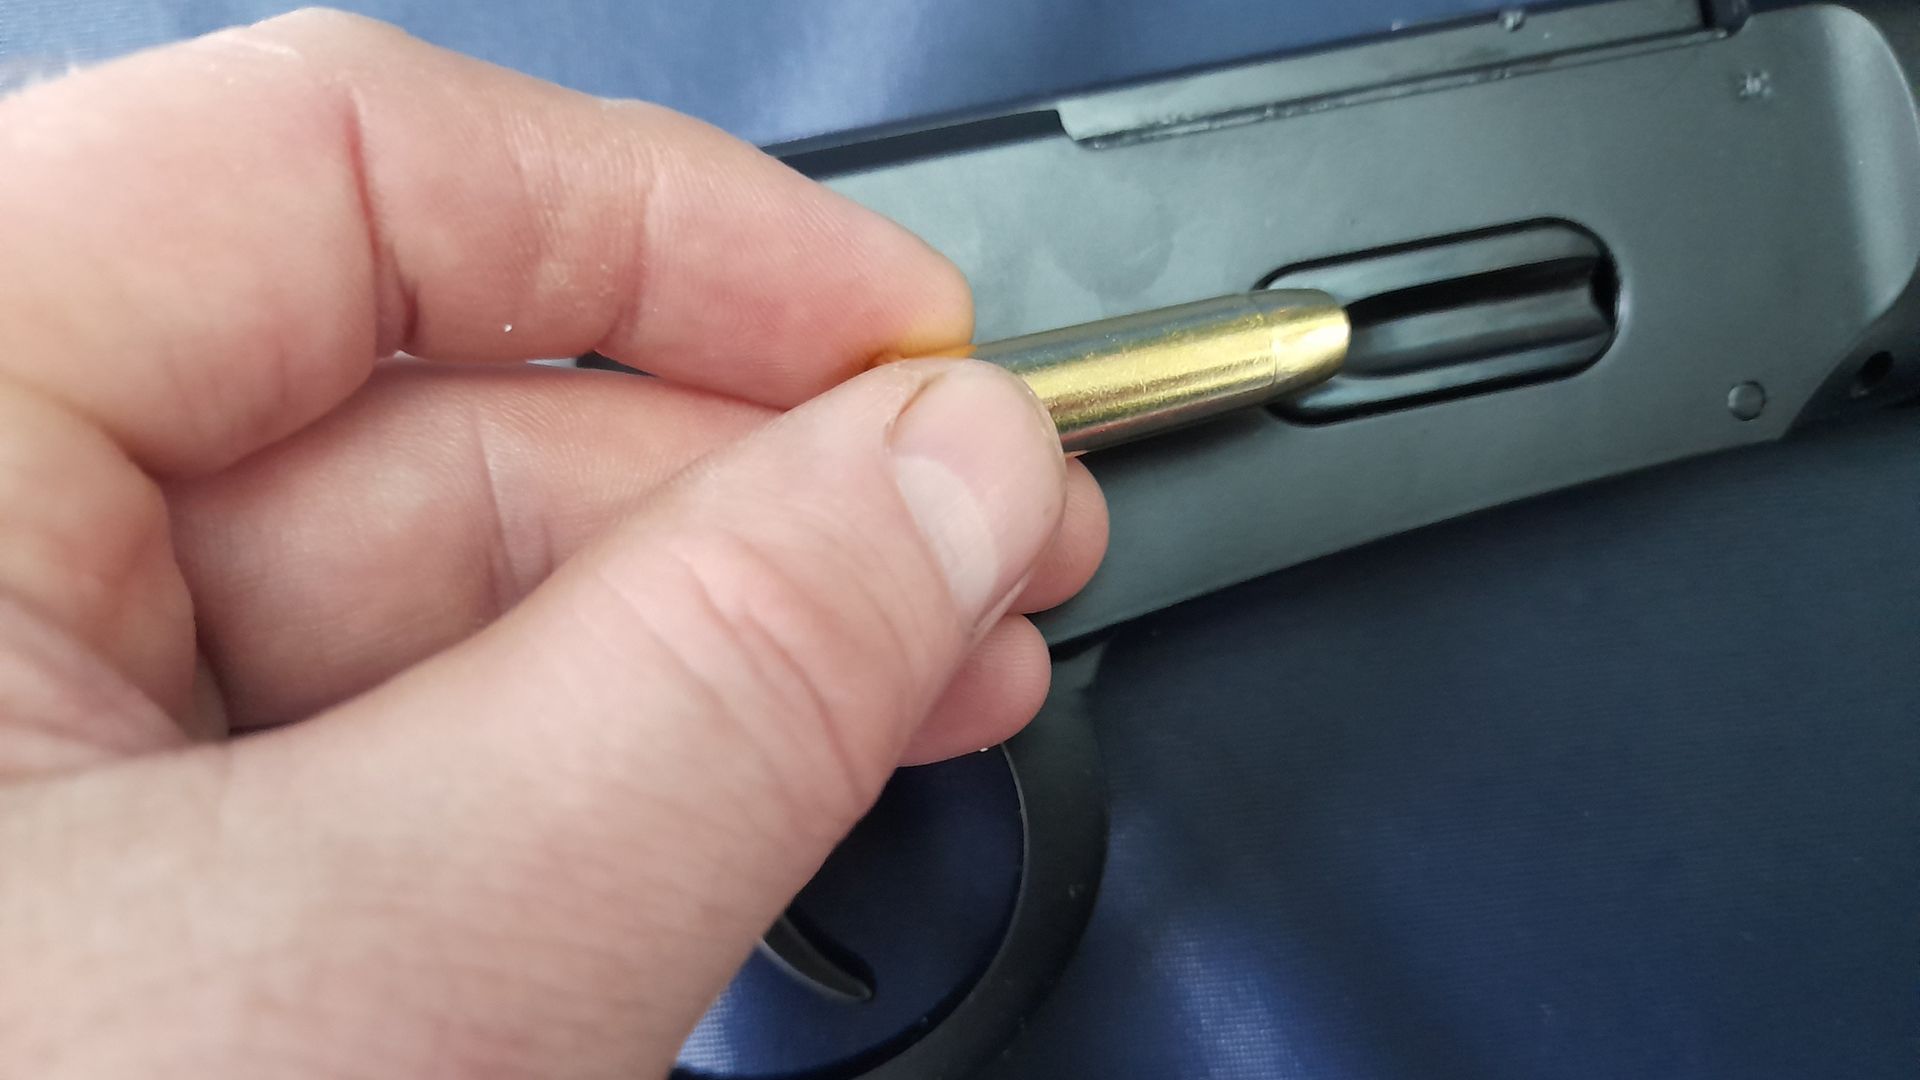
The Renegade is chambered for 4.5mm BBs and you can use either steel or lead, depending on your personal preference, and allowances for ricochets. The BBs go in the back of the ten shells provided, and once all the shells have been loaded, you insert them, one by one, into the loading gate.
Once the Renegade was loaded, I decided to use the first 10 shots for familiarisation, due to there being no sights on it, and even though I used Smart Shot BBs, I still wore my eye protection. You’ll need to be mindful of what is below and around you because the shells eject and fall to the floor, so you can easily lose them if you’re not careful! It took me some time to find the one shell that was hiding between two boards.
Umarex Renegade – accuracy with red dot sight
I couldn’t gauge how accurate this was initially, but I did notice the longer travel needed, and my hand slipped whilst levering the action, but this could have been due to muscle memory from my original lever-action, and it’s something I need to get used to – just like with any air rifle, really.
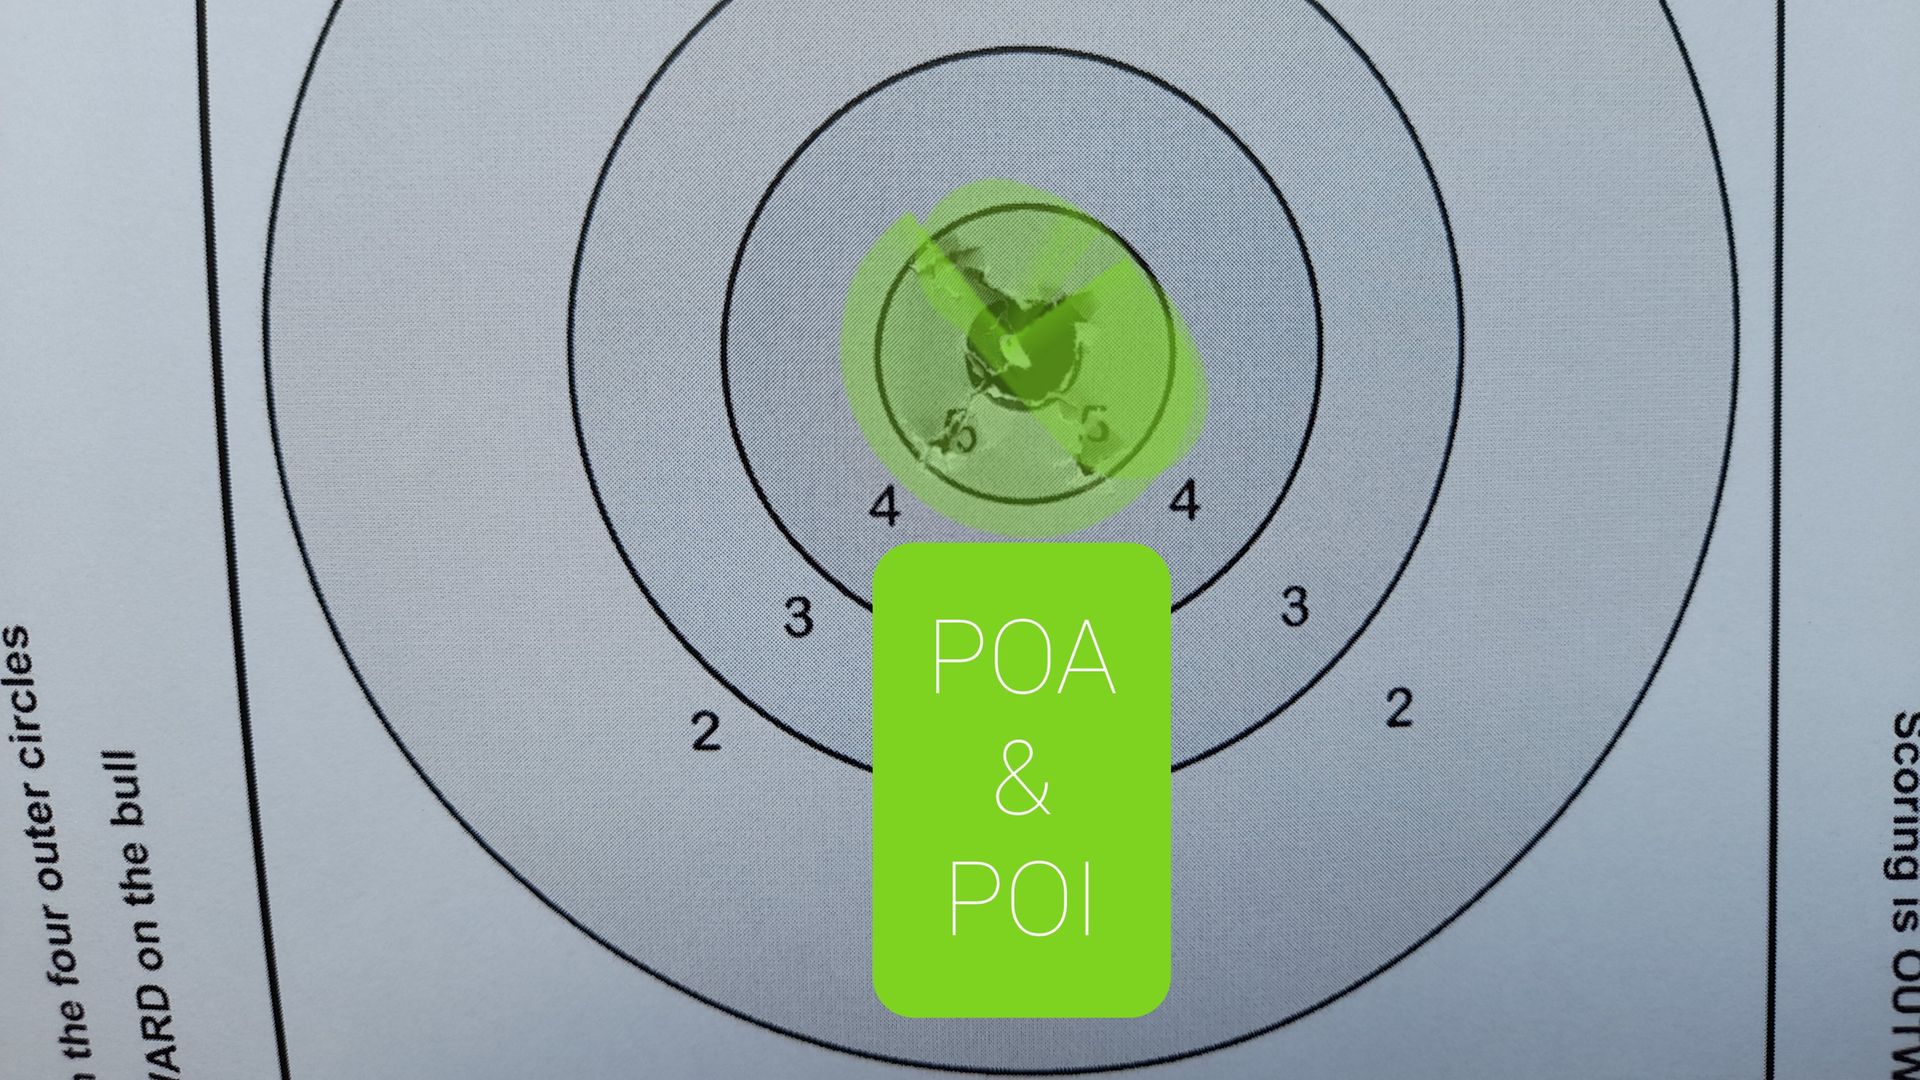
After the 10-shot familiarisation test, I put an Umarex silencer and a Walther Top Point VI dot sight on the Renegade, which adds to the modern-day look, and with the dot sight on, I could gauge the accuracy I could expect. I used our Budget Competition target at 6 yards and aimed at the relatively large bullseye.
All shots were to the left and in a vertical direction, which meant that the sight needed to be adjusted for windage and also that is was moving the stock away whilst levering the action, and not putting the butt back in the same place in my shoulder. So, I adjusted the windage, reloaded the shells, went on to another Budget target, and this time the windage was fine, a tad low and an open group.
Much happier, now I needed to slow down for more concentrated and deliberate shooting to tighten up the groups, which is easier said than done when you’ve got 10 shots just waiting to be ejected out of the top of the Renegade!
I then went to my Texas Star for a little challenge. First go, I got five out of nine, but again, I was too quick in my aim and shooting; on the second go, I made sure that I slowed down and concentrated more. This time, I got 10 out of nine – how did I manage that? Well, one dropped back down and luckily for me, I hadn’t yet missed, so that tenth shell came in handy. I couldn’t believe my luck and for all the ribbing I get for my shooting, I’m happy to say I got it recorded. Beaming from my achievement, I went on to one my of favourite targets, the Cans, using Gr8fun’s Can Hangers, and I soon had the cans swinging!
I got about 120 shots from the two 12g CO2 capsules inside the Renegade, and it was a mix of fast-fire and a little bit of slow, deliberate shooting, which to me is well worth it, and it continued throughout the day.
Umarex Renegade – can you fit a scope on it?
The following day, I wondered what to try with the Renegade, and I chose a scope, but this raised a few issues because all my scopes are traditional dovetail-mounted and the Renegade has a rather forward Picatinny rail. The easiest solution was go and buy a Picatinny-mounted, long eye relief scope – typically a pistol scope, but I hadn’t got time for that.
Instead, I went through my ‘bits and pieces’ box and found a Picatinny to dovetail rail adaptor, and chose two 4 x 20 scopes in the hope to go with the old western type scopes. However, I just couldn’t get the right eye relief and by dry cycling the shells would get stuck onto underside of the scope.
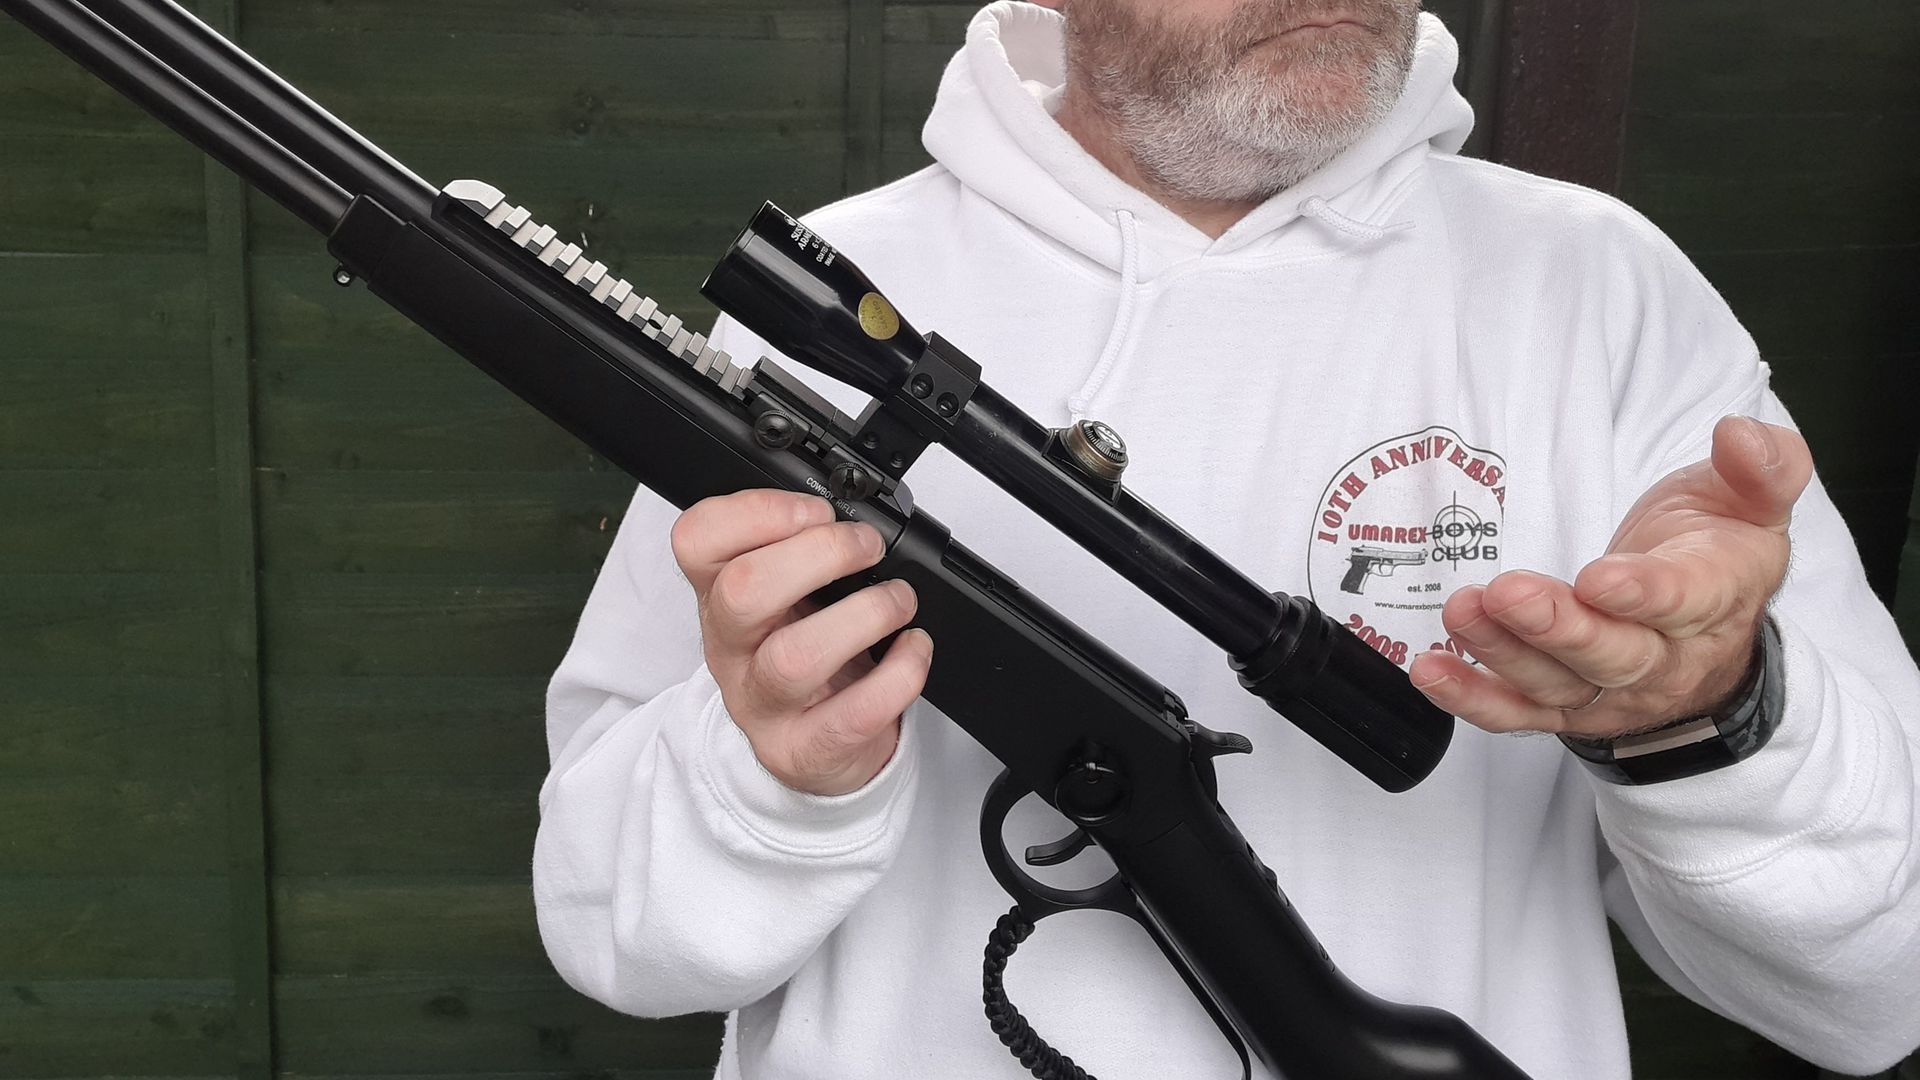
Undeterred, I went on to a larger scope – an old Sussex Armoury 4 x 32 – and I couldn’t get a good eye relief at first, until I come up with a rather unorthodox mounting of taking off the rear scope mount and just attaching the front mount on the rear-most part of the Picatinny rail. It sure looked odd, but would it work? Well, surprisingly, it did!
I also learned that if I tilted the rifle to one side, the shell ejected correctly, and due to no recoil from the CO2, the scope actually held zero to my set range of 10m. I wanted to see if I could tighten the group even more, so I used another accessory, a Harris bipod. With the legs of the bipod extended, and me sitting on my shooting bench, I could cycle the action without getting out of my position and stay in the same spot for the follow-up shot, with very positive results!
Umarex Renegade – test conclusion
All in all, this is a great little rifle and I enjoyed using it. The modern slant of Picatinny rail and Paracord on the lever, and then putting on the silencer and red-dot sight, really brought this old Cowboy rifle to a modern-day Renegade, and don’t just take my word for it. We took this rifle to demo at Rifleman Firearms’ Open Day in September, and everyone liked it.
One gentleman who had a real-steel, lever-action rifle compared it to his and wants to purchase one for the indoor range that he has made in his loft. My advice if you want to buy one is – stick with a red dot, or try out a pistol, long eye relief scope and buy a whole lot of extra shells because you won’t want to put this down once you get started. As always, thank you to Umarex and John Rothery’s for giving me and the public the opportunity to try out the Renegade at the Open Day.
Contacts
www.umarexboysclub.co.uk / www.umarex.com / www.bisley-uk.com
www.gr8fun.net / www.airtargets.co.uk
Related Articles
Review: BSA R12 CLX Pro
Paddy Egan trials the latest Umarex Legends Cowboy Rifle – the Co2 powered lever-action Renegade rifle – and has great fun doing it! credit: Archant There’s a new cowboy gun in Umarex’...
By Time Well Spent
Reximex Meta Plus
Paddy Egan trials the latest Umarex Legends Cowboy Rifle – the Co2 powered lever-action Renegade rifle – and has great fun doing it! credit: Archant There’s a new cowboy gun in Umarex’...
By Time Well Spent
Get the latest news delivered direct to your door
Subscribe to Airgun World


