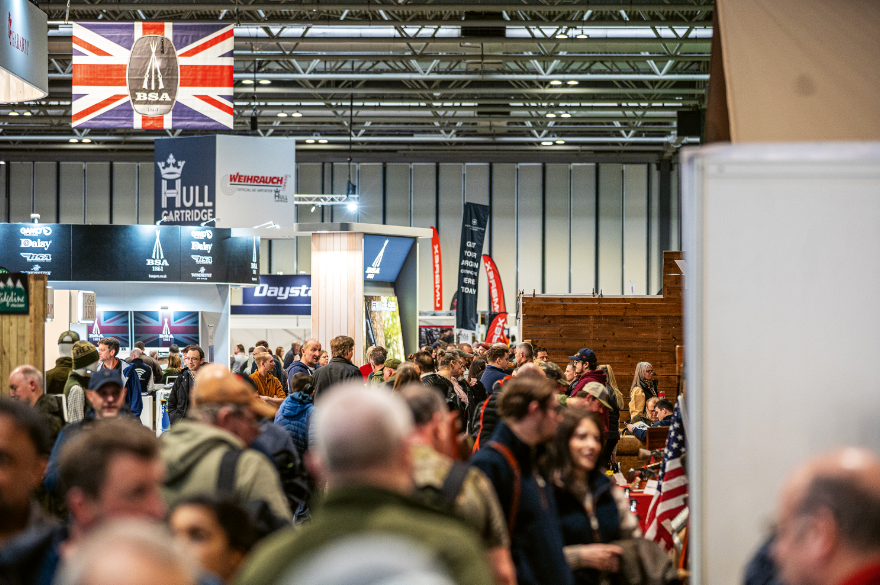
The countdown is on for The British Shooting Show – book tickets online today and save on gate price!
How to make sense of scope specifications
The editor talks us through what all those confusing numbers mean
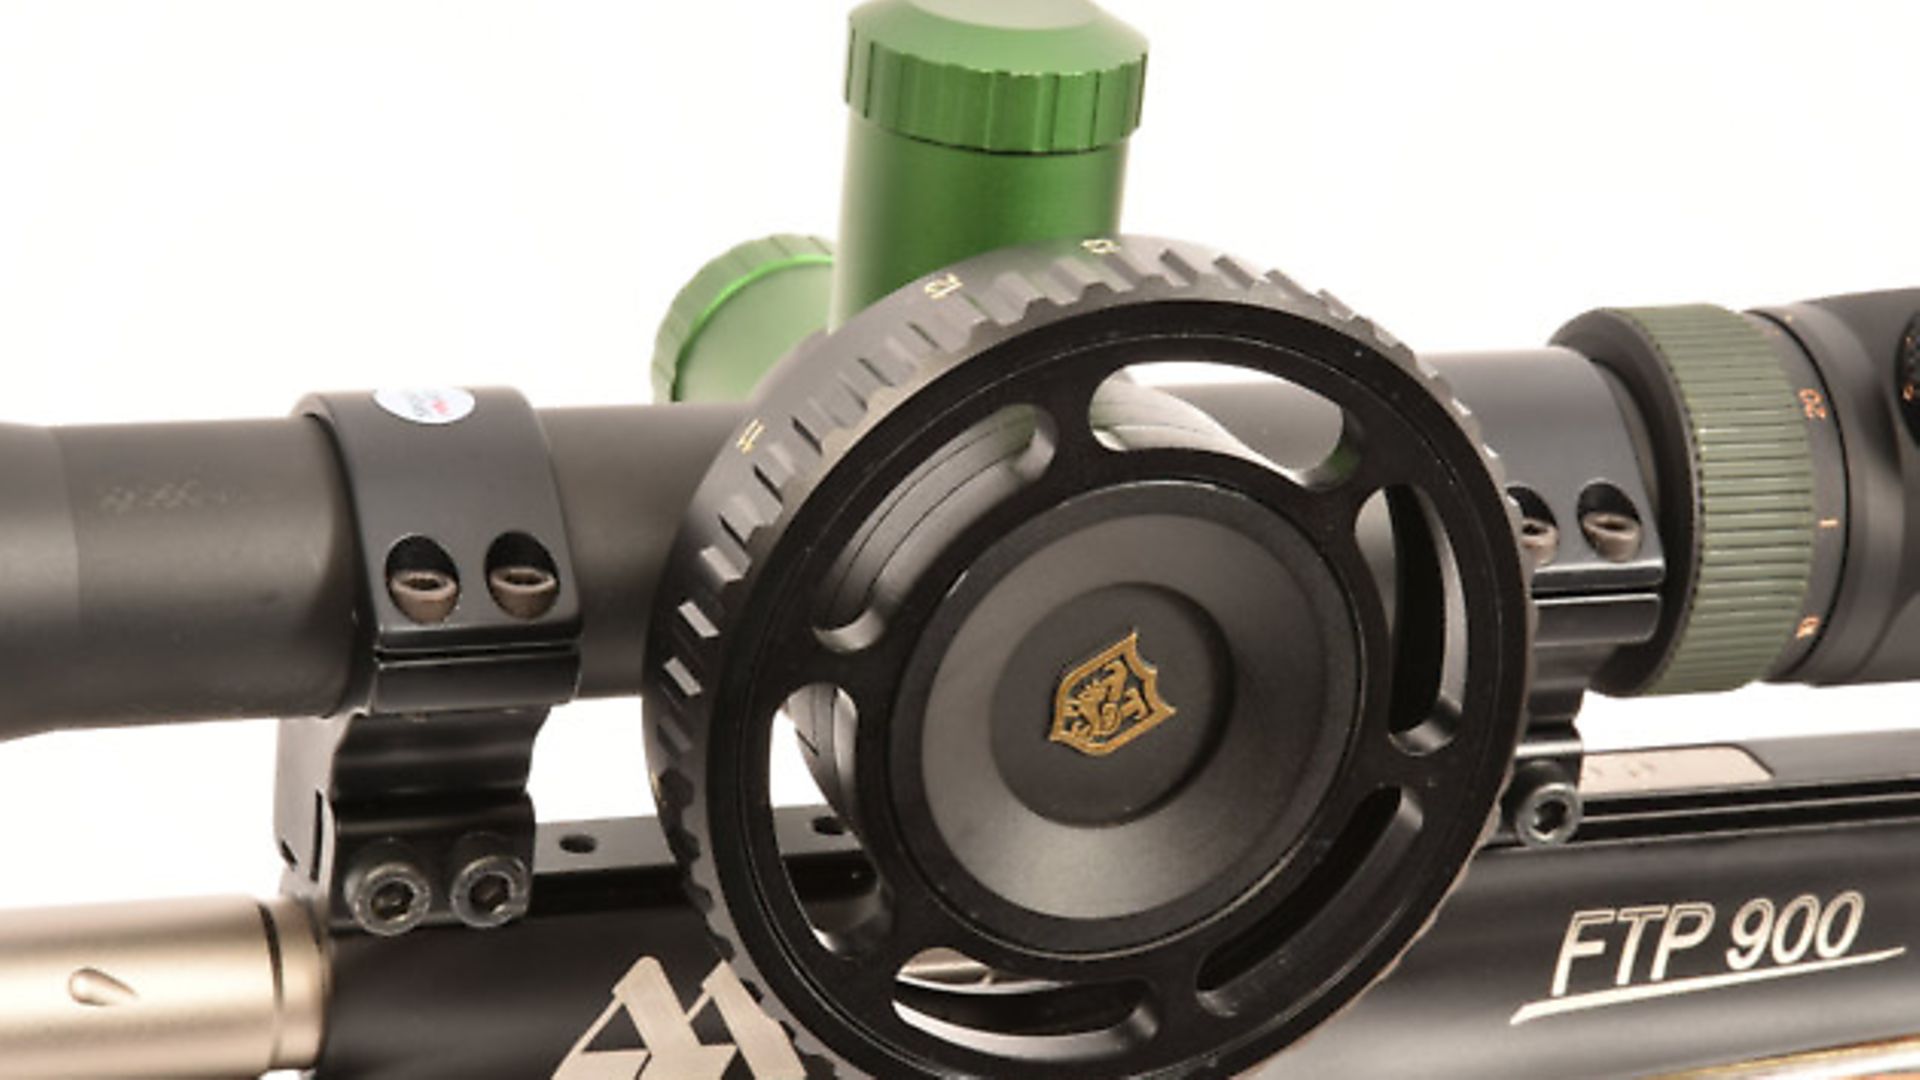
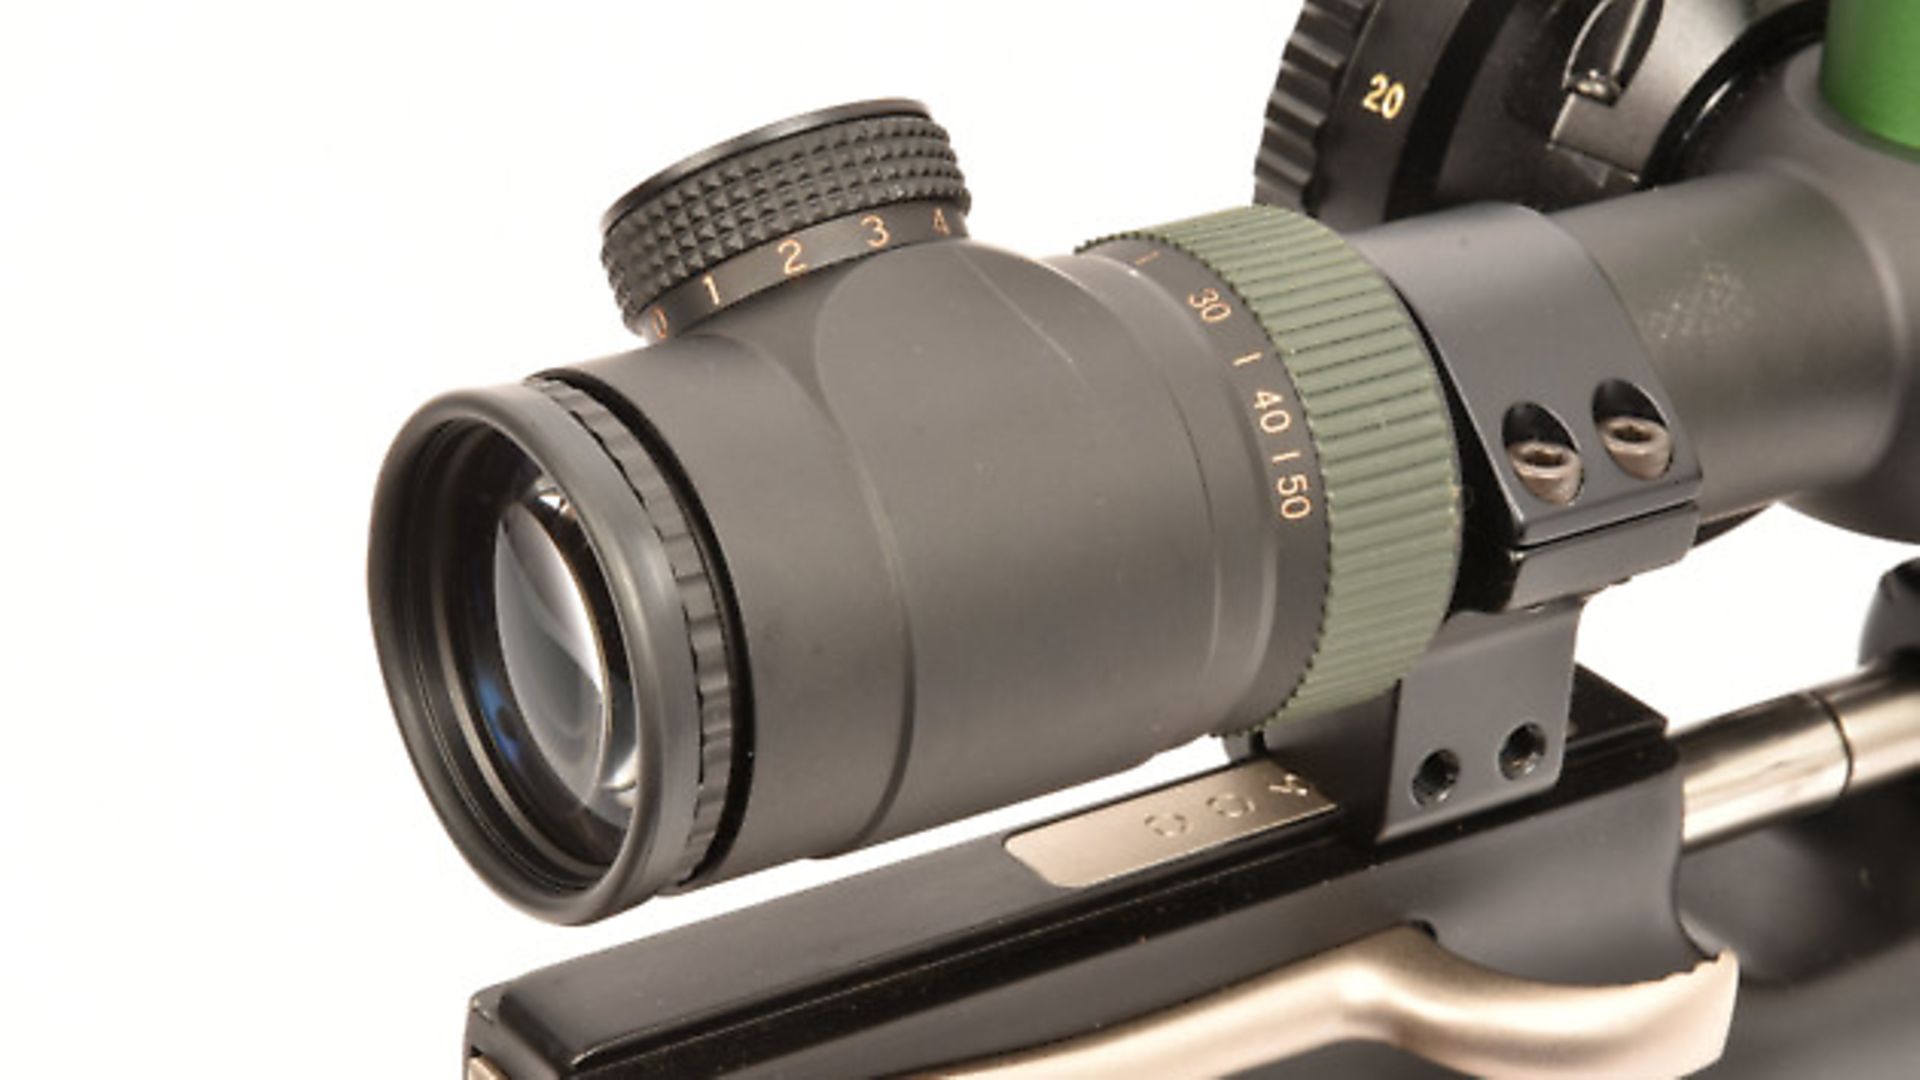
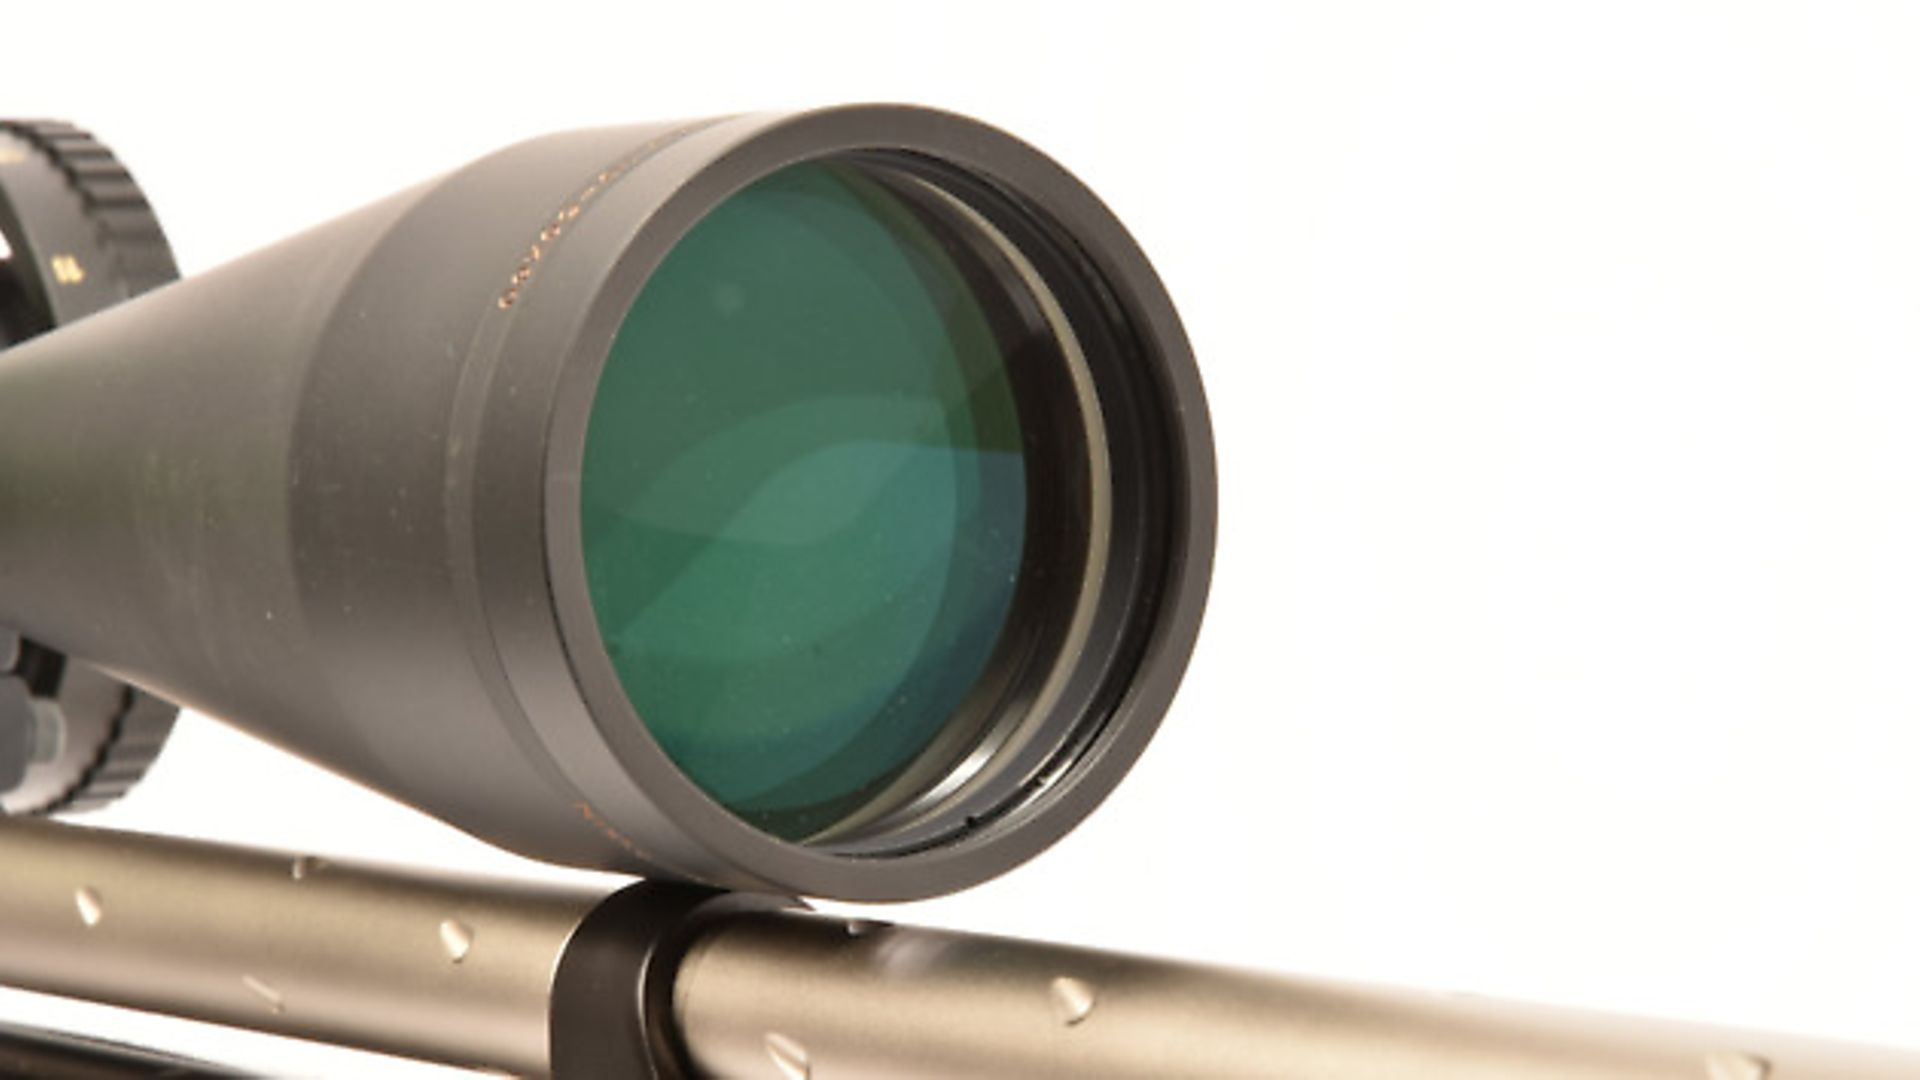
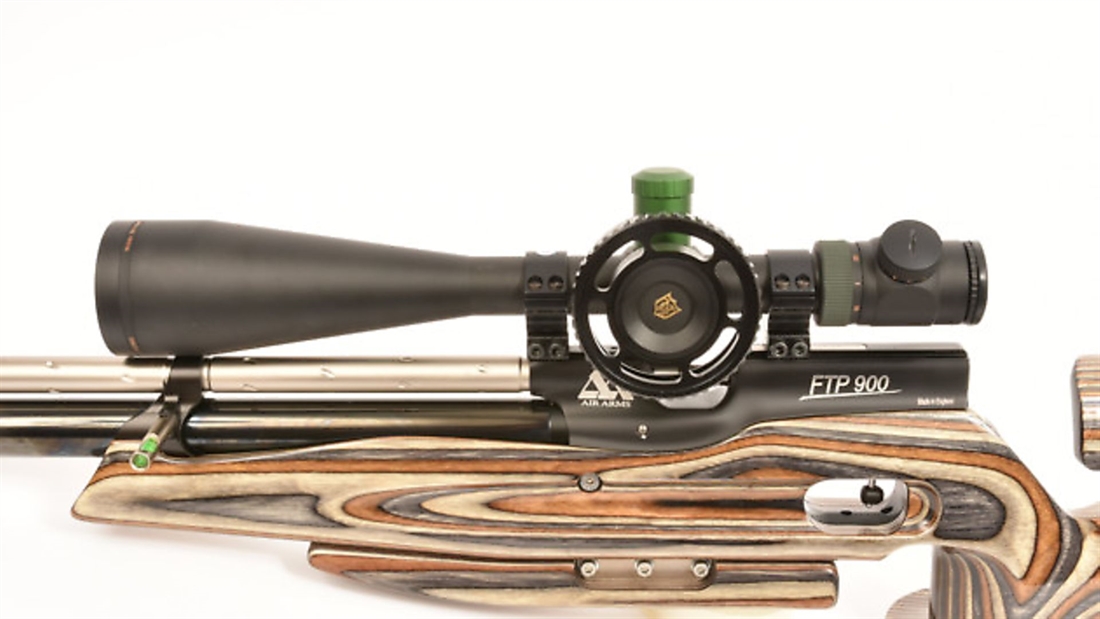
A reader recently wrote to me asking if I could explain what all those numbers mean on the side of a scope – such as 4 x 32, 4-12 x 50, or as in the photographs, 10-50 x 60.
Also, what do the following letters (such as SF, AO or IL) mean? Well, the good news is that it’s all quite simple really.
Let’s take the first example, the humble 4 x 32, which used to be a very popular specification. The 4 tells us it has four times magnification, and the 32 means the front (objective) lens is 32mm diameter.
Four times mag’ makes our image appear four times closer than it actually is, allowing us to see the point we want to hit more clearly than we could with the naked eye.
This is a great help when precision shooting. The 32mm objective lens is quite small by today’s standards, but still perfectly usable in good light conditions at modest ranges.
Magnification
Next, we should think about variable power scopes, or ‘zoom models’ as some people call them. A 4-12 x 50 allows us to choose any magnification from four times to 12 times by rotating a collar toward the rear of the scope.
This can be useful to the hunter who might be targeting feral pigeons inside a barn one minute, and then sniping a rabbit well out in a paddock the next.
At close range, lower magnification is ideal, offering a wide field of view and a nice bright image. At long range, higher mag’ settings can help precise shot placement on your rabbit’s brain.
Also, having the choice allows you to work out what works best for you. I set all my scopes at 7x mag because that’s the same power as my binoculars, so as I spot my quarry with the bin’s and look through the scope, the image is similar and I don’t need to search for the animal or bird again.
Objective lens
I think it’s fair to say that objective lenses have slowly become larger and larger in recent years, and 50mm is far from uncommon.
In simple terms, a bigger objective lens can gather more of the available light and funnel it back to your waiting eye. In reality, the quality of the lens glass, lens coatings and alignment of the whole scope has a significant effect, but as a rule of thumb, it works.
I believe it’s wise to buy the best-quality scope you can afford because it takes a lot of money to build a scope that offers a truly first-class image, and at dawn and dusk when our quarry are most active, a clear sight picture can make all the difference.
The most popular today are 40mm and 50mm objective lenses. The 40mm delivers a lighter build that can be mounted lower to the action, improving handling and allows our cheek to get better contact with the stock. The 50mm, as mentioned earlier, can be better for low light conditions.
Any scope used on an airgun must have a parallax adjuster. This focuses the light reflecting off our target and focuses it directly in the cross hairs (reticle).
If it’s not focused correctly, aiming errors can happen, which are really frustrating because you won’t know why you missed.
Traditionally, the adjuster was a collar that went around the objective lens housing and was known as an AO, adjustable objective. This set-up is simple, light and cheap to manufacture, and works perfectly well.
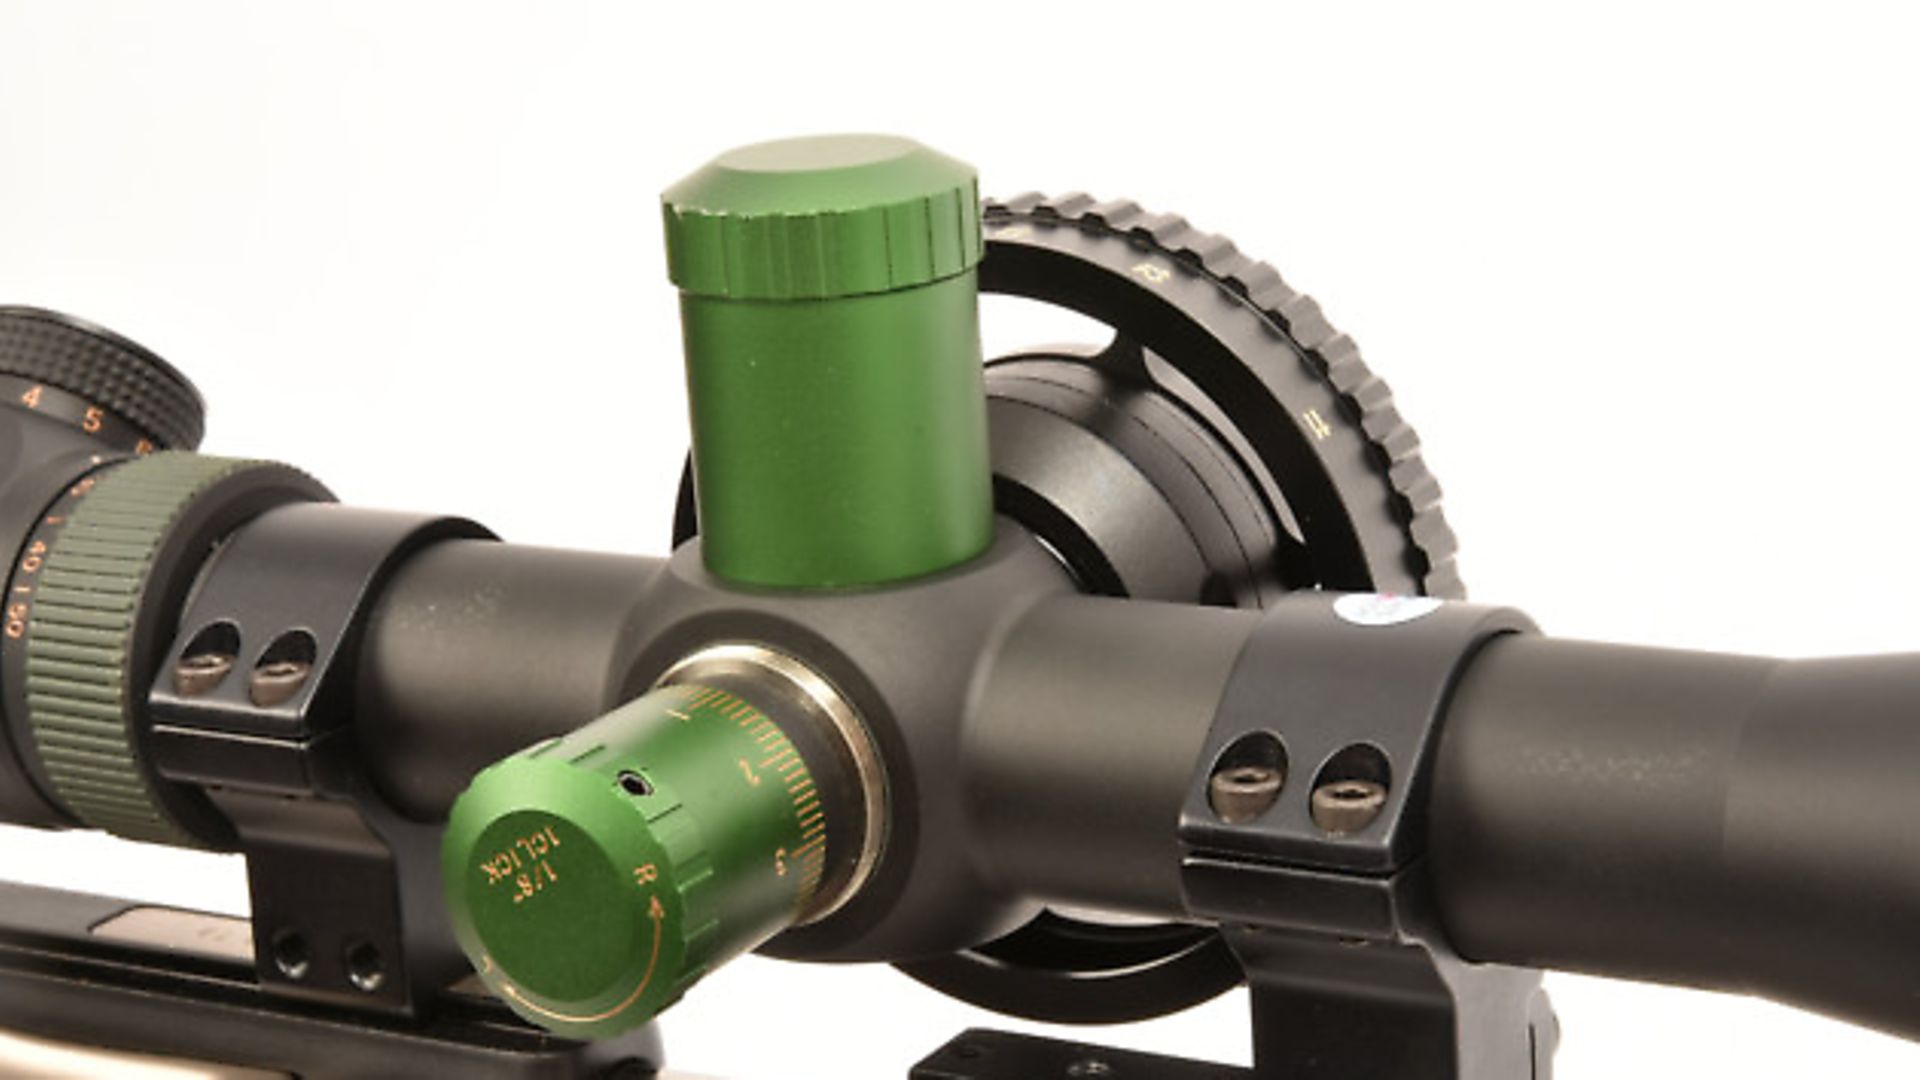
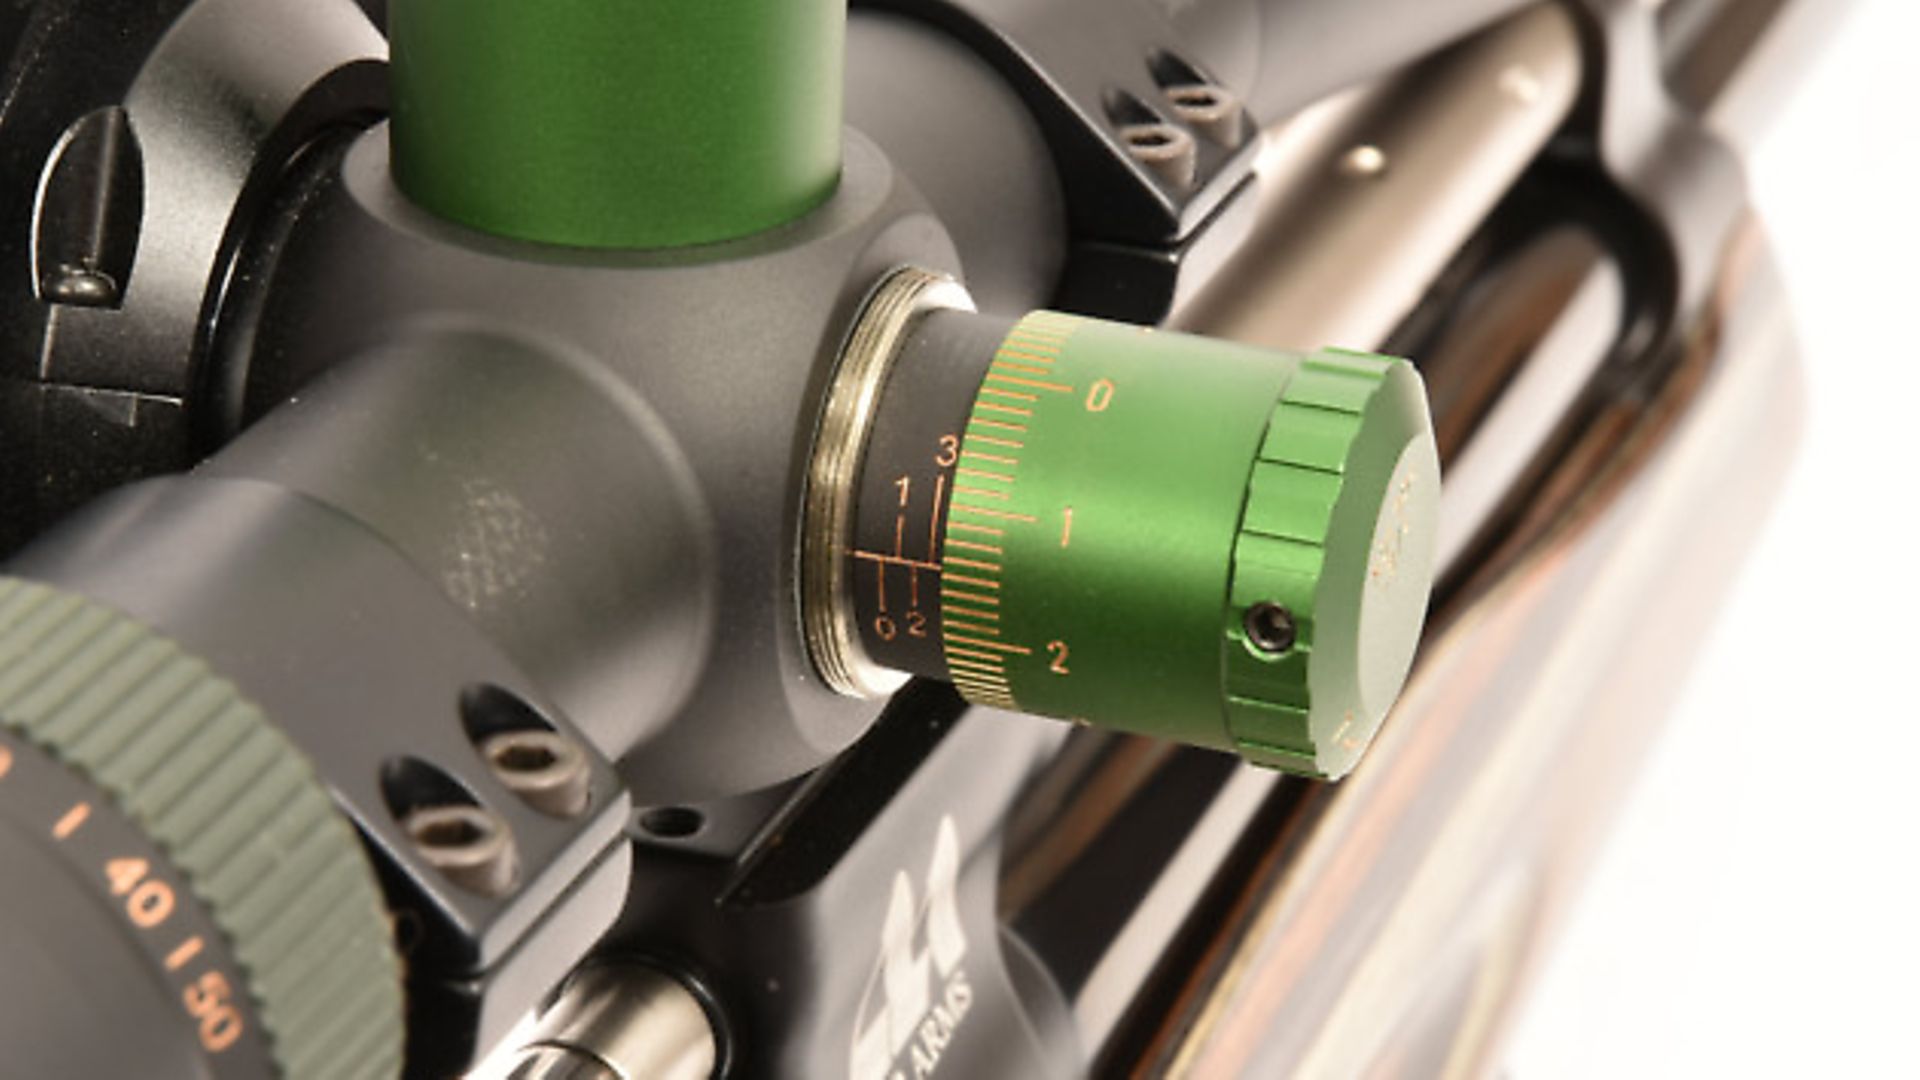
In recent years, there’s been a trend to use a side focus (SF) which as the name suggests, it is side of the central ‘saddle’ of the scope. The advantage is it’s far easier to reach than an AO, but the downside is they’re more expensive to make and heavier because they require extra lenses to be used.
Illuminated reticle
The next thing I was asked to cover was the illuminated reticle (IR), which is again becoming more popular by the year.
These use a small battery placed on the scope’s body to supply electricity, which powers LEDs that light up the reticle. The most common colour is red, but green and blue options have come along as well.
Most IR scopes allow you to vary the brightness of the illumination and my experience has shown me that usually, only the very dimmest settings are useful.
An overly bright reticle dazzles your eye and prevents you from seeing your target.
I also prefer ones that only illuminate the centre section, again to allow you to see your quarry most clearly.
The final thing to consider is the reticle. Gone are the days of the simple cross hair, and now we have mil-dots and multi-aim-point options on almost every scope.
Some are so complex that I find them distracting and difficult to use, so please take the time to understand fully how to use your chosen one before parting with your money.
__________________
You may also like:
Related Articles
Get the latest news delivered direct to your door
Subscribe to Airgun World
Unlock the world of airgun shooting with a subscription to Airgun World magazine, Britain’s biggest-selling airgun publication.
Written by passionate, long-term airgun enthusiasts, each issue delivers expert insights, comprehensive gear reviews, and invaluable tips to enhance your shooting skills. Whether you’re a seasoned shot or new to the sport, Airgun World offers essential content covering shooting techniques, classic airguns, and the latest equipment innovations.
Stay informed with cutting-edge news, in-depth analysis and exclusive offers from specialist partners. Plus, enjoy the convenience of both print and digital access, ensuring you never miss an issue. Subscribe today and join a community of dedicated airgun shooters aiming for excellence.
