★ Competition – win a PAO HD Max riflescope worth £239.99 – enter here! ★
Webley’s Tommy Gun
Pete Evans slips under the skin of the Webley Tomahawk and finds the reason why its power is non-existent.
Last month, I introduced my Webley Tomahawk, an airgun that has not led a charmed life. Due to lack of maintenance, it ended up in a temporary non-functioning state. Despite its distinct lack of power, the gun itself wasn’t in bad cosmetic condition, and as such its life was far from over.
This month, we move to the point where we take the rifle apart, discover which parts need repairing, and then any other areas which might be improved along the way. The gun is on the bench, it’s uncocked, and relieved of its scope in preparation for the strip down, so let’s get to it.
INITIAL STEPS
To start the process, release the stock by removing the two 3mm hex screws at the forend, followed by the remaining two through the trigger guard. It will be noted that there are plain and serrated washers at the forend, and the screw at the front of the trigger guard will have a larger shank. There shouldn’t be any loose sections inside the stock to come adrift following its removal.
Immediately, it can be seen that the trigger is a self-contained “cassette” design, which does make matters a whole lot easier. To remove the trigger, it will be necessary to drift out the two securing parallel pins, and then it’s a matter of wiggling it free from the recess in the cylinder.
SUPERIOR TRIGGER
Even without formally testing this trigger, it’s clear to see that it’s a far cry from anything seen on former Webleys. Housed within the substantial frame is a multi-sear unit, with adjustments for overall weight, as well as adjustment for first and second stage.
Unlike Rekord and CD units, the safety catch is a toggle at the top of the housing which engages with an opening on the underside of the safety slide atop the cylinder. The set back blade is attached to the bottom sear by a screw, which again differs from the norm. It would seem that the trigger’s design loosely mimics that of the Venom Mach 1 rifle, which isn’t surprising
considering Ivan Hancock’s involvement. It is possible to arm the trigger on the bench, by first pushing up on the rear sear, as this will hinge backwards after it is removed from the action, and then lifting the piston sear to engage.
Considering that the trigger can be used “off” the gun, it’s going to be possible to make initial adjustments in safety, before making any final tweaks when refitted to the gun.
Viewing the base of the trigger, the rear large grub screw controls the overall trigger weight, the first smaller grub ahead of the blade governs the second stage, while the one farthest from the blade concerns the first stage.
I would follow the same process as adjusting an AirArms CD trigger. Back off first and second stage adjusters until the trigger will arm and not discharge, and then gradually advance the first stage adjuster until the trigger releases. Now gradually advance the second stage, until there is a definite first stage, coming to a stop before further pressure releases the second stage. One adjustment very much influences the other, it’s rather like a balancing act. This can all be done “off” the gun, although fine tuning will be needed, along with a “bump” test when refitted.
SPRING IS COMING
With the trigger out of the way, we can turn our attention to the action. At this point, I would recommend getting the whole action supported in a sash cramp, as although there might not be a lot of spring preload, it makes the whole process a lot safer.
When mounting the action, make sure you protect the back block as the safety slide protrudes over the rear of the cylinder. A block of soft wood can be positioned under the slide, and then the cramp applied to the surface of the wood. The back block is flush with the end of the cylinder, but just needs supportive pressure bearing on it.
Related Articles
Air rifles
Air rifles product reviews
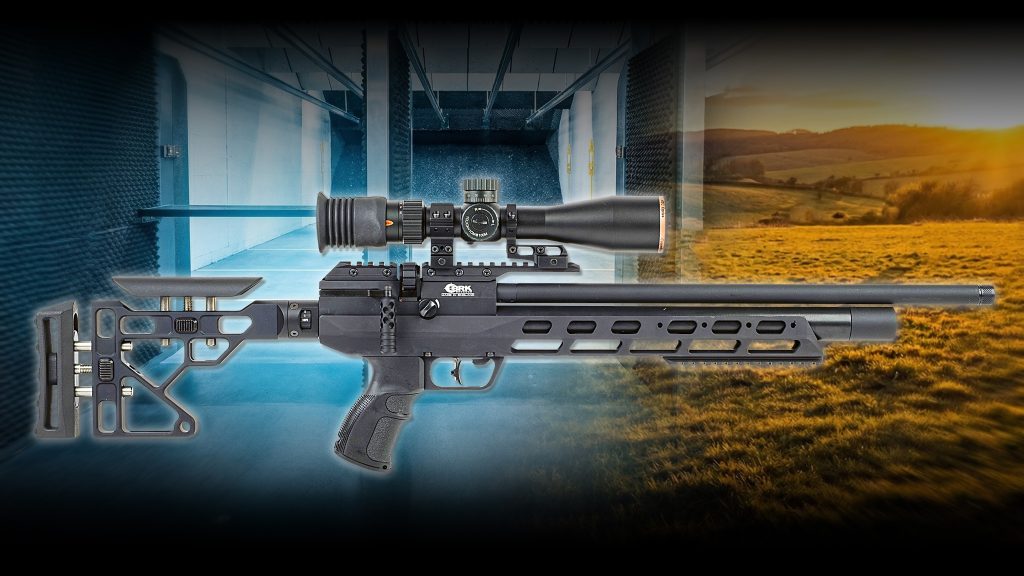
BRK Brocock Ranger XR2 Tactical review: the ultimate all-rounder?
From the bench to the field: see why the BRK Brocock Ranger XR2 Tactical stands out. We cover specs, power settings, and first impressions of this premium air rifle
By Airgun World
Air rifles
Air rifles product reviews
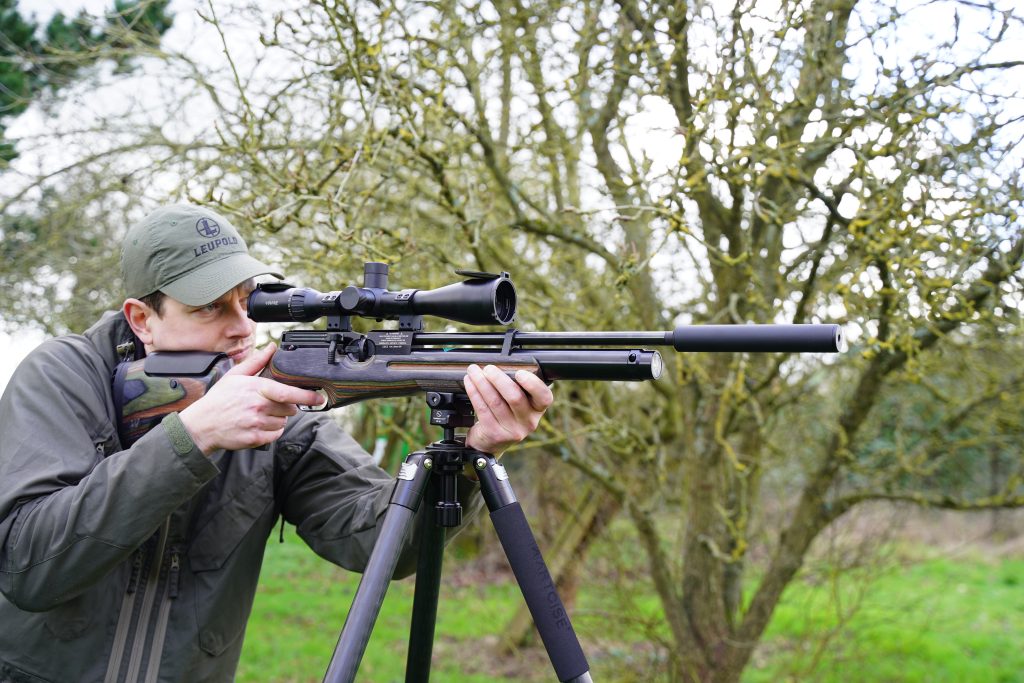
How many shots?! Testing the new regulated Weihrauch HW100 X Sporter Laminate Adjustable
How many shots can you really get from the new Weihrauch HW100 X? The Weihrauch HW100 has been the gold standard for PCP air rifles for years, but the new HW100 X Sporter Laminate Adjustable marks the...
By Airgun World
Get the latest news delivered direct to your door
Subscribe to Airgun World
Unlock the world of airgun hunting and target shooting with a subscription to Airgun World magazine, Britain’s biggest-selling airgun publication. Written by passionate, long-term airgun enthusiasts, each issue delivers expert insights, comprehensive gear reviews, and invaluable tips to enhance your shooting skills. Whether you’re a seasoned shot or new to the sport, Airgun World offers essential content covering shooting techniques, classic airguns, and the latest equipment innovations.
Save on shop price when you subscribe and pay just £4.07 per issue – 42% cheaper than buying in-store at £6.99!