The countdown is on for The British Shooting Show – book tickets online today and save on gate price!
How to Mount a Sight to Your Rifle
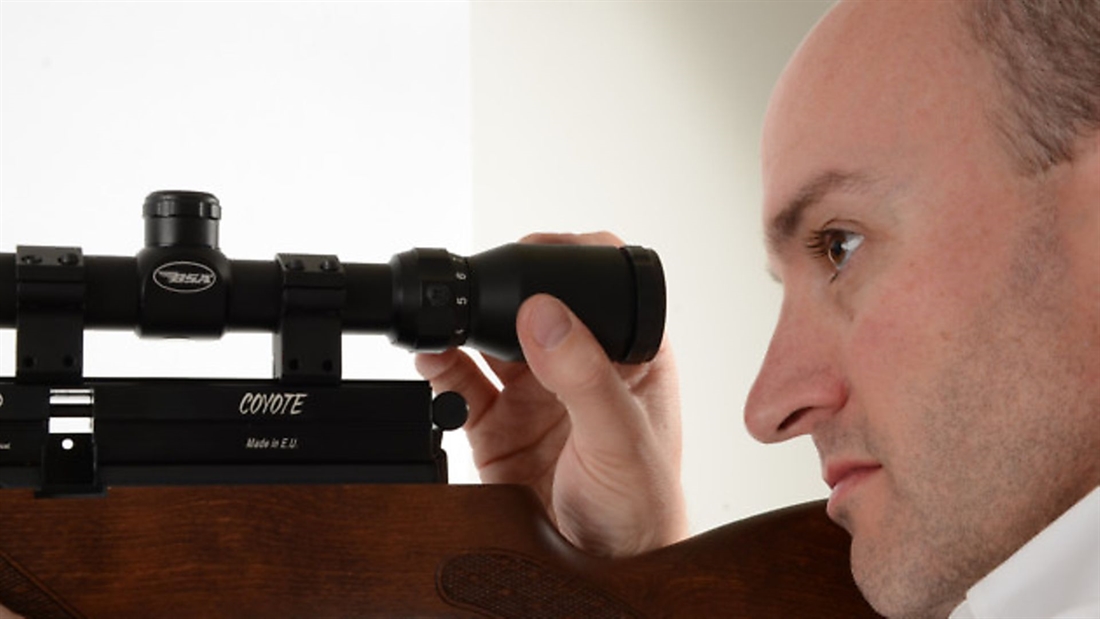
When I bought my first precharged airgun (an Air Arms S200) it cost about £300. With it I bought a new scope, which cost just over £100. There were cheaper scopes on the market, but I went for the Tasco scope because the gunshop owner suggested spending as much as you can on good optics. His rule of thumb was that your scope should cost at least a third of what the rifle cost, his reasoning being that if you buy a very expensive state-of-the-art rifle, you need a similar scope to make the most out of the accuracy potential of your new airgun.
This is sound advice because even though there are some very good affordable scopes out there, if you are shooting a rifle that cost almost £1000, then a cheap scope is a false economy. It’s rather like putting budget tyres on a Ferrari, you just wouldn’t be able to use all the super-car’s performance.
When you have bought a scope that is right for you and your rifle then it’s time to fit it to your airgun. This is an easy job. I have all the dexterity of an angry chimp when it comes to things like this, but even I can fit a scope to my rifle.
First Things
On any project, it’s always good to have a solid foundation. When fitting a scope, it’s the mounts that will give you that rock-solid base. A mount holds your sight in line with the rifle’s barrel, so always go for a quality mount. You may be wondering how you can tell one mount from another. A few things to avoid are flimsy mounts, or ones that don’t fit together properly. This tells you they have been poorly engineered and they won’t hold anything in alignment. I prefer the scopes that use hex bolts rather than screw heads because they are easy to tighten and if they are good quality, you won’t get any burr around the head.
If you are shooting a springer, then it’s wise to use a one-piece mount because it helps to prevent the scope moving due to the harsh recoil of the rifle. Also, choose a mount with an arrestor stud or a rifle that has an arrestor block to help anchor your scope firmly to the rifle rails.
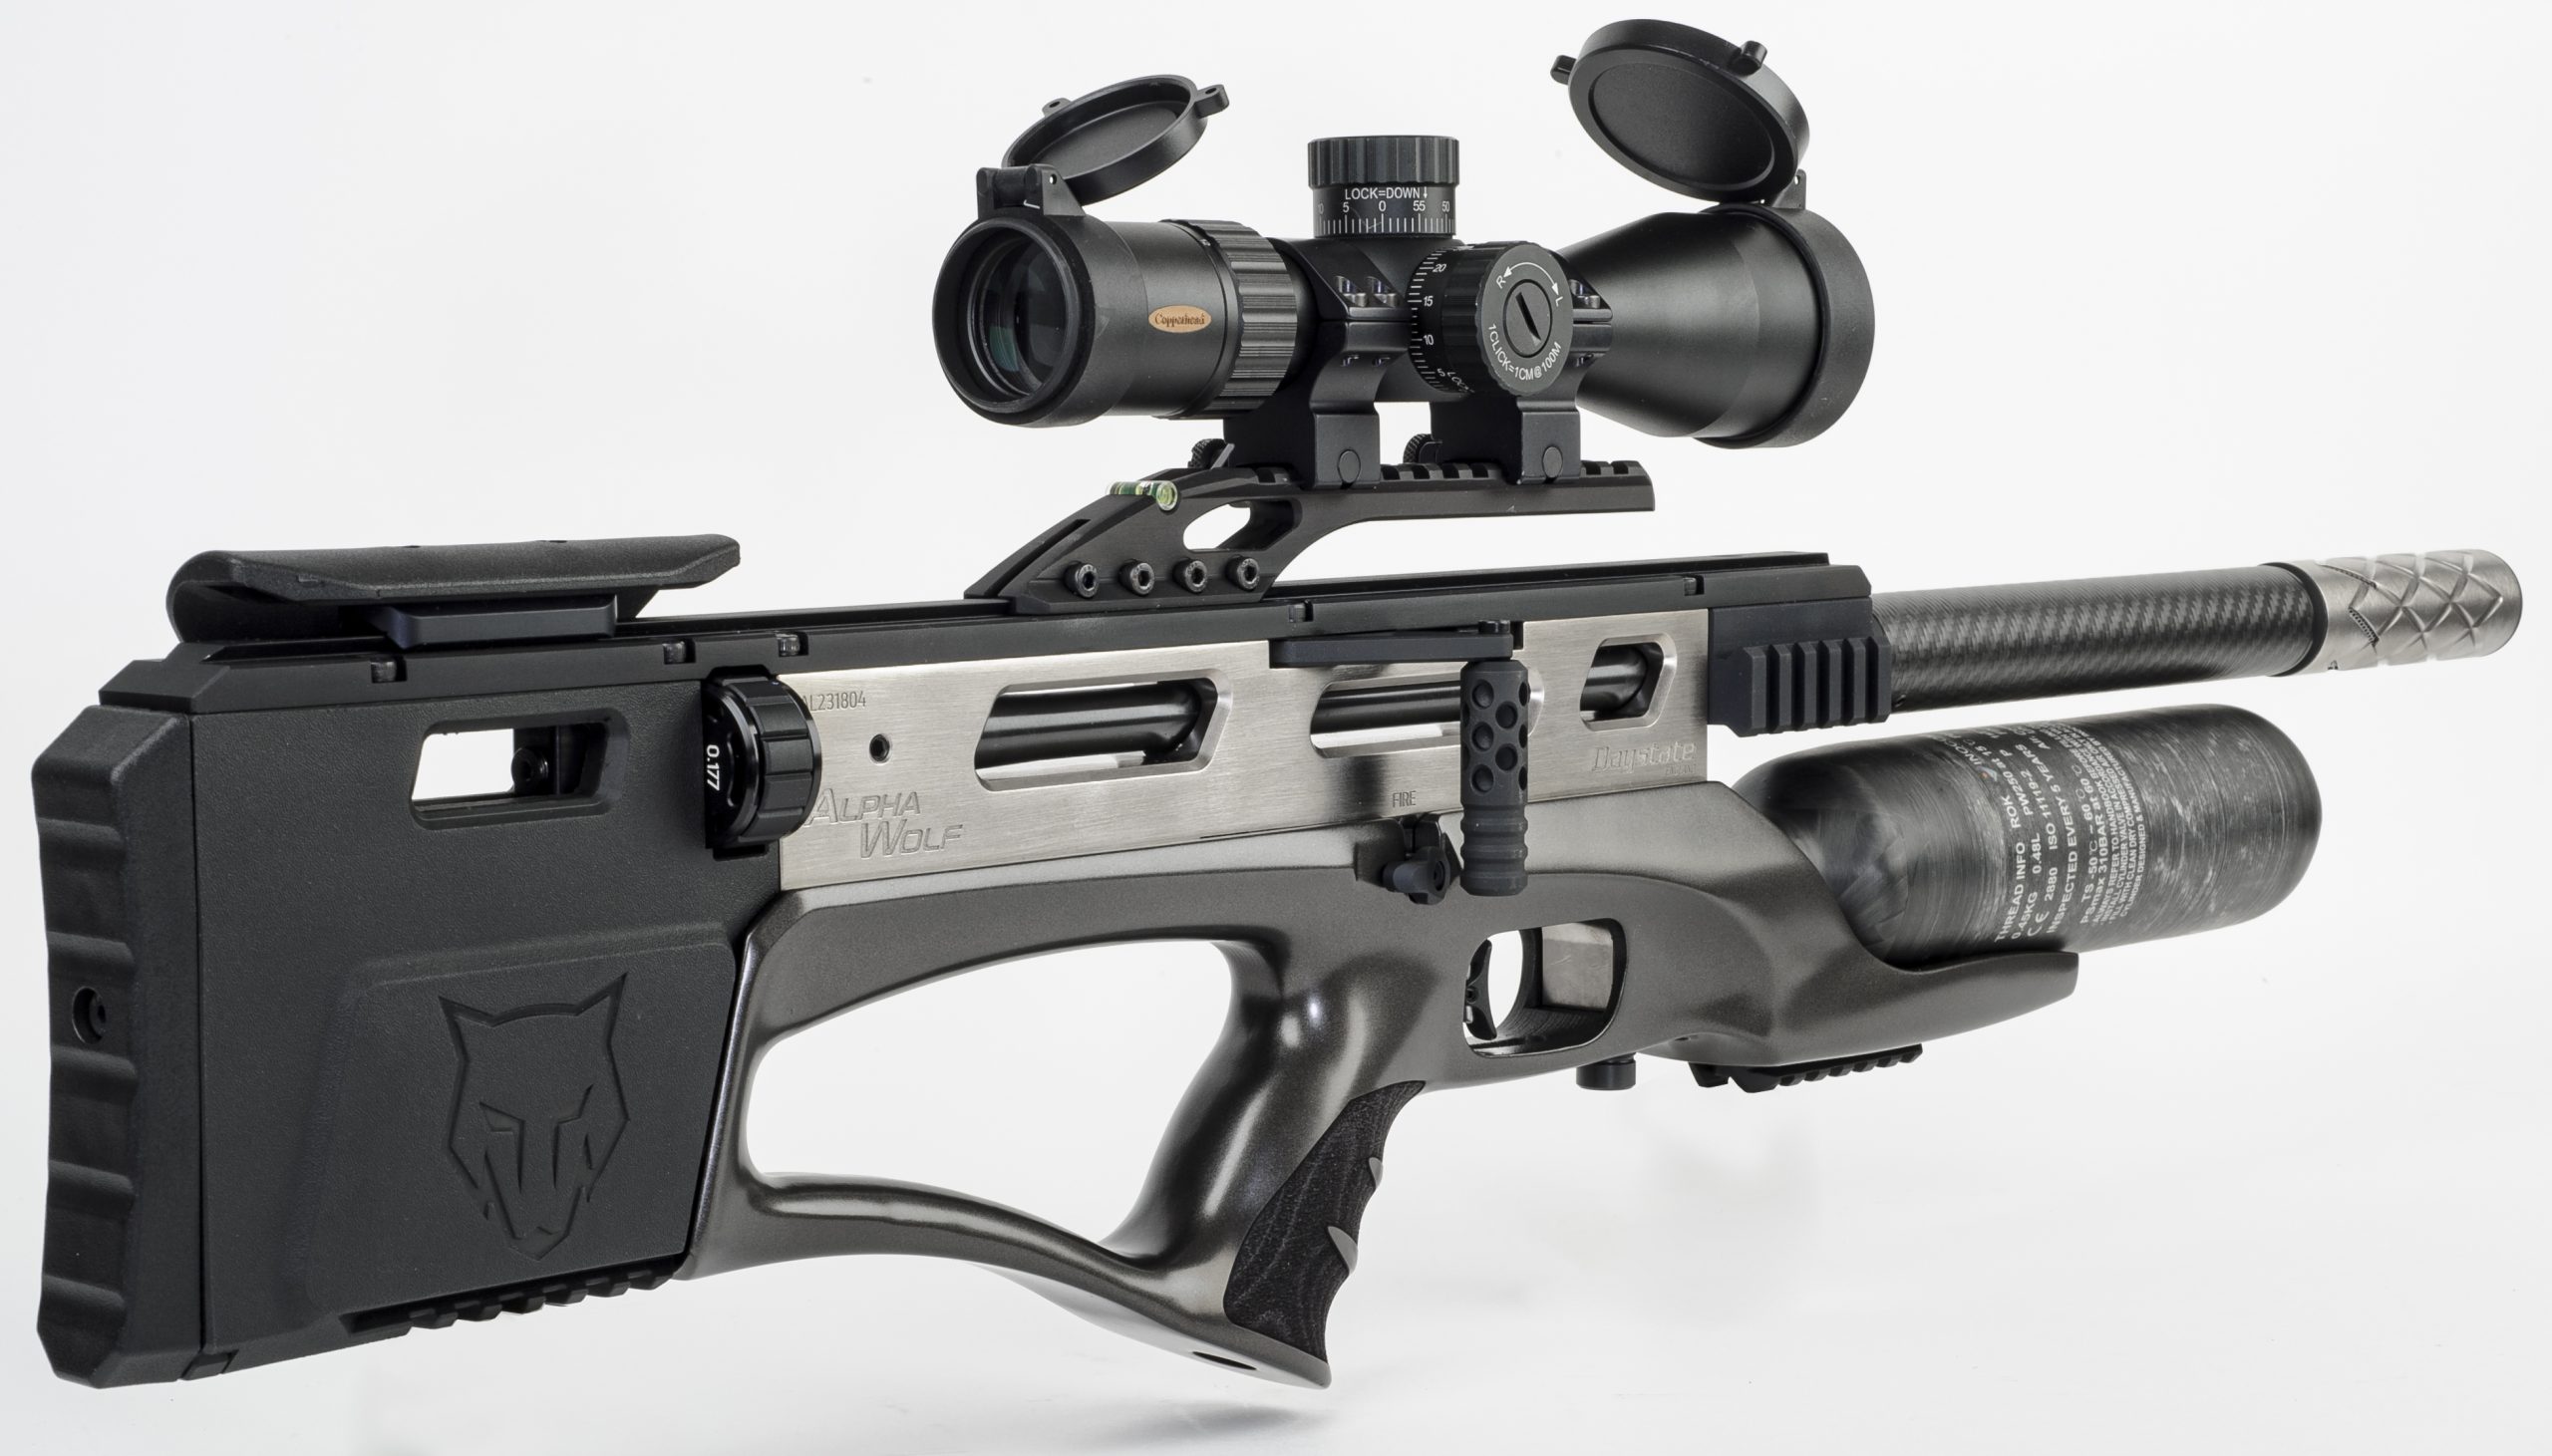
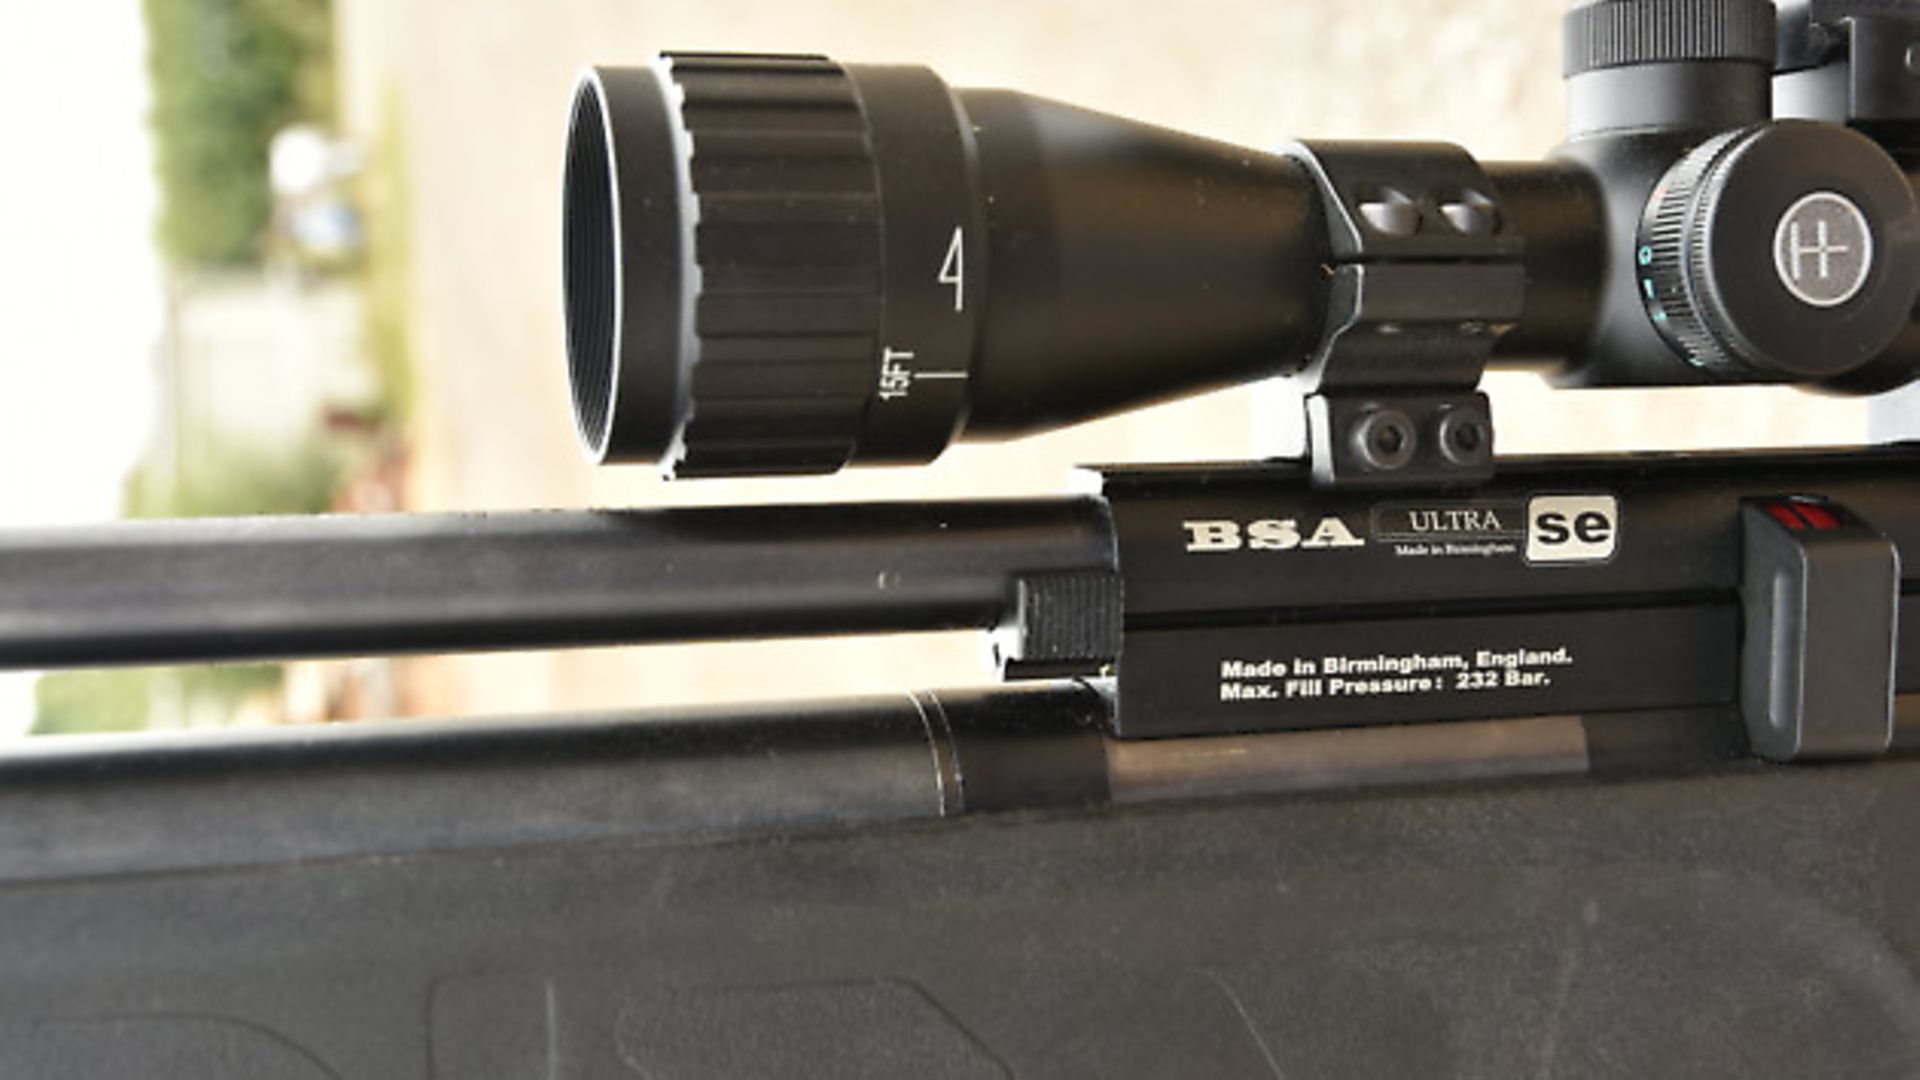
When putting a scope on a PCP which has little recoil, then there’s no need for an arrestor stud on the mounts, but if you see one on there it can usually be retracted with a hex wrench. On PCPs you will almost certainly need a two-piece mount, so that there is room to access the breech or the magazine. Mounts come in different heights, to allow for magazine clearance, so pick the one that gives enough clearance for your mag, but isn’t too high, meaning you have to raise your cheek from the stock to see through the scope.
The Ring
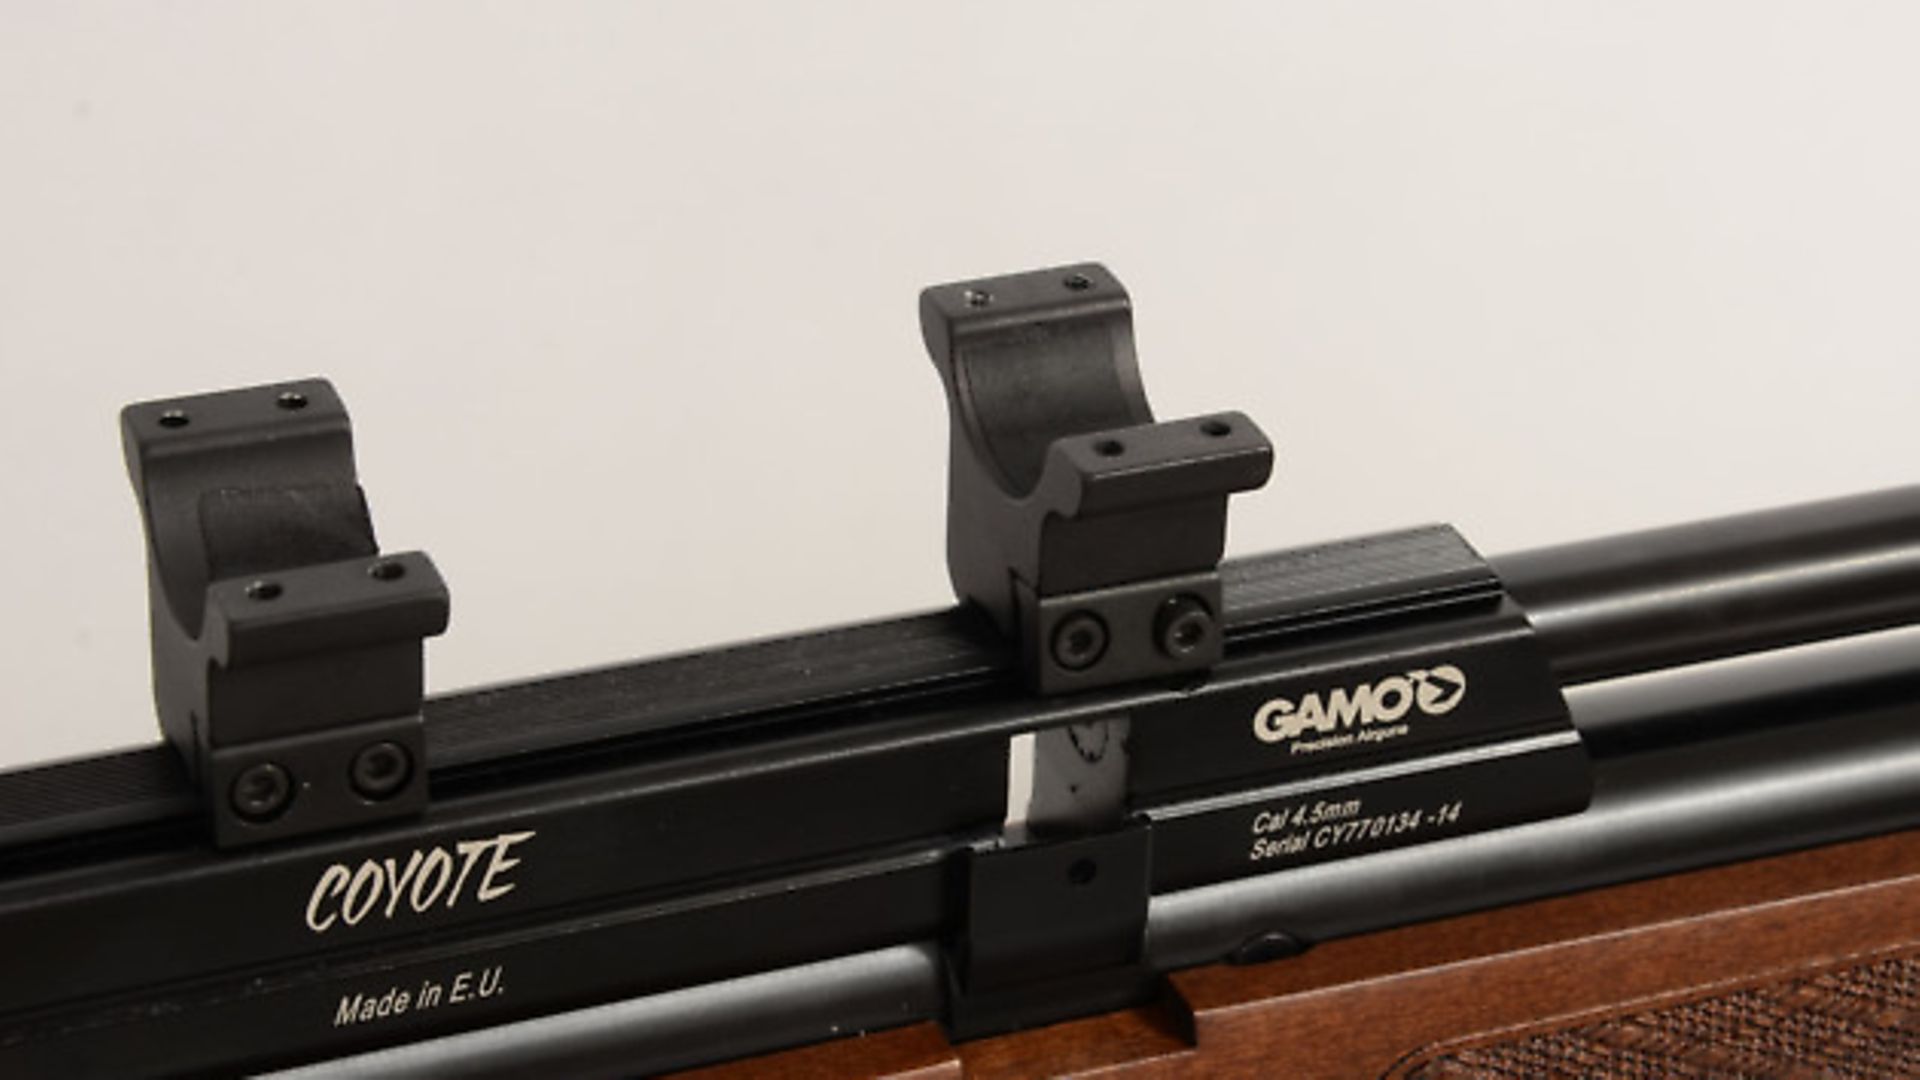
Also, the rings come in two sizes, one inch and 30mm, so check which size you need for the size of your scope body. Not only this, you will also need to check the size of rail (grooves) you have on your rifle. Most modern airguns come with 11mm dovetail grooves designed to clamp the mounts and scope onto the rifle’s action. However, you might find you have Weaver rails on your gun, in which case you need to buy mounts or converters to fit your scope.
When you have bought your mounts, the next thing is to separate them by undoing the hex bolts on the rings so that the bases are separate from the top rings. Then open up the base clamps using by loosening the hex bolts and place the bases of the mounts on the dovetail grooves on the action of your rifle. The base of the mounts should be far enough apart to hold the scope at each end. Then tighten them up, but don’t over-tighten them.
Sit the scope on top of the base of the mounts and attach the rings, BUT don’t tighten them too much; the scope should move freely within the rings at this stage. The reason for this is so that you can adjust the scope position to get the correct amount of eye relief.
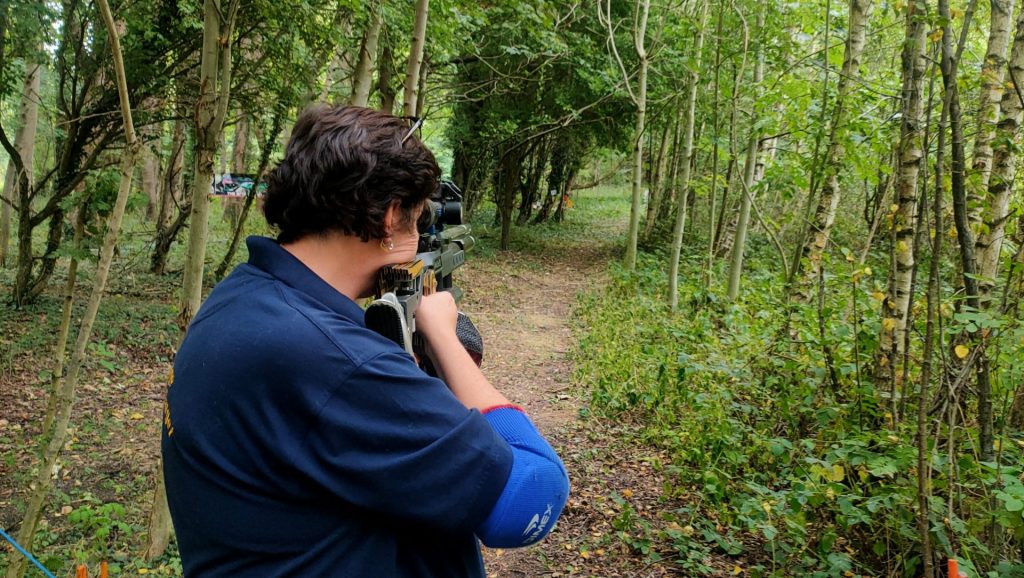
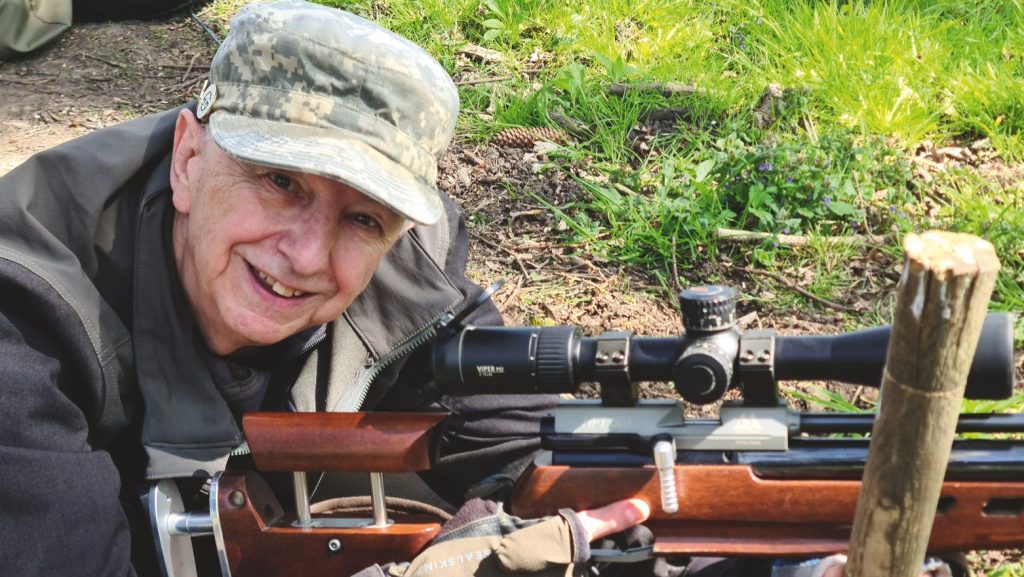
To do this, shoulder the rifle as if you are about to take a shot and then move the scope back and forth within the rings until you get a full sight picture without any dark edges around the edges.
At the same time you might want to check that the scope is not canted (tilted left or right) and you can do this by hanging up a plumb bob from a tree branch or something else and then lining up the crosshairs so that the vertical one lines up with the plumb-line. Ensuring that the scope is not canted is important because a tilted scope can cause windage errors.
On the Level
Once you have got the scope level and the eye relief set, then you can start tightening the hex bolts and securing the scope in place. On a four-bolt ring I usually tighten the bolts diagonally (as you would do if you are putting a wheel on a car) doing two on the front first, then two on the back before going back to the front. Don’t over-tighten the rings, or you will crush your scope tube.
Also, keep the gap between the upper scope ring and the lower one the same. This is not for aesthetic reasons, an even gap ensures that the scope is sitting level in relation to the rifle’s action and that the scope is secured evenly, so that the rings won’t bite into the tubes.
However, there are times when you don’t want the scope to sit level and that is on some break-barrel springers which suffer from barrel droop. When shooting with open sights, the shooter won’t notice the droop because the sights sit on the barrel, but when you attach a scope the sights are aligned with the action, not the barrel, then the sights and barrel no longer align and the point of aim and point of impact won’t be the same.
To overcome this you can shim the scope in the rear mount to bring the scope in alignment with the barrel. Various bits of material can be used for this, such as tape wrapped around the scope where it sits on the rear mount, or metal cut from drink cans to pack out the rear mount, but if this is too much trouble for you, then you can always buy the new adjustable mounts.
The final thing to do is give all the hex bolts a final tighten, ensuring that you don’t over-tighten any of them, and then you are ready to zero your rifle. We will look at this process next month.
Related Articles
Get the latest news delivered direct to your door
Subscribe to Airgun World
Unlock the world of airgun shooting with a subscription to Airgun World magazine, Britain’s biggest-selling airgun publication.
Written by passionate, long-term airgun enthusiasts, each issue delivers expert insights, comprehensive gear reviews, and invaluable tips to enhance your shooting skills. Whether you’re a seasoned shot or new to the sport, Airgun World offers essential content covering shooting techniques, classic airguns, and the latest equipment innovations.
Stay informed with cutting-edge news, in-depth analysis and exclusive offers from specialist partners. Plus, enjoy the convenience of both print and digital access, ensuring you never miss an issue. Subscribe today and join a community of dedicated airgun shooters aiming for excellence.
