Stoeger Airguns’ Manual Pump – test & review
Mark Camoccio tests out the new Stoeger Airguns’ Manual Pump
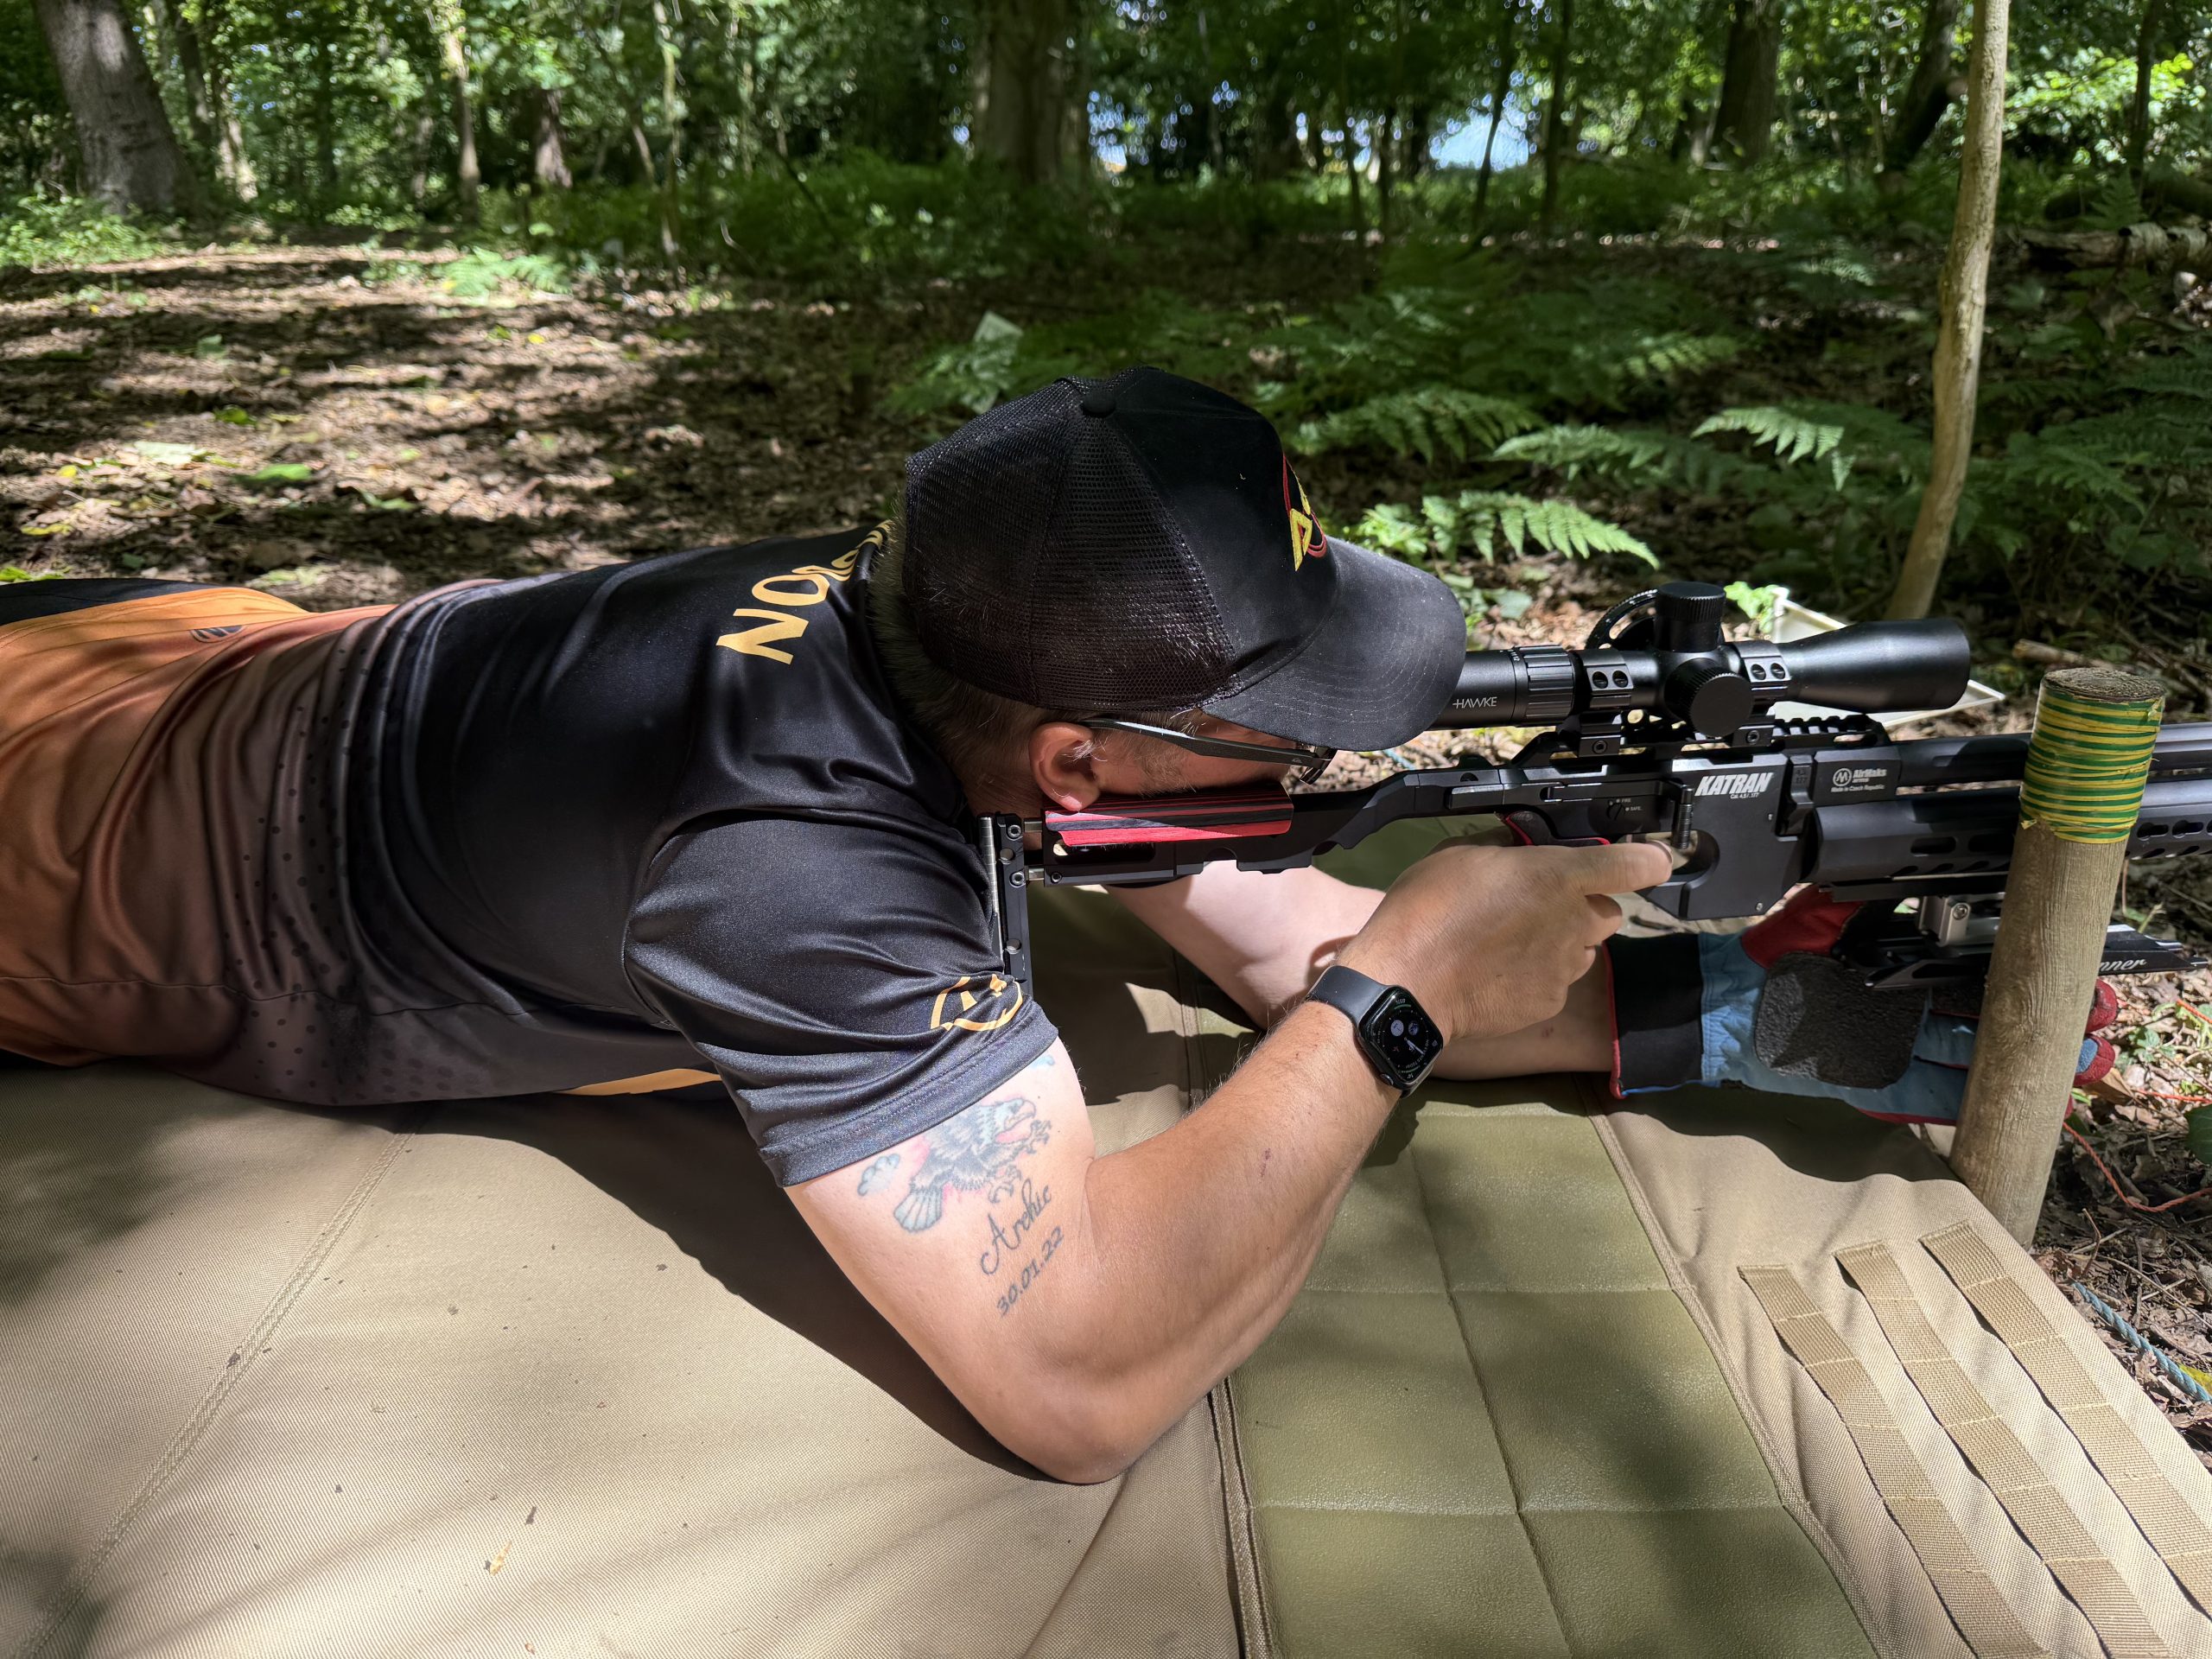
Opt for a pre-charged pneumatic airgun (PCP), and you’ll have to consider investing in charging equipment. Of course a divers bottle is the easiest option, and I have one in reserve for awkward rifles with huge capacity; yet bottles have major drawbacks. They need periodic safety testing, can be heavy, and need safe handling and respect in transit at all times.
INDEPENDENCE
For those of us who wish to sidestep the worry and layer of stress that high pressure bottles entail, there is of course the airgun pump. I’ve been a huge fan of airgun pumps for years, and still charge the vast majority of guns that I get sent for review, and my own personal rifles I hasten to add, via this method.
On test here is the brand new model from Stoeger Airguns, and they’ve timed it to coincide with their first PCP- the XM1.
BOX OF TRICKS
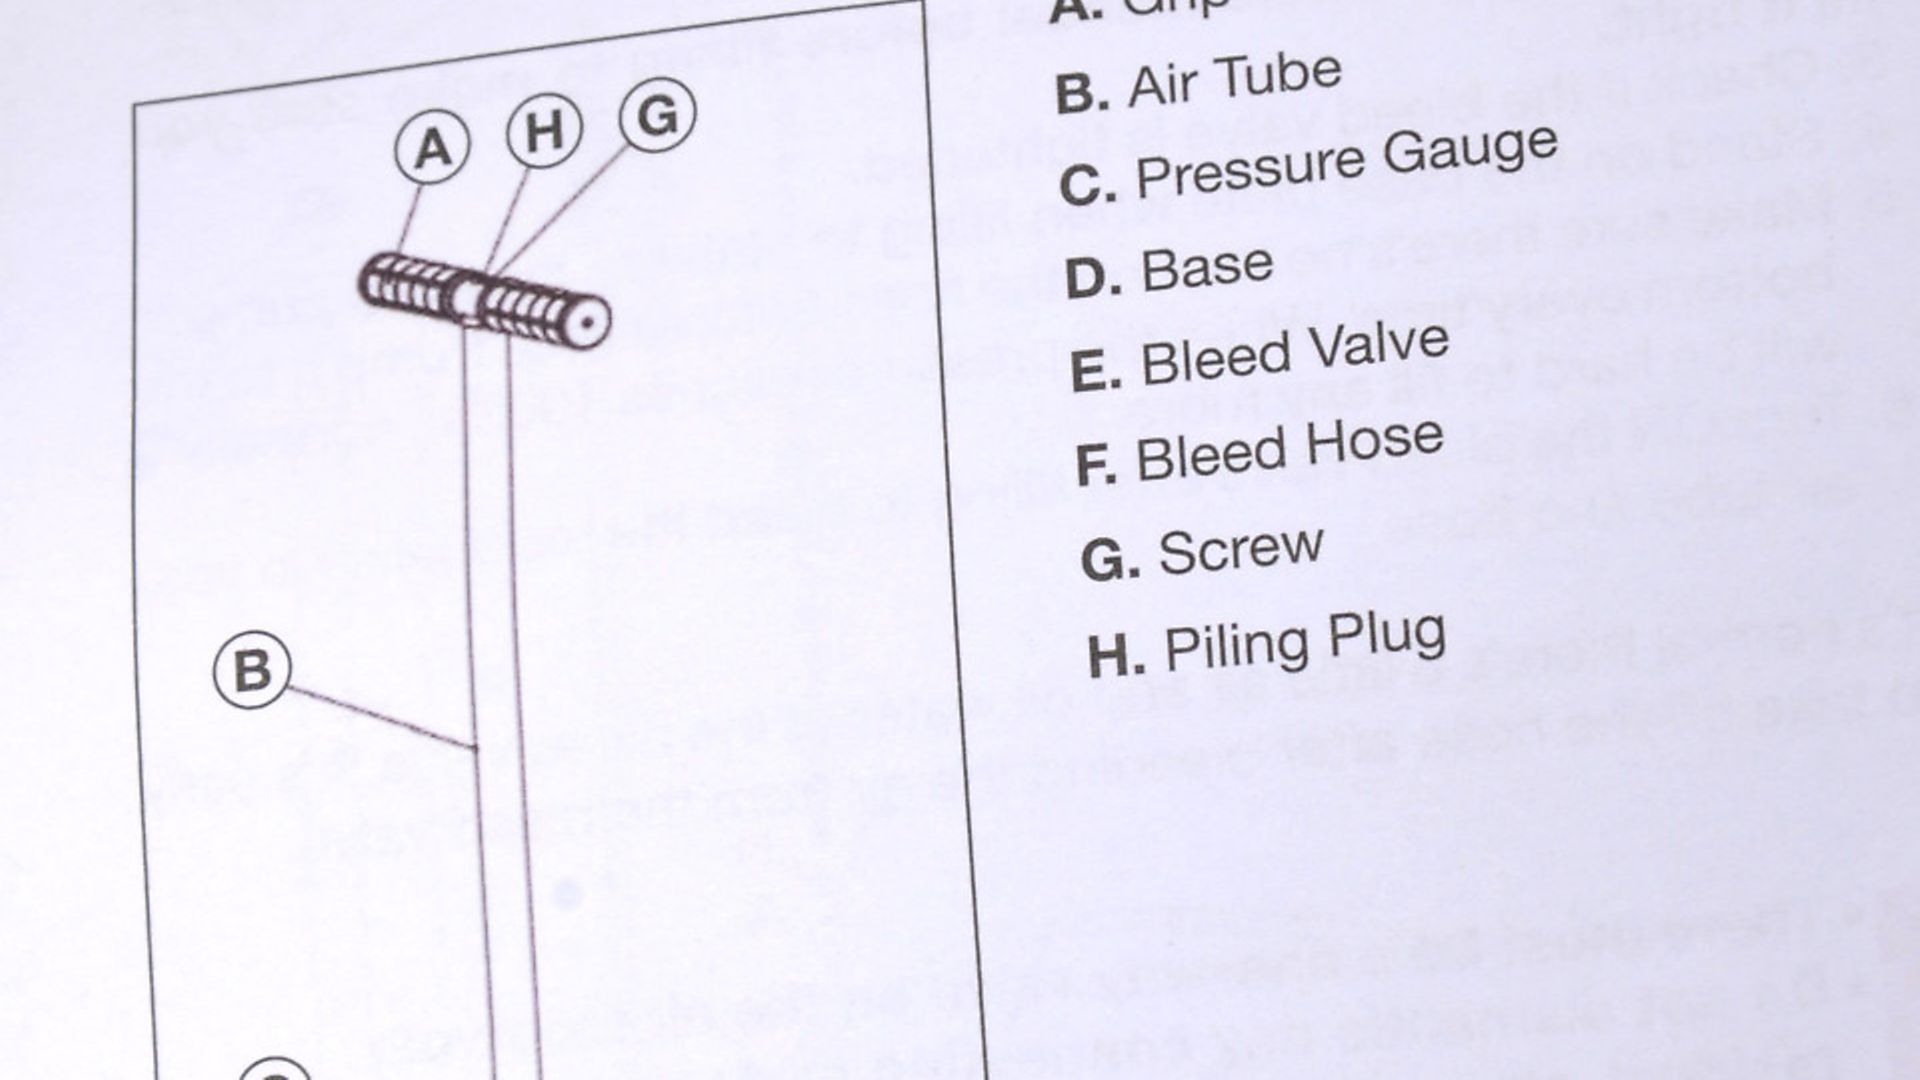
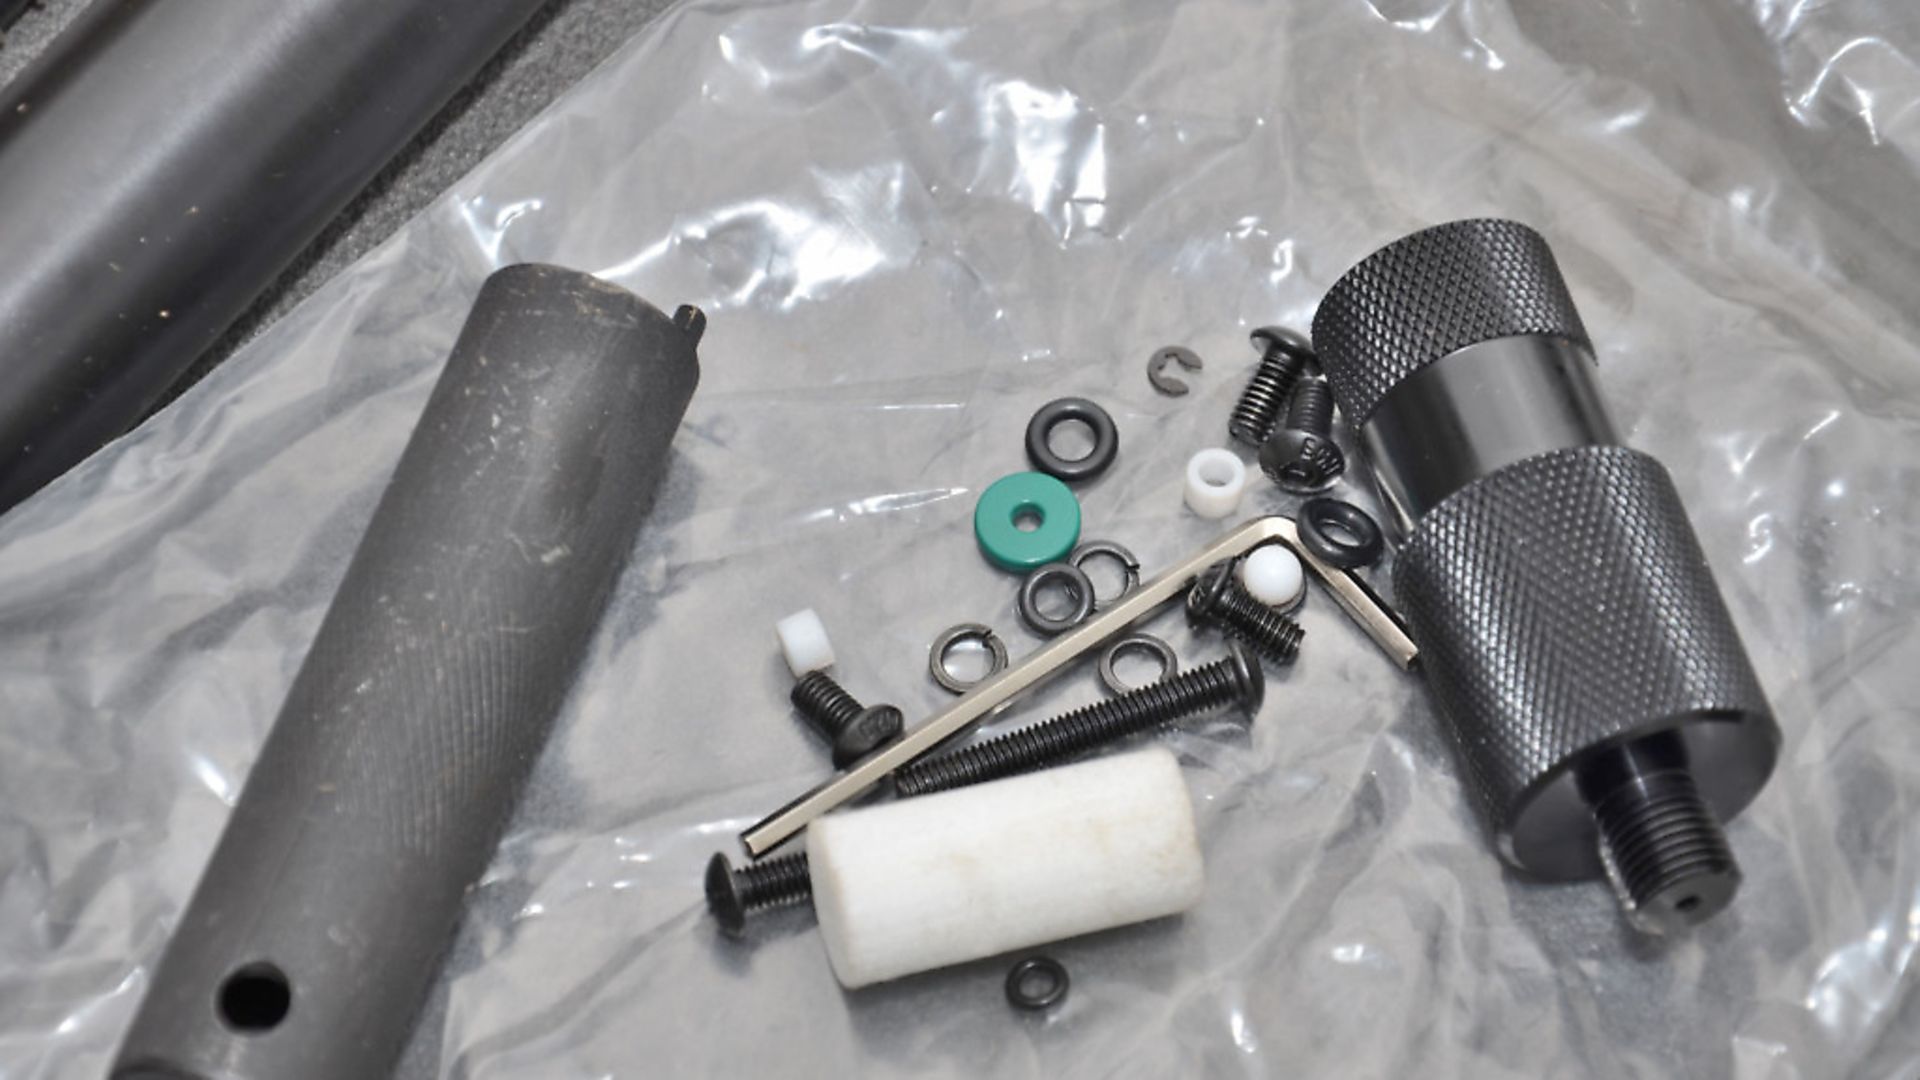
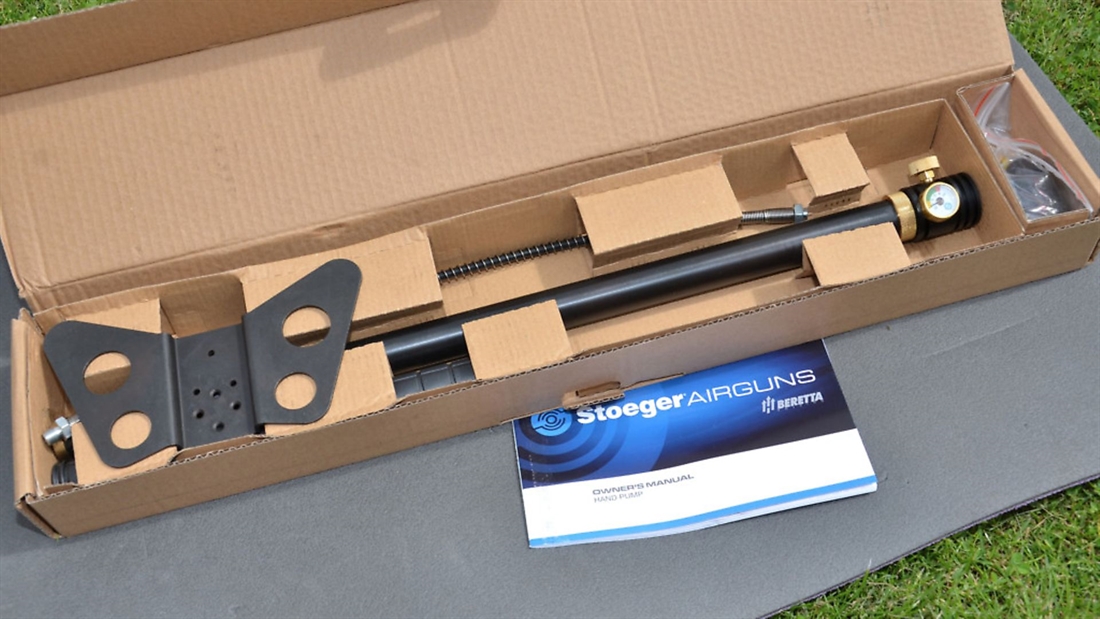
The pump comes effectively flat packed, and inside the box, there’s the main pump body assembly, base, handle bars, and bag of smaller items. There’s an instruction manual too, but help with assembly comes down to just one rather simple diagram. Lucky assembly is fairly simple then, so we’ll get straight to it. It’s always worrying when there’s a large bag of tiny bits, but with the largest tube simply a dismantling tool for servicing, and several other seals just spare parts, the task of assembling the pump really is within anyone’s capabilities.
ASSEMBLY
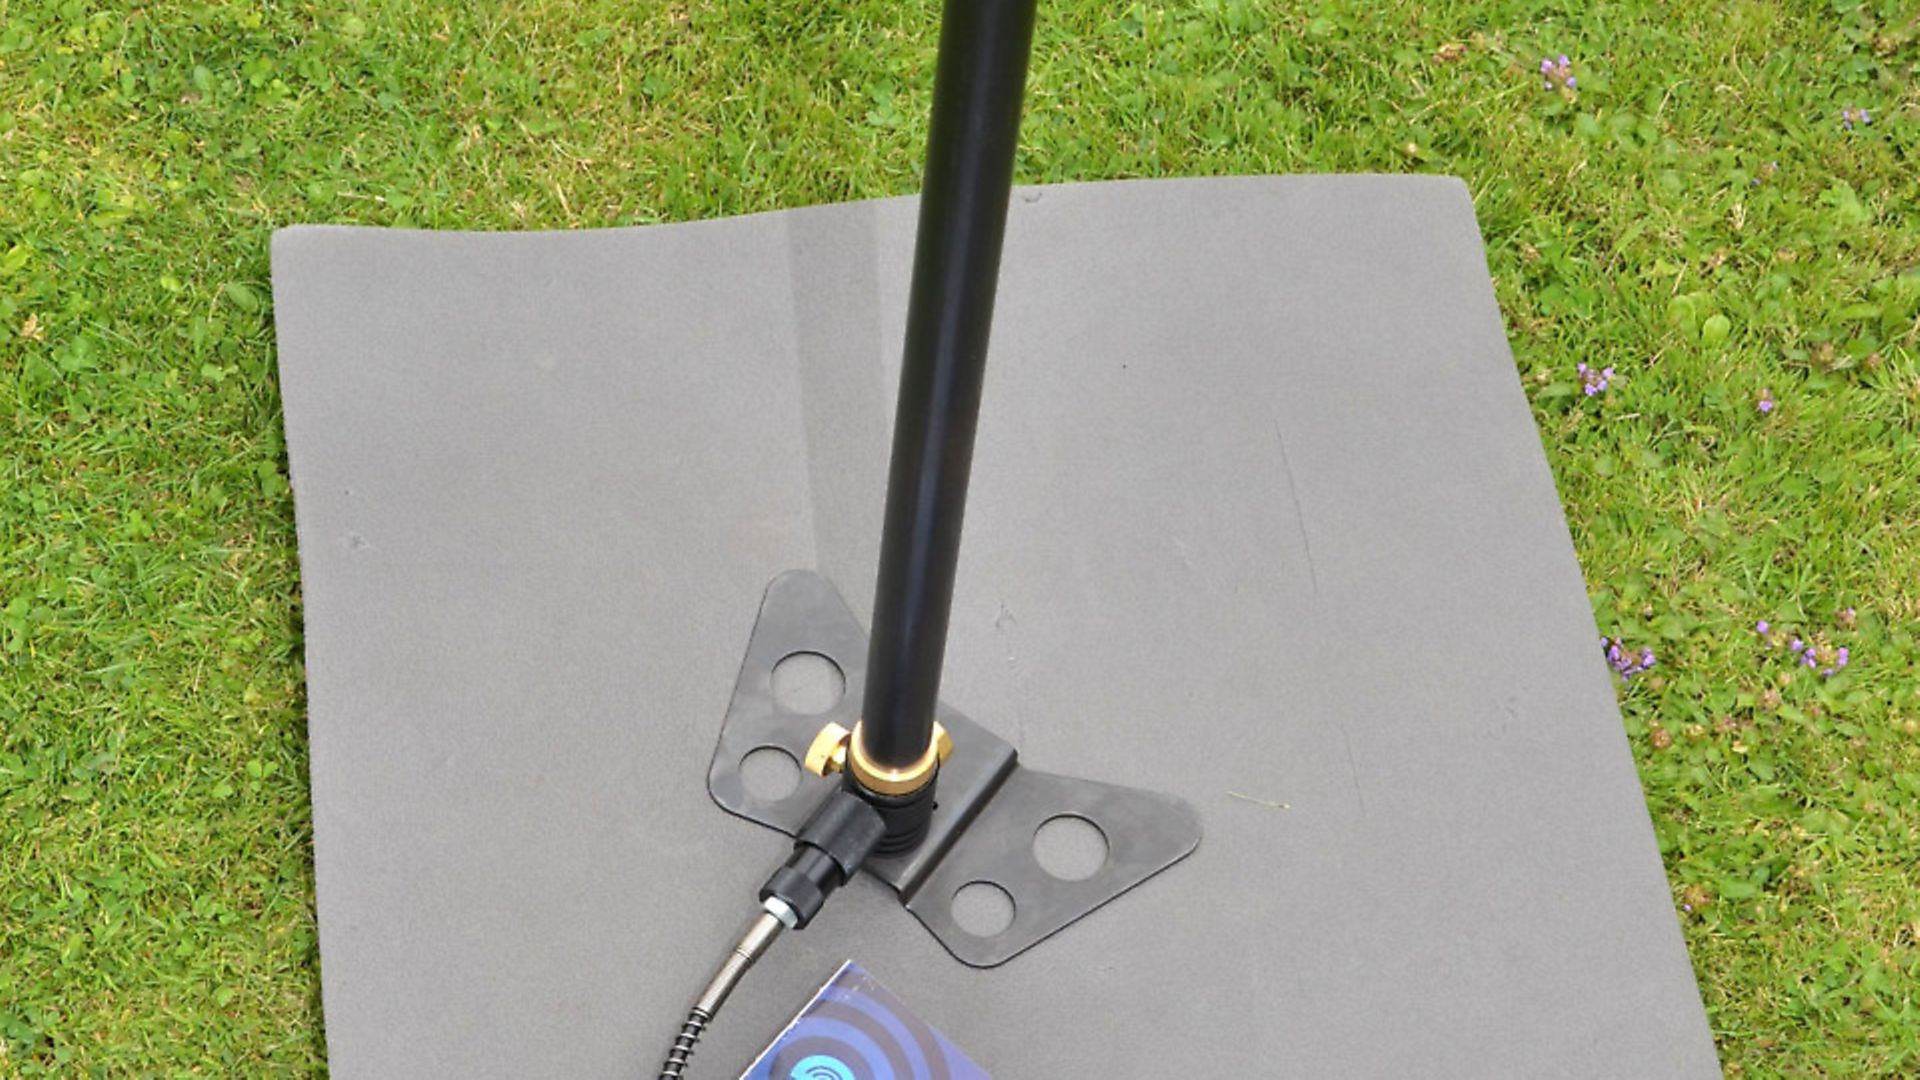
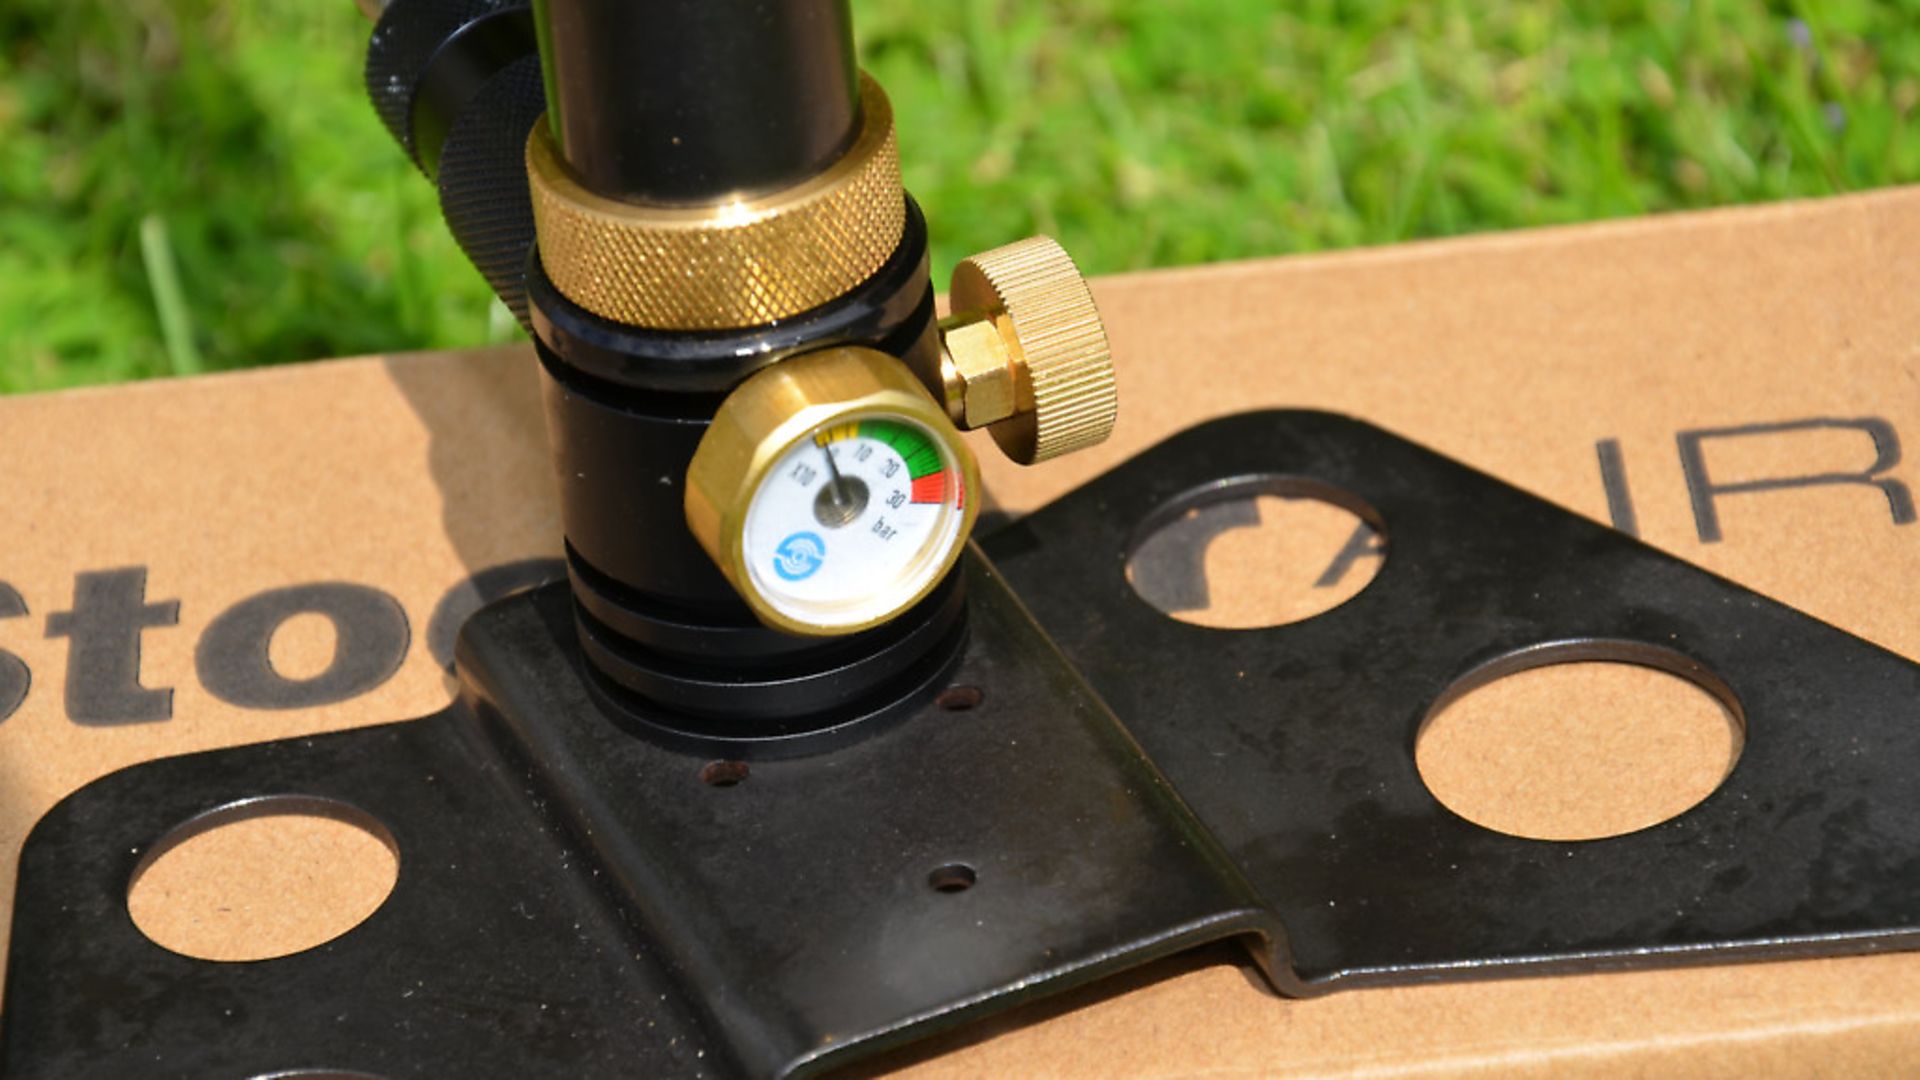
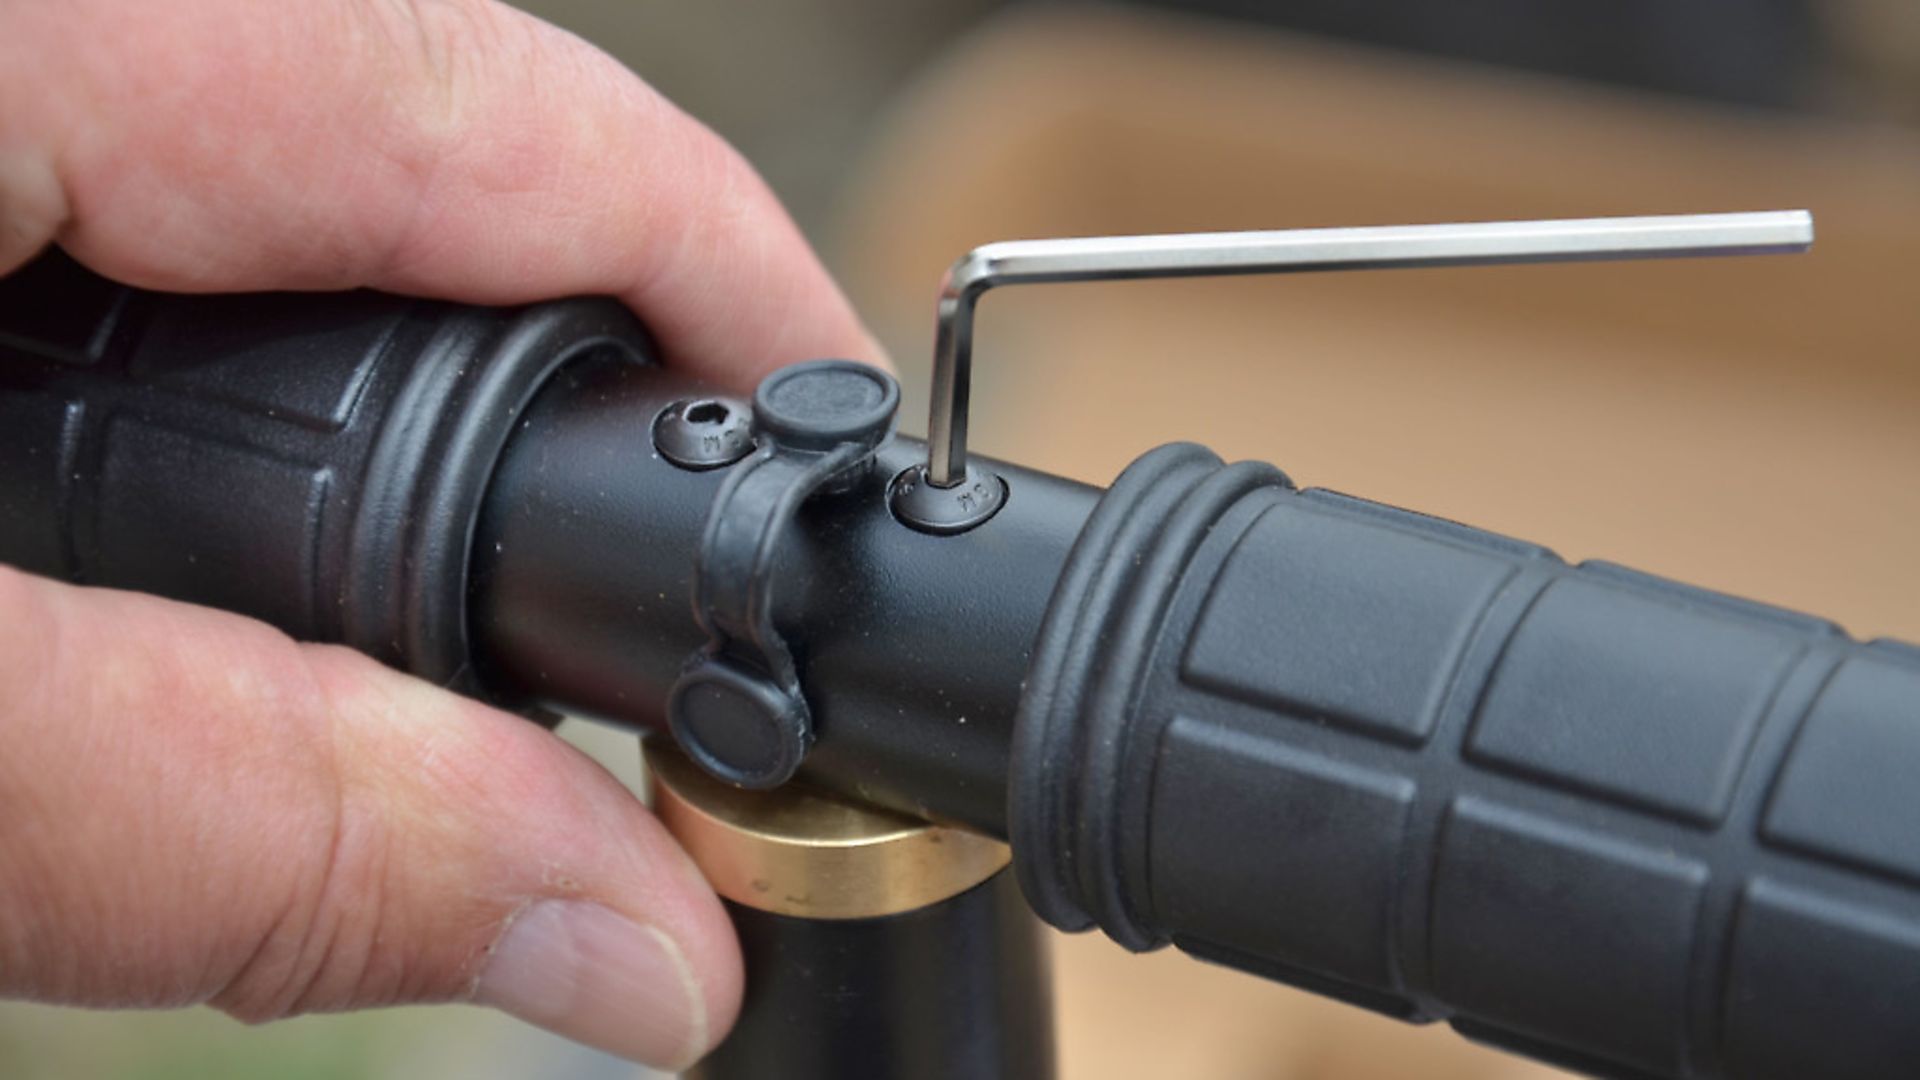
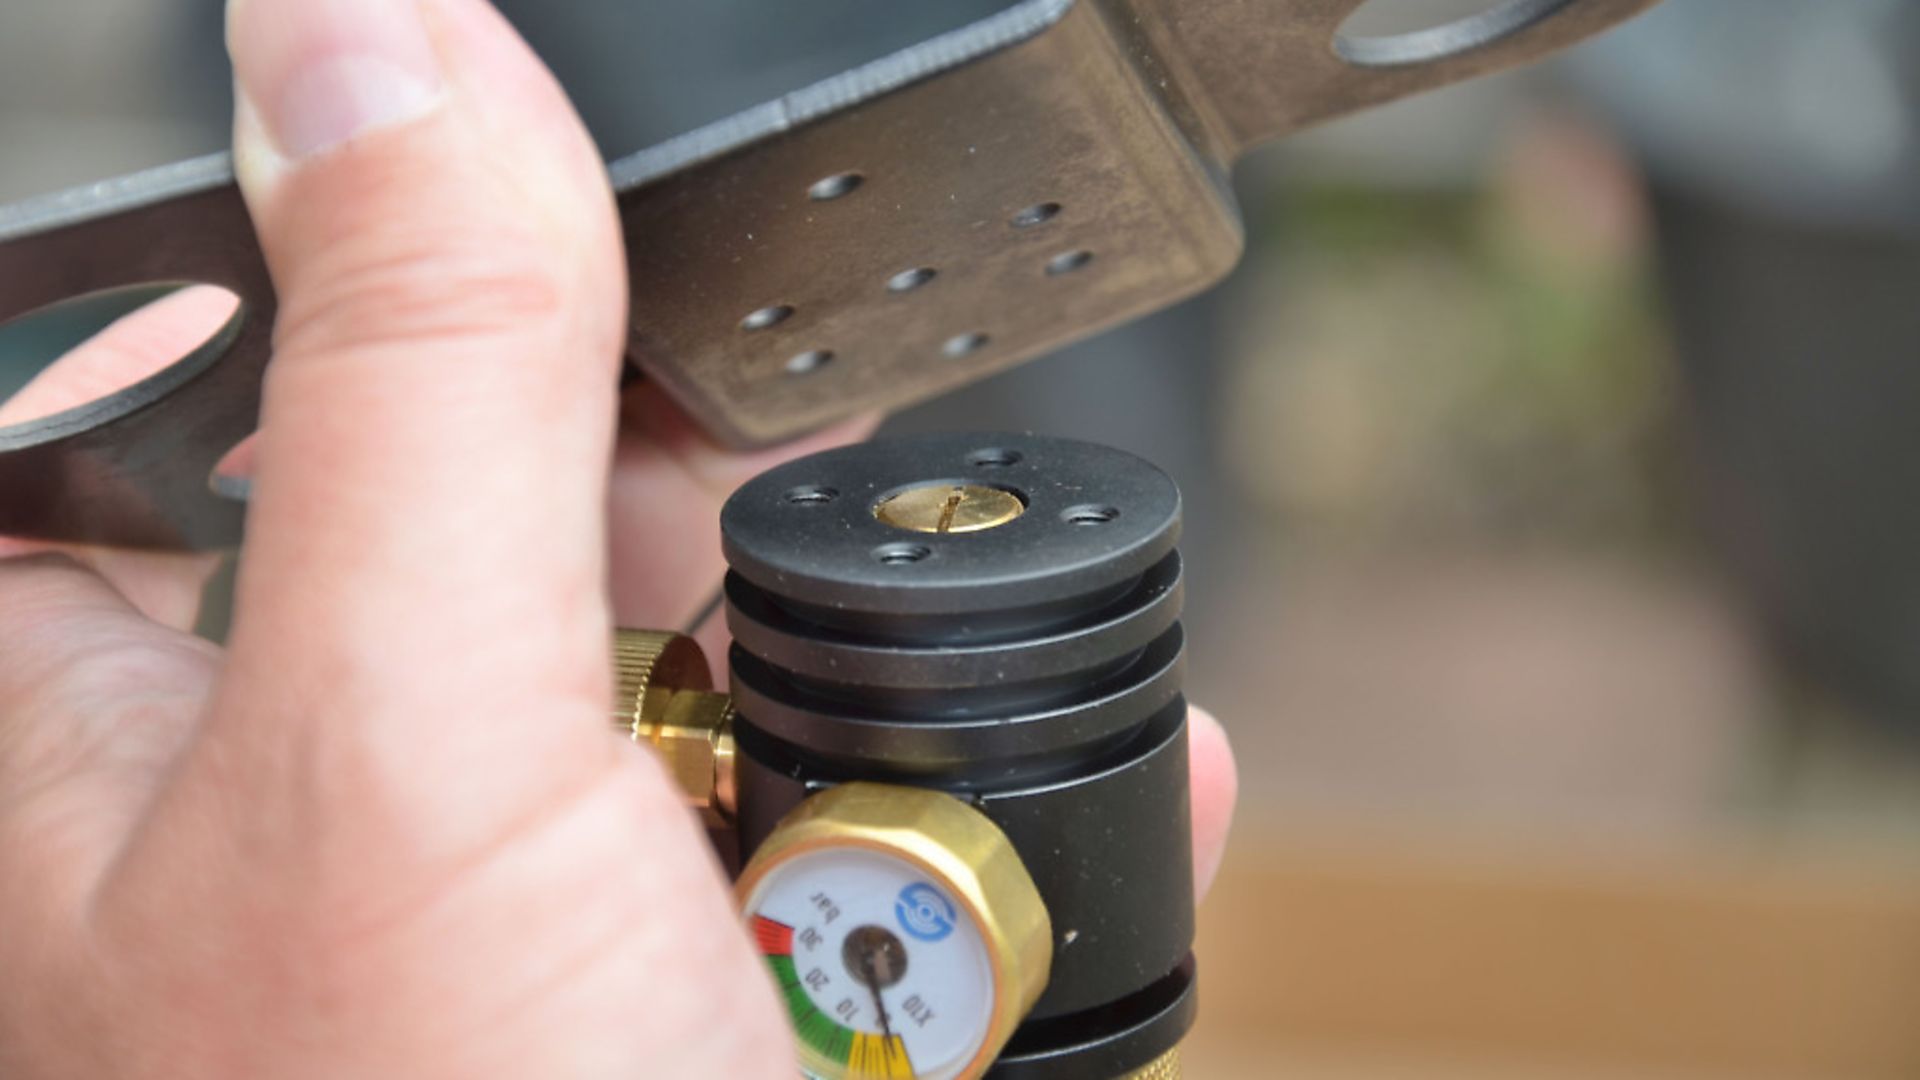
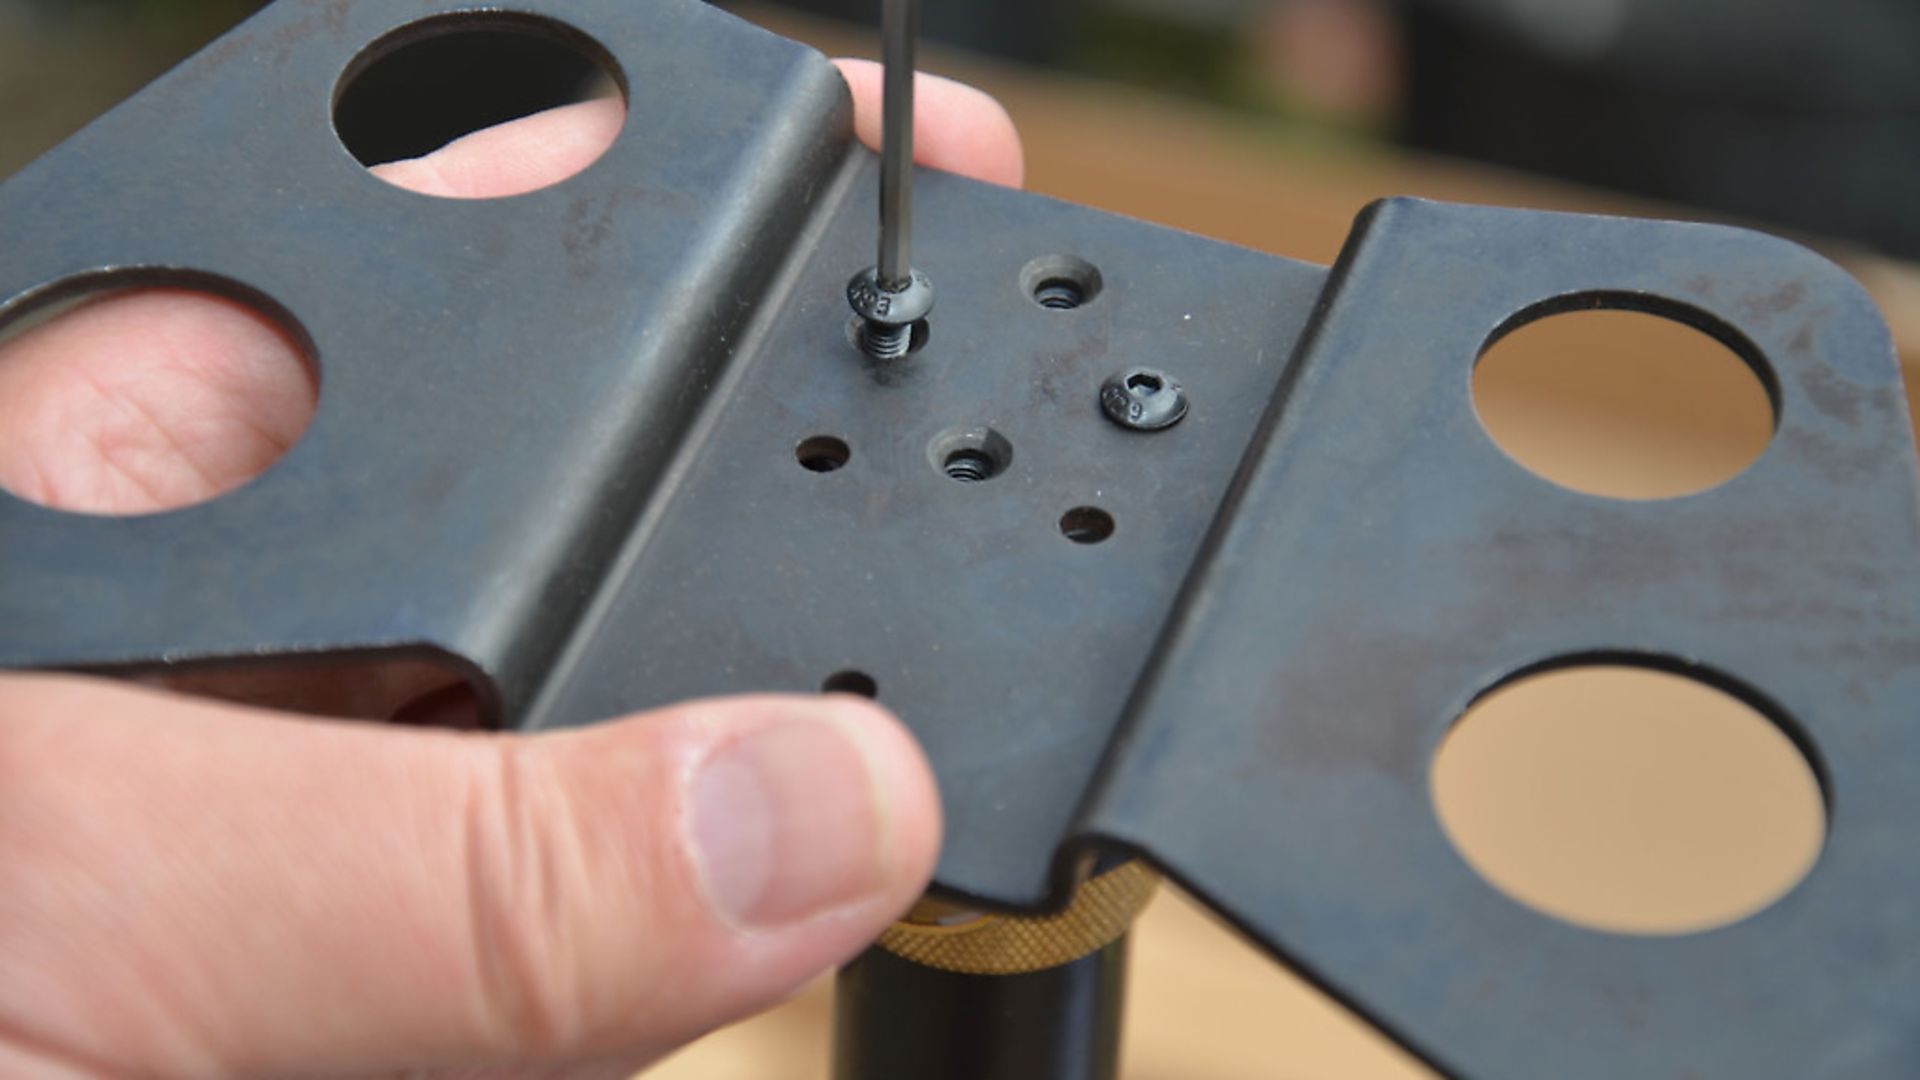
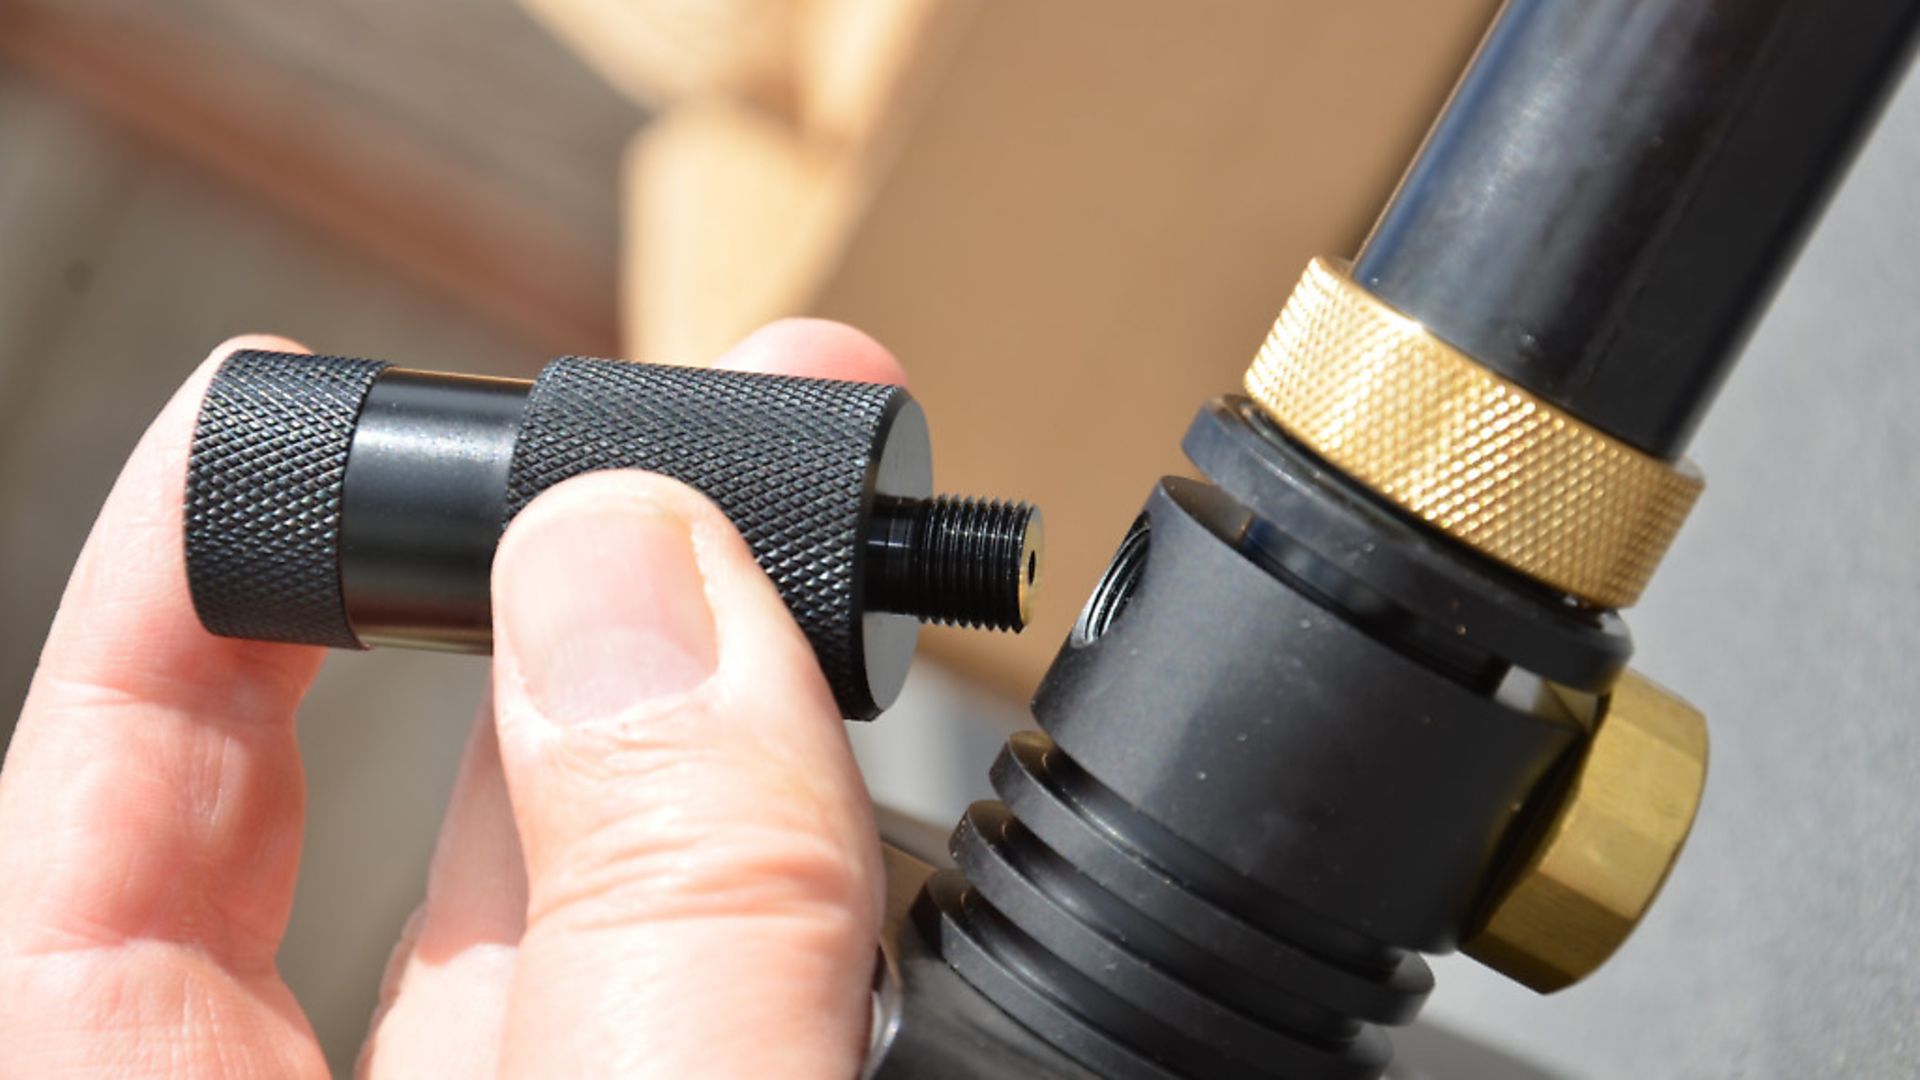
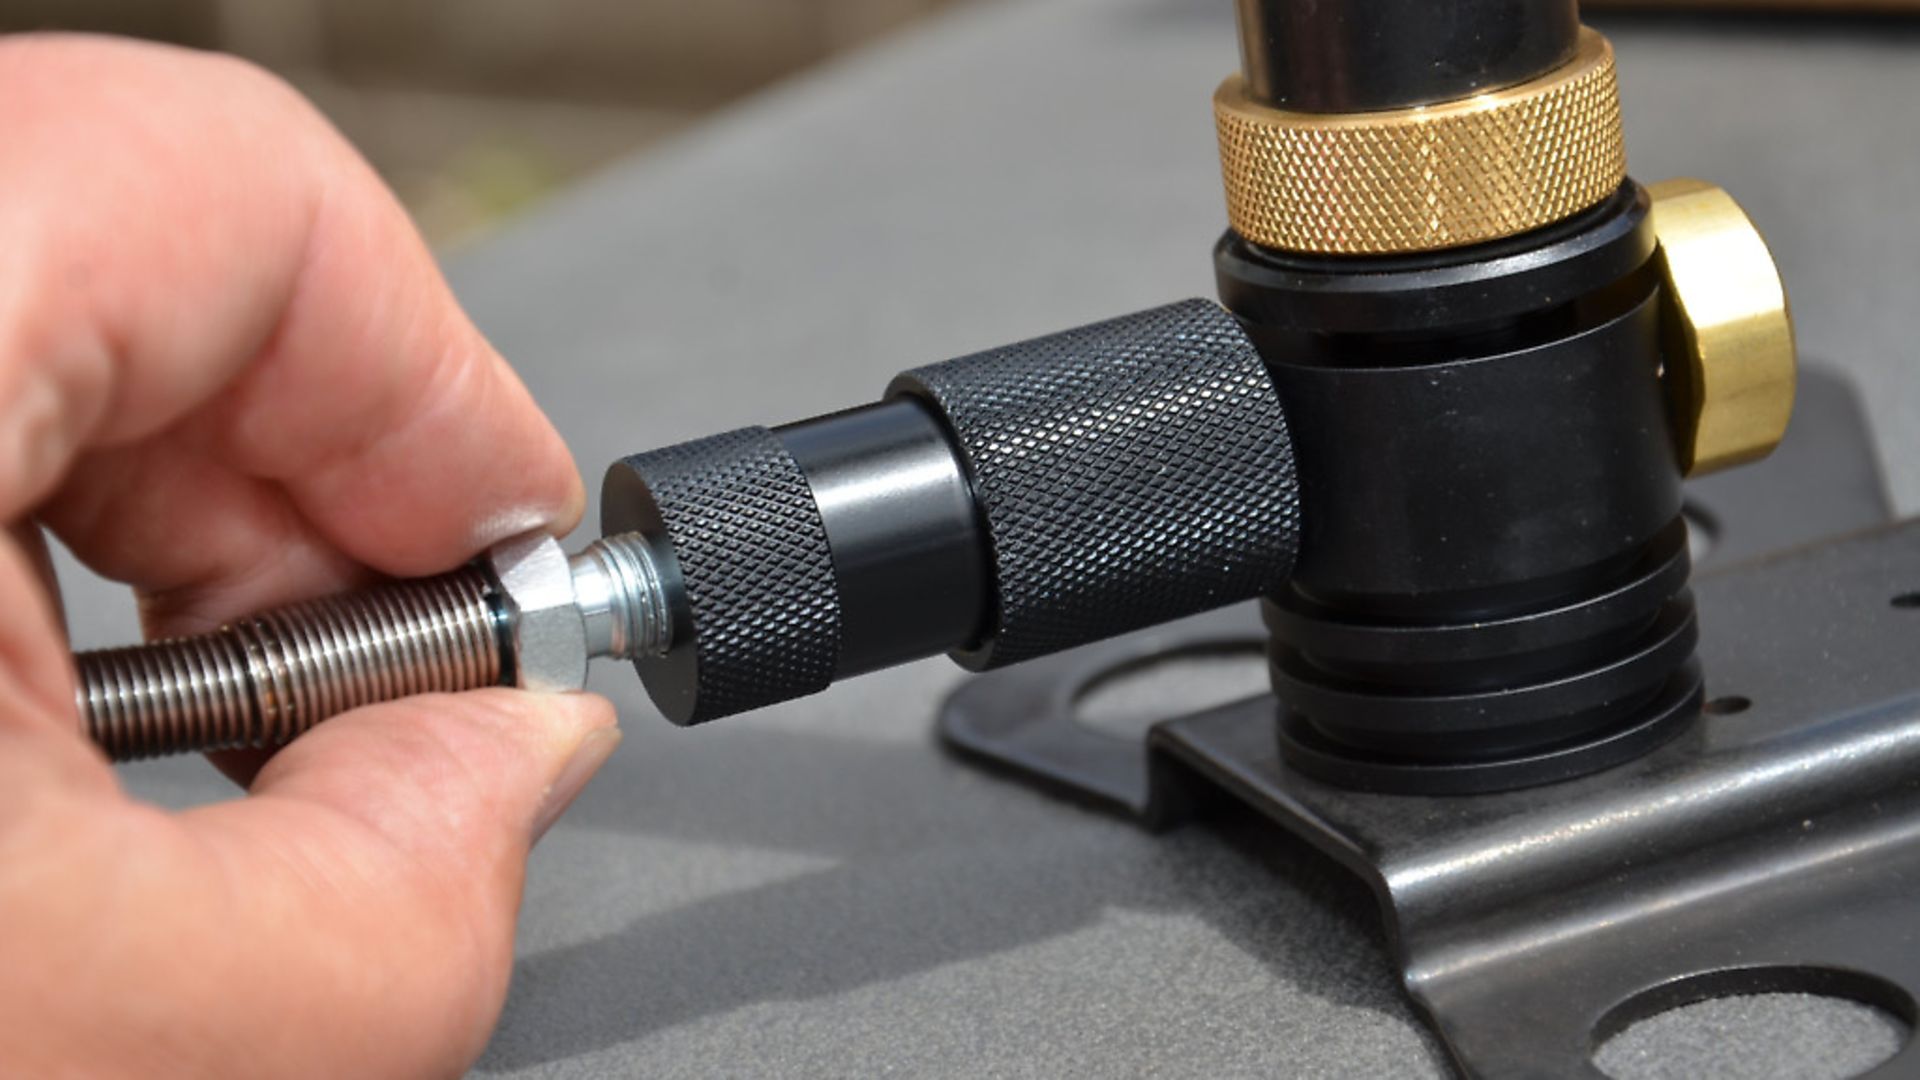
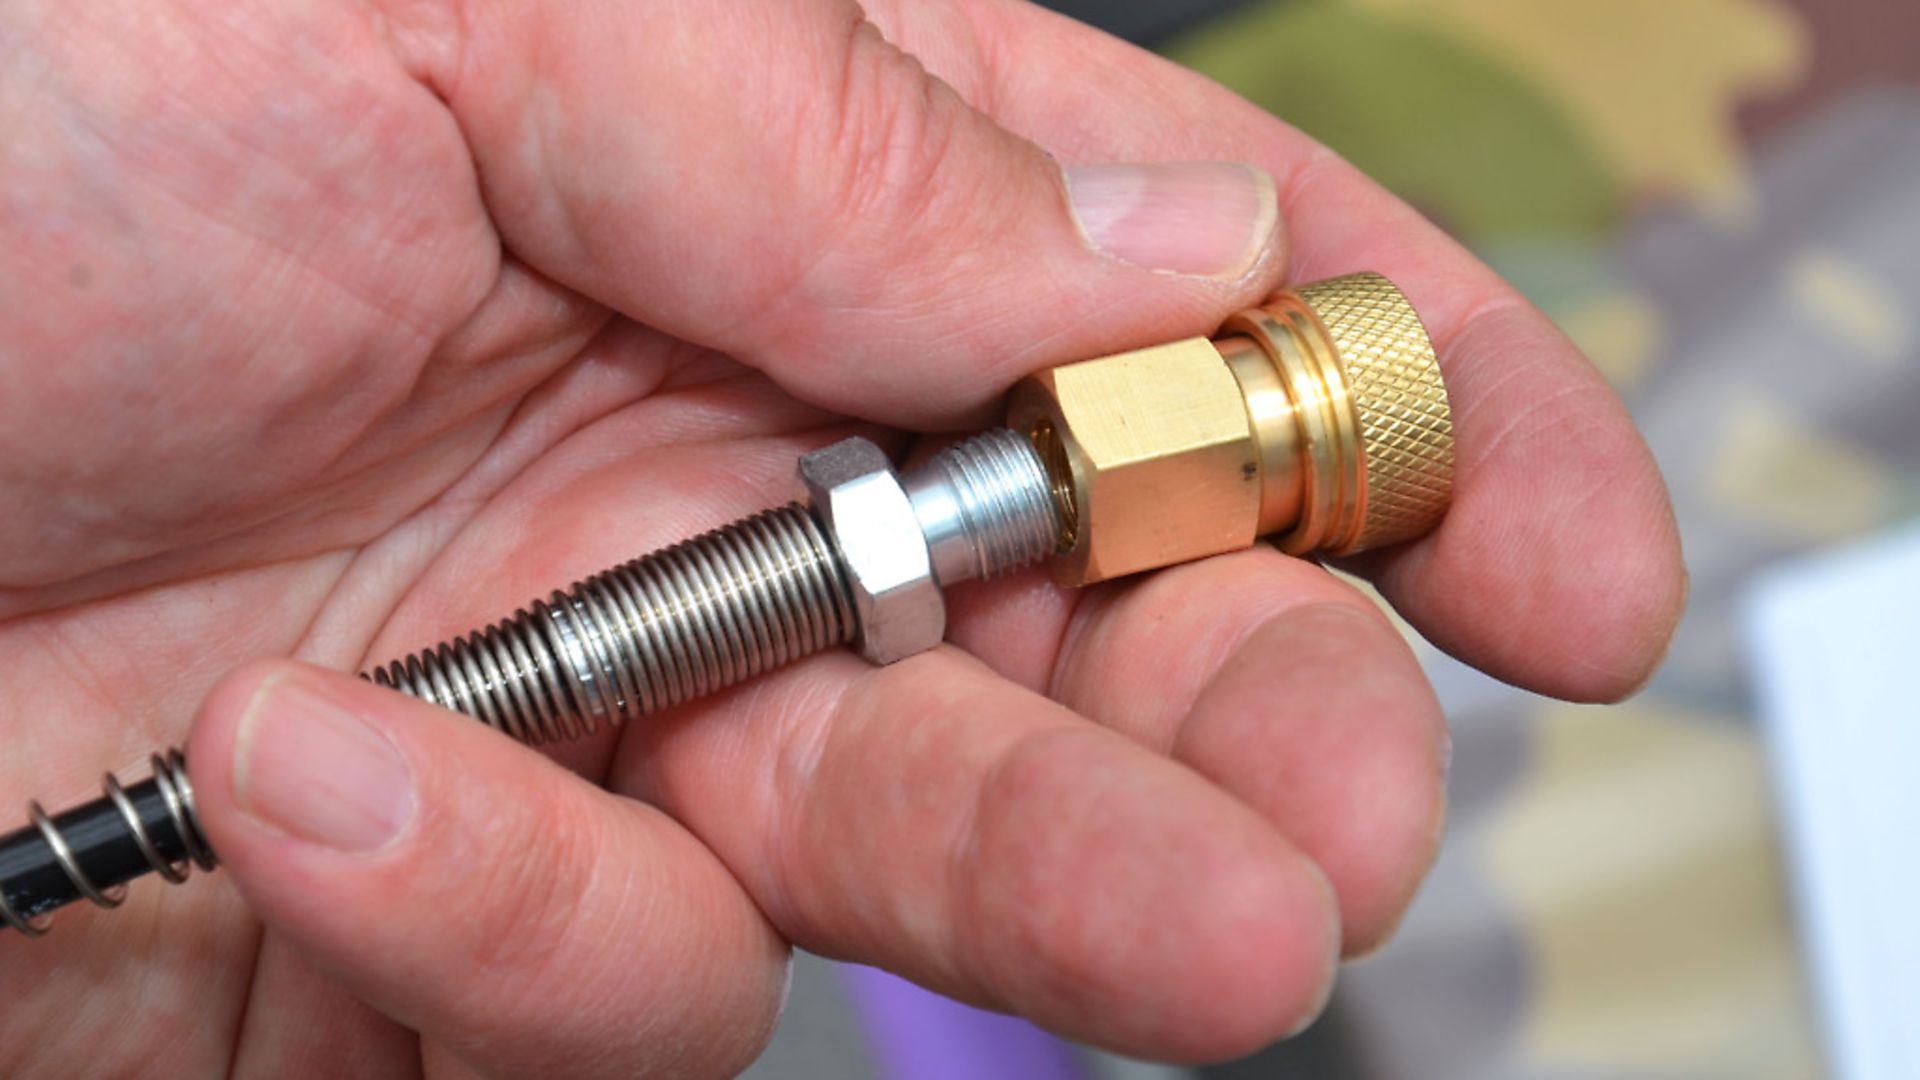
First, take the two longest screws and screw the handlebar onto the top of the body. Now, making sure the longest part of the legs protrude on the side of the pressure gauge, use the four tiny screws and washers to secure the base plate. Screw the brass bleed valve into place. Now take the knurled moisture trap pod and screw that gently into the main inlet within the body. Now screw the airline into the moisture trap.
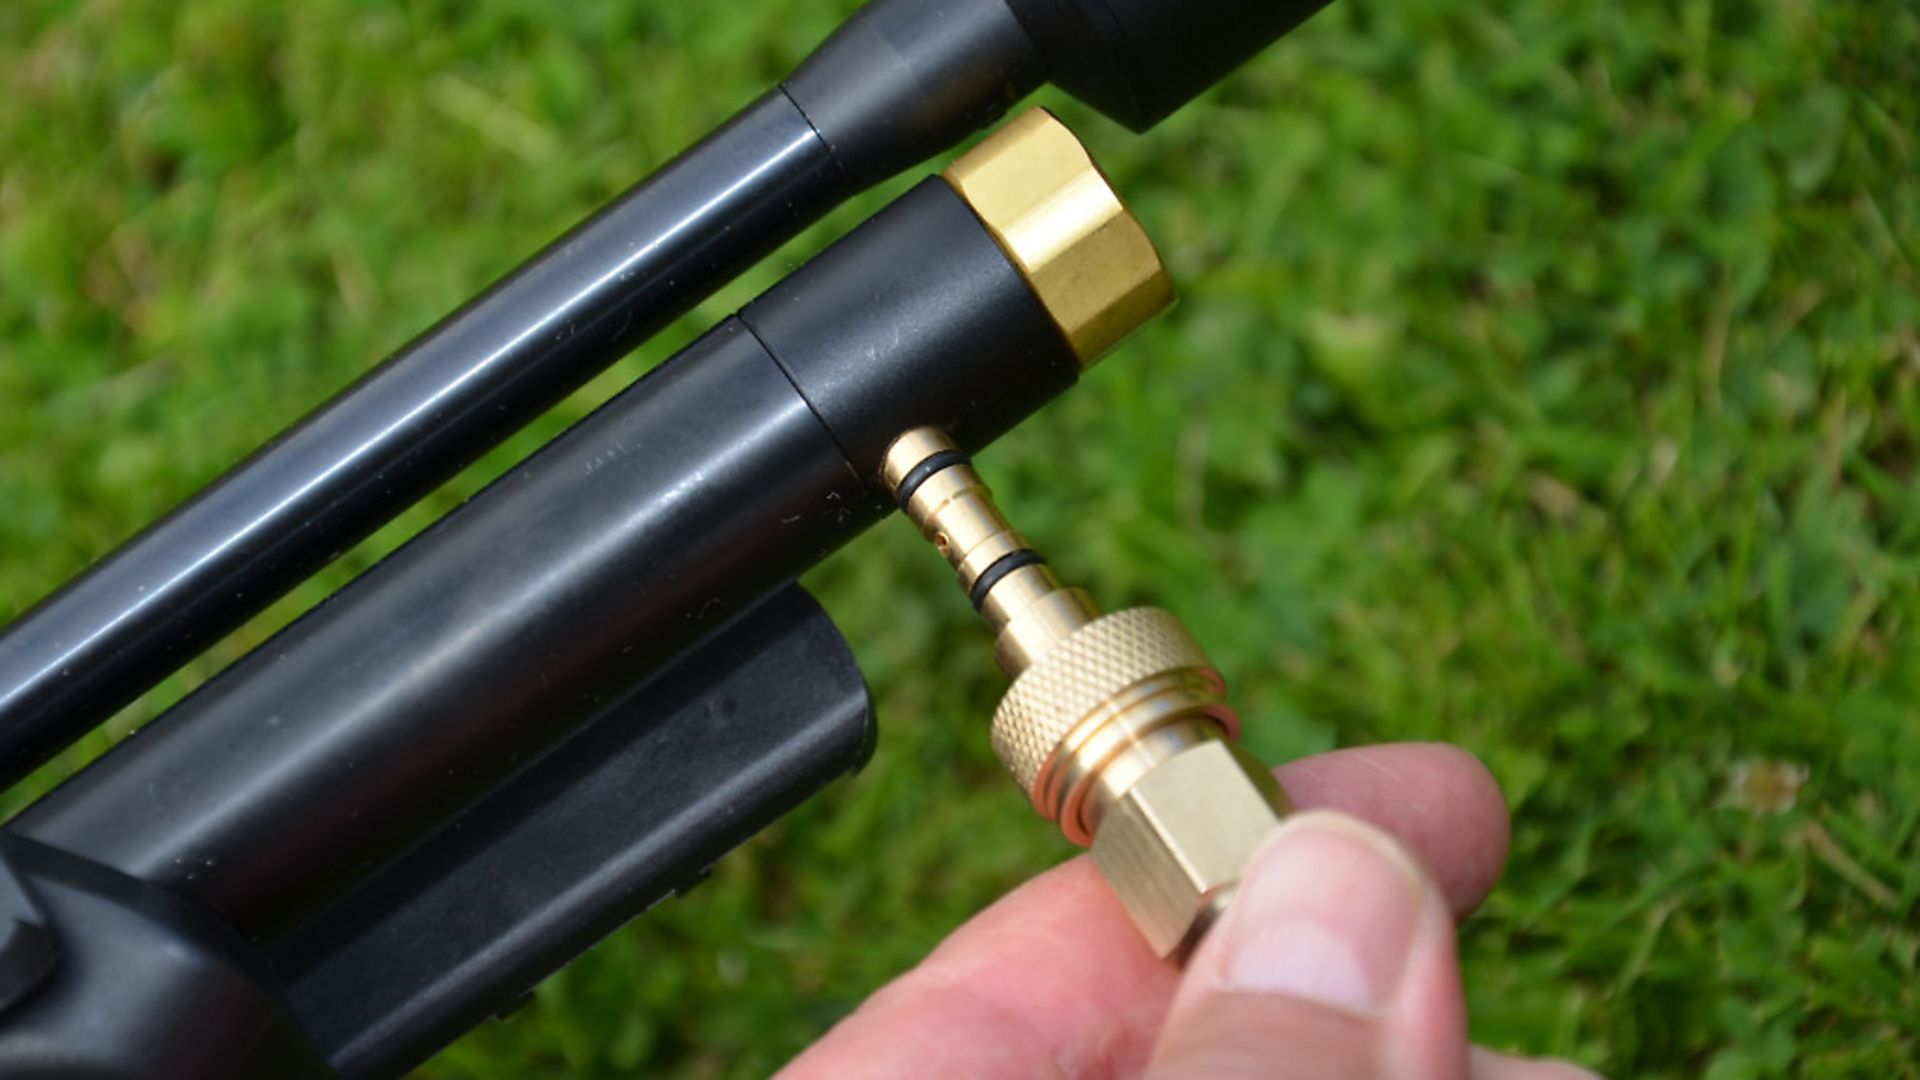
Finally, screw the Foster style coupler to the airline. Plug in the rifle’s filling adaptor, connect to the pump to the gun, and we’re ready to go. The instructions say to check for leaks which is pretty normal with PCP equipment and fixings, but it’ll be obvious the minute you use the pump. I had to gently use spanners to properly nip up joints, (you don’t want to damage soft threads) but there was still a hiss of escaping air between the cable and the black moisture trap. Not wanting to overtighten, I used a doughty seal between the two (easily available for pence), and all was instantly sorted. I had to laugh at the instructions as they curiously recommended immersing the pump under water to find the leak! Yes really! Probably not the best approach.
PUMPING PROCEDURE
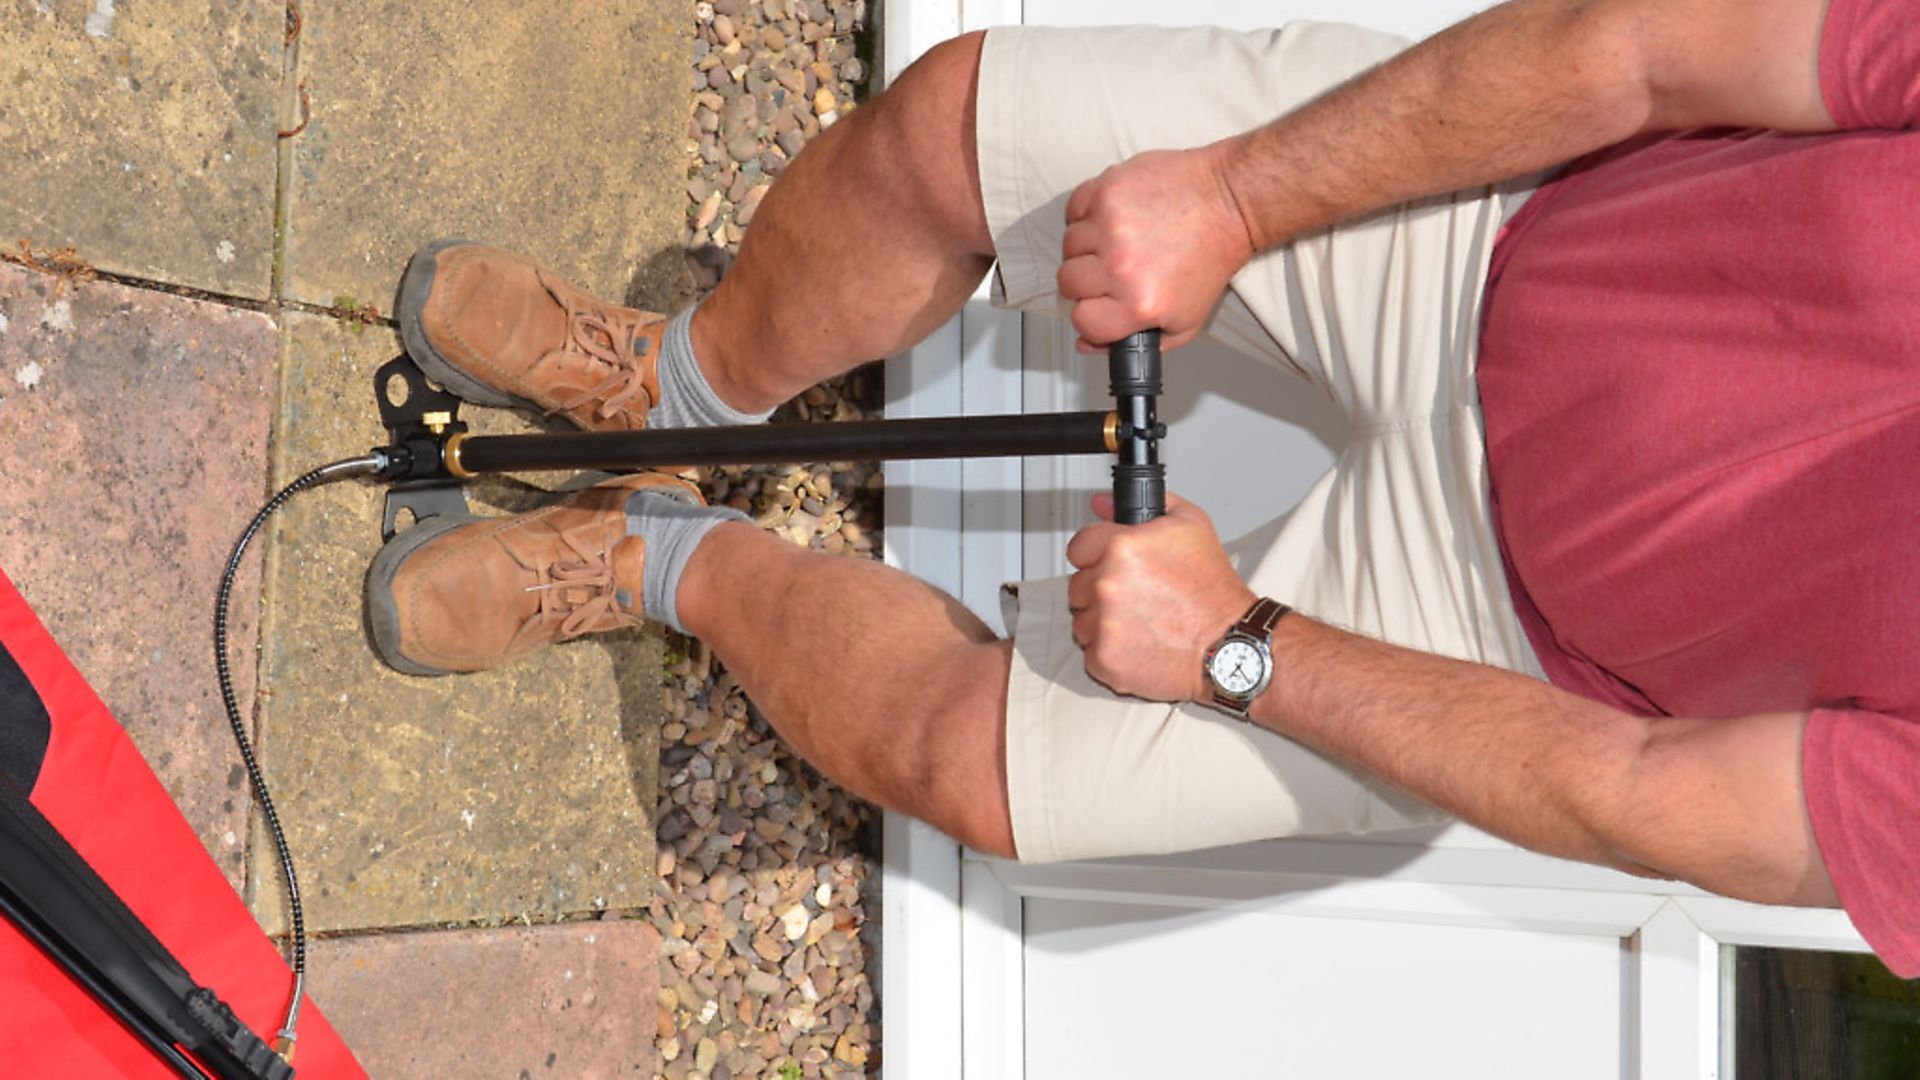
For those unfamiliar with using a pump, make sure the cable isn’t pulled awkwardly so it wont be kinked or strained during charging, then stand on the base plate to steady the pump. Now pull up the pump handle just until your legs are straight, then push down and the art is to bend the knees at the same time as the downwards stroke. Repeat the cycle until the gun’s pressure has hit the prescribed figure. I had the new Stoeger XM1 to hand, and after shooting the cylinder ‘empty’ down to a residual 80bar, it proved the perfect test bed to see how Stoeger’s own pump performed.
My benchmark and regular pump that I own, is the Hill, which is I have to say, a class act; so it would be an interesting comparison to see how the Stoeger compared.
Stoeger’s pump compresses air on the downwards stroke, (as does the Hill), and in use, charging effort wasn’t bad at all. I was charging back to 200bar, and this was achieved in reasonable time. It took me more strokes with the Stoeger, but there was no major effort required. The down side is that the base plate is comparatively thin, and so there is a bit more play and side movement. The bleed valve is quite a slow feed too, so check air is properly expended from the cable before removal.
My results charging the Stoeger XM1 PCP from a residual pressure of 80bar up to 200bar were as follows:
Hill Pump: 66 strokes
Stoeger Pump: 78 strokes
Perhaps the biggest drawback with Stoeger’s pump is the positioning of the gauge. As you simply can’t see it whilst you are pumping the gun. Stopping the pumping process and taking a periodic peek is of course the way forward, but it’s an irritation for sure. Otherwise, actual pumping effort was wholly manageable and very acceptable to several rivals that I’ve used over the years..
UP TO SPEC
So not the most subtle offering on the market, but for those on a tight budget, there’s no doubt that Stoegers new PCP Manual Pump is up to the job, and a viable alternative to the hassle of owning a divers bottle.
Stoeger Airguns Manual Pump
RRP £119.95
Contact: GMK
Related Articles
Get the latest news delivered direct to your door
Subscribe to Airgun World
Unlock the world of airgun shooting with a subscription to Airgun World magazine, Britain’s biggest-selling airgun publication.
Written by passionate, long-term airgun enthusiasts, each issue delivers expert insights, comprehensive gear reviews, and invaluable tips to enhance your shooting skills. Whether you’re a seasoned shot or new to the sport, Airgun World offers essential content covering shooting techniques, classic airguns, and the latest equipment innovations.
Stay informed with cutting-edge news, in-depth analysis and exclusive offers from specialist partners. Plus, enjoy the convenience of both print and digital access, ensuring you never miss an issue. Subscribe today and join a community of dedicated airgun shooters aiming for excellence.
