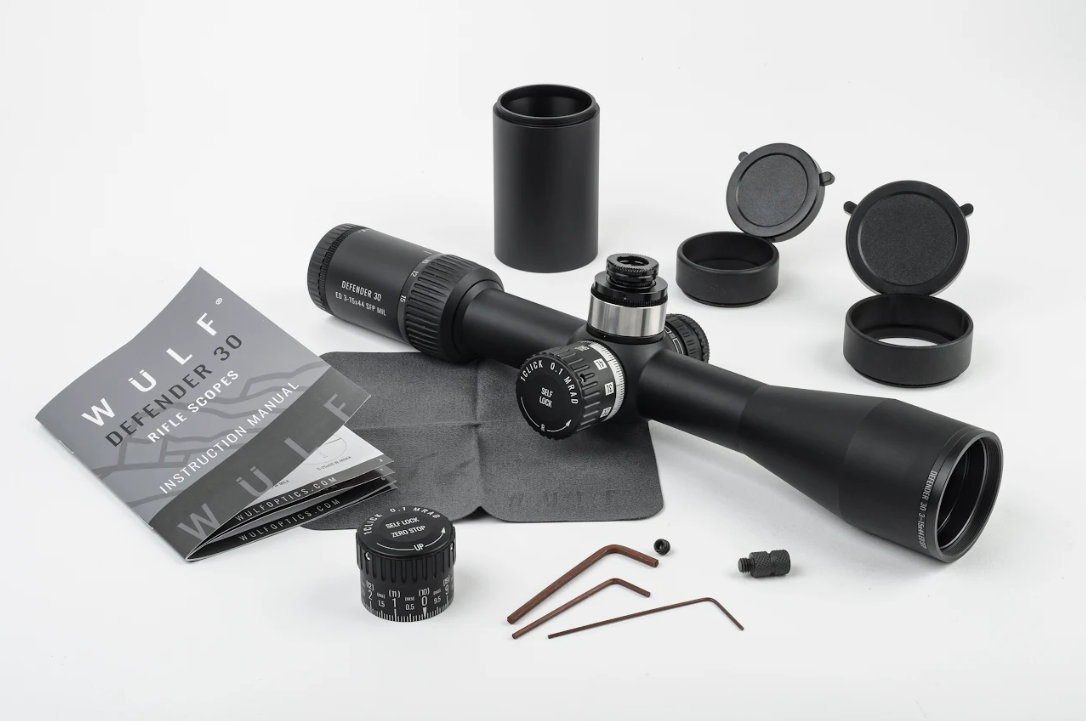
★ Competition – win a riflescope – enter here! ★
The Good Scope Guide | part 3 | how to zero your scope correctly
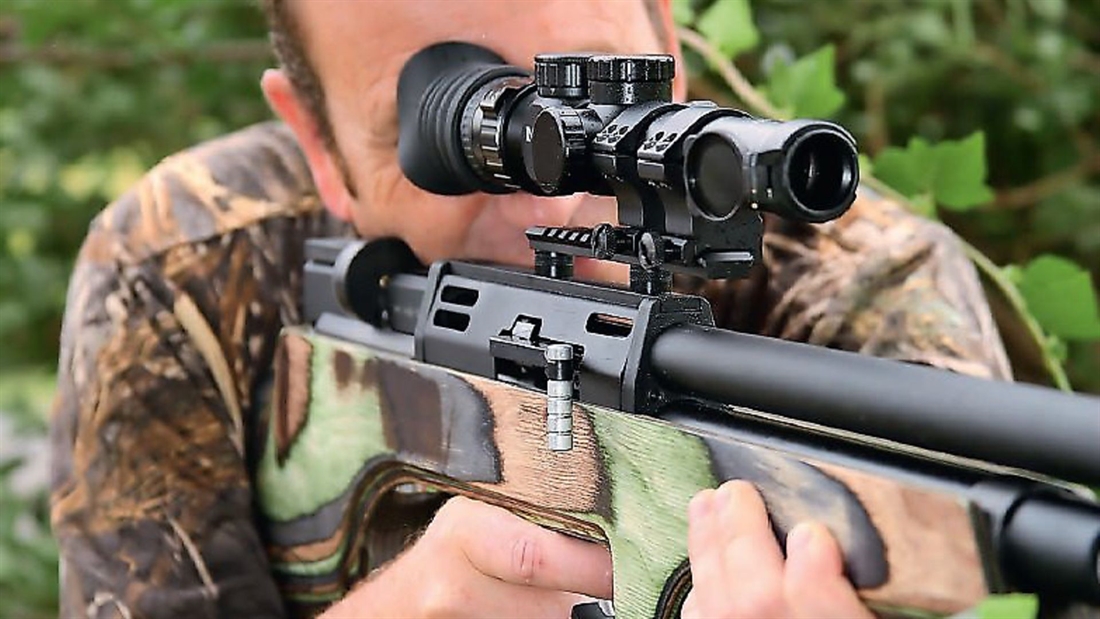
Terry Doe (or uncle Tel, as we call him) explains how to zero your riflescope correctly; it’s not a dark art, you just need to know how to do it!
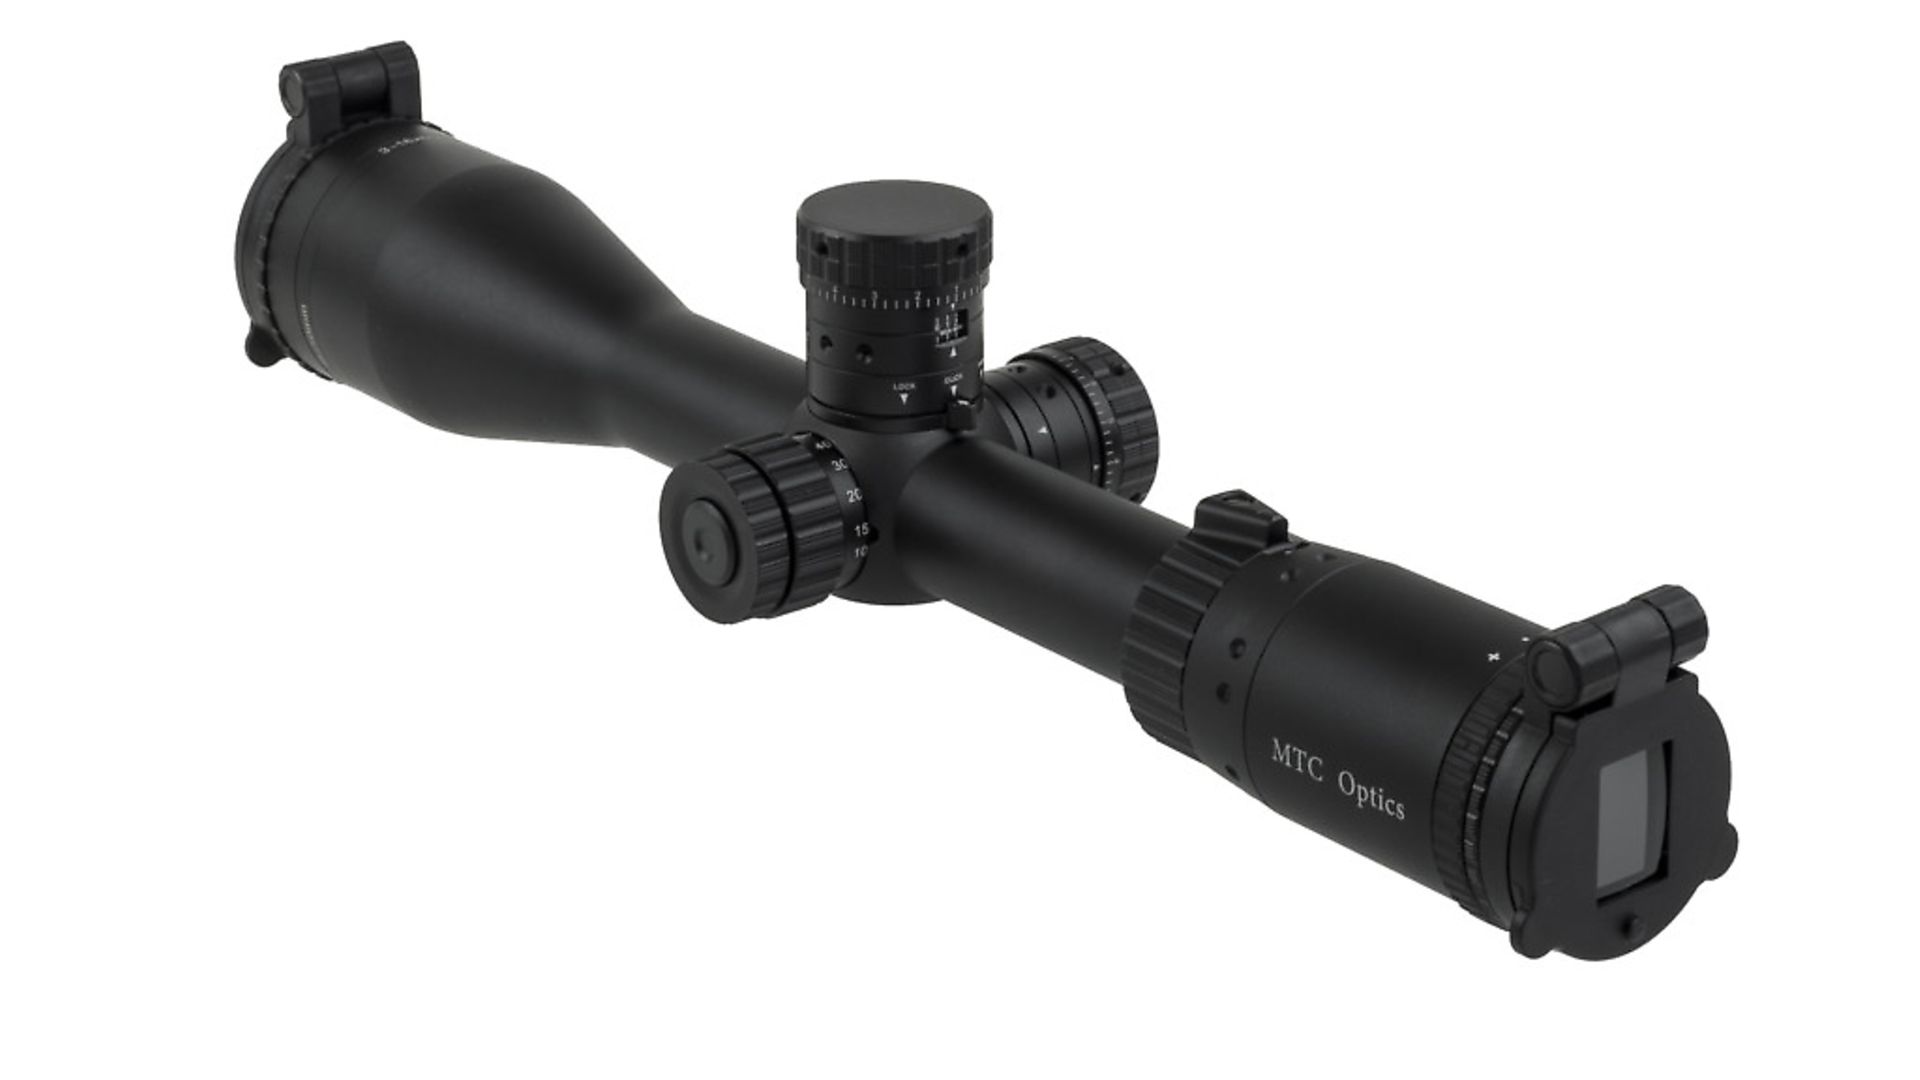
If you have been following these articles in the last two copies of Airgun World or online, you will have chosen a scope and fitted it to your rifle and next is the mystical art of zeroing. Actually, it’s not so much mystical as pure method, but like everything else, there is an efficient way of doing it and an inefficient way, and it always turns out that the efficient way produces the better results. To get to this efficiency we need to start removing some variables because by leaving these in we give the possibility of confusion.
UNDERSTANDING THE IMPORTANCE
Before we get stuck into the practical stuff, let’s be absolutely clear about the importance of establishing a reliable zero. The fact is, everything you do with your rifle, in terms of accuracy and performance, depends on your zero. It’s your assurance that your efforts will be translated into results, downrange, and a reliable zero is the foundation upon which you will develop and improve your shooting.
No effort to guarantee a perfect zero is wasted, so please do all you can to get this vital process absolutely spot on. Having, hopefully, hammered home that message, let’s go through the required process.
STILL BETTER
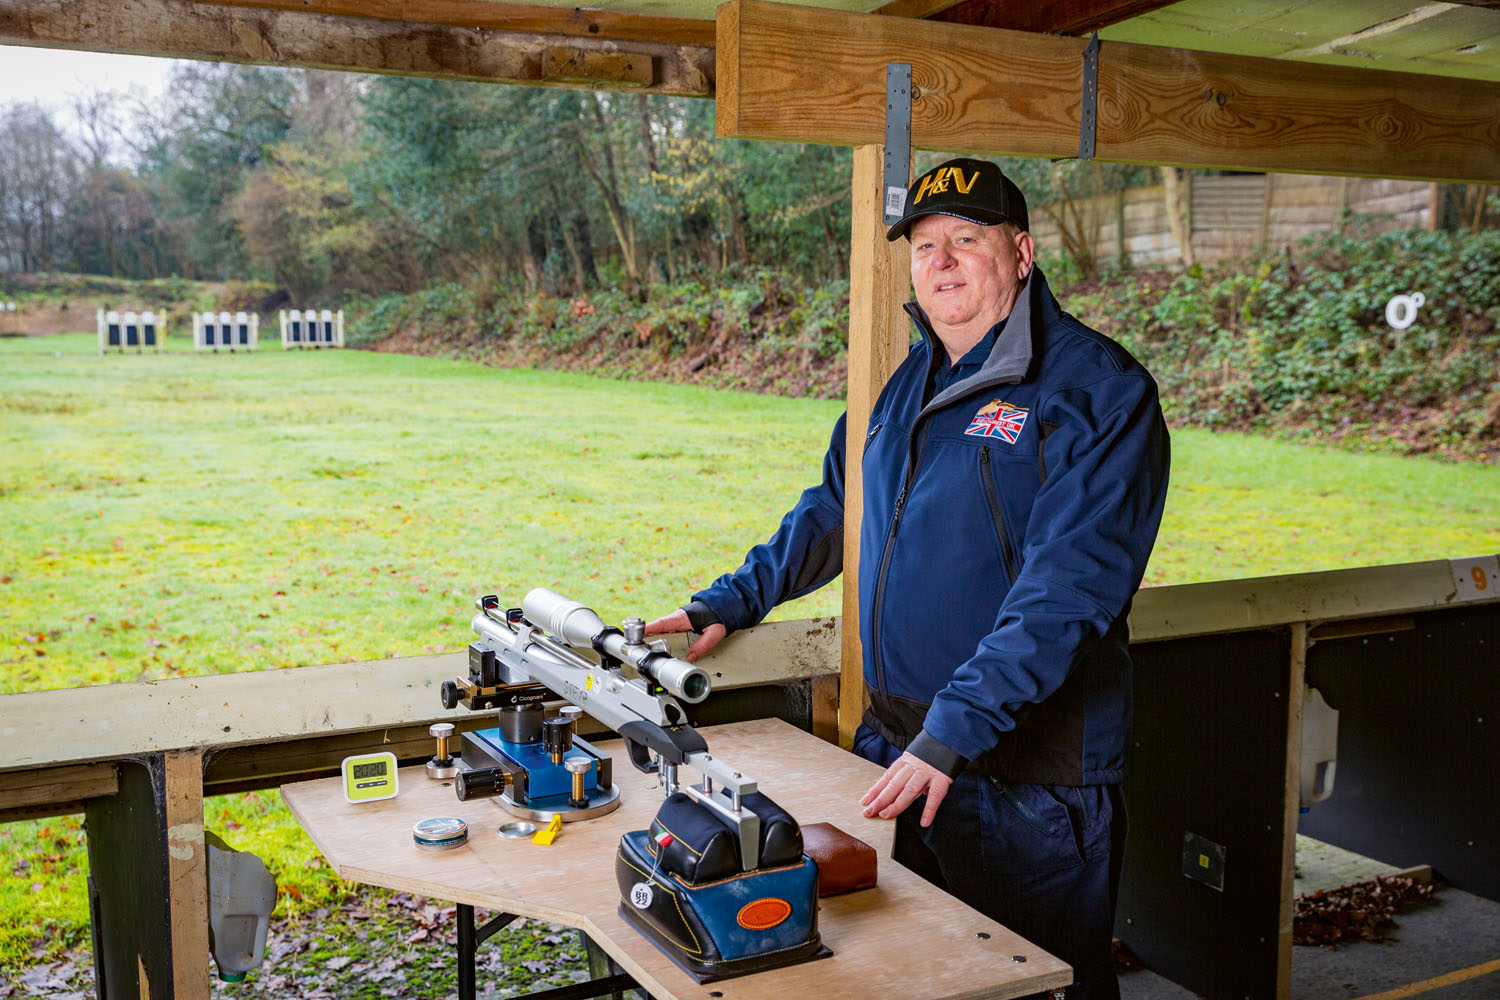
Immobilising the rifle is a good start. We used a rest last month, so let’s use it again now. Once the rifle is rested and you’re relaxed, then we can start with a rough zero – or as it is known to gurus, ‘primary zero’. First, and this applies every time you shoot, establish that your range is safe and that neither people or pets can stray into it. With a reliable back-stop in place, one that will contain every pellet you shoot, put a target out at 15 yards (or 13 metres), and this can be a cardboard box with a central target ‘spot’ drawn on it with a marker pen, and if it is, make it a big box because you easily be able to spot the impact of your pellets, and adjust your scope accordingly. Using a large target to establish primary zero really can save time!
HOMING IN ON PRIMARY ZERO
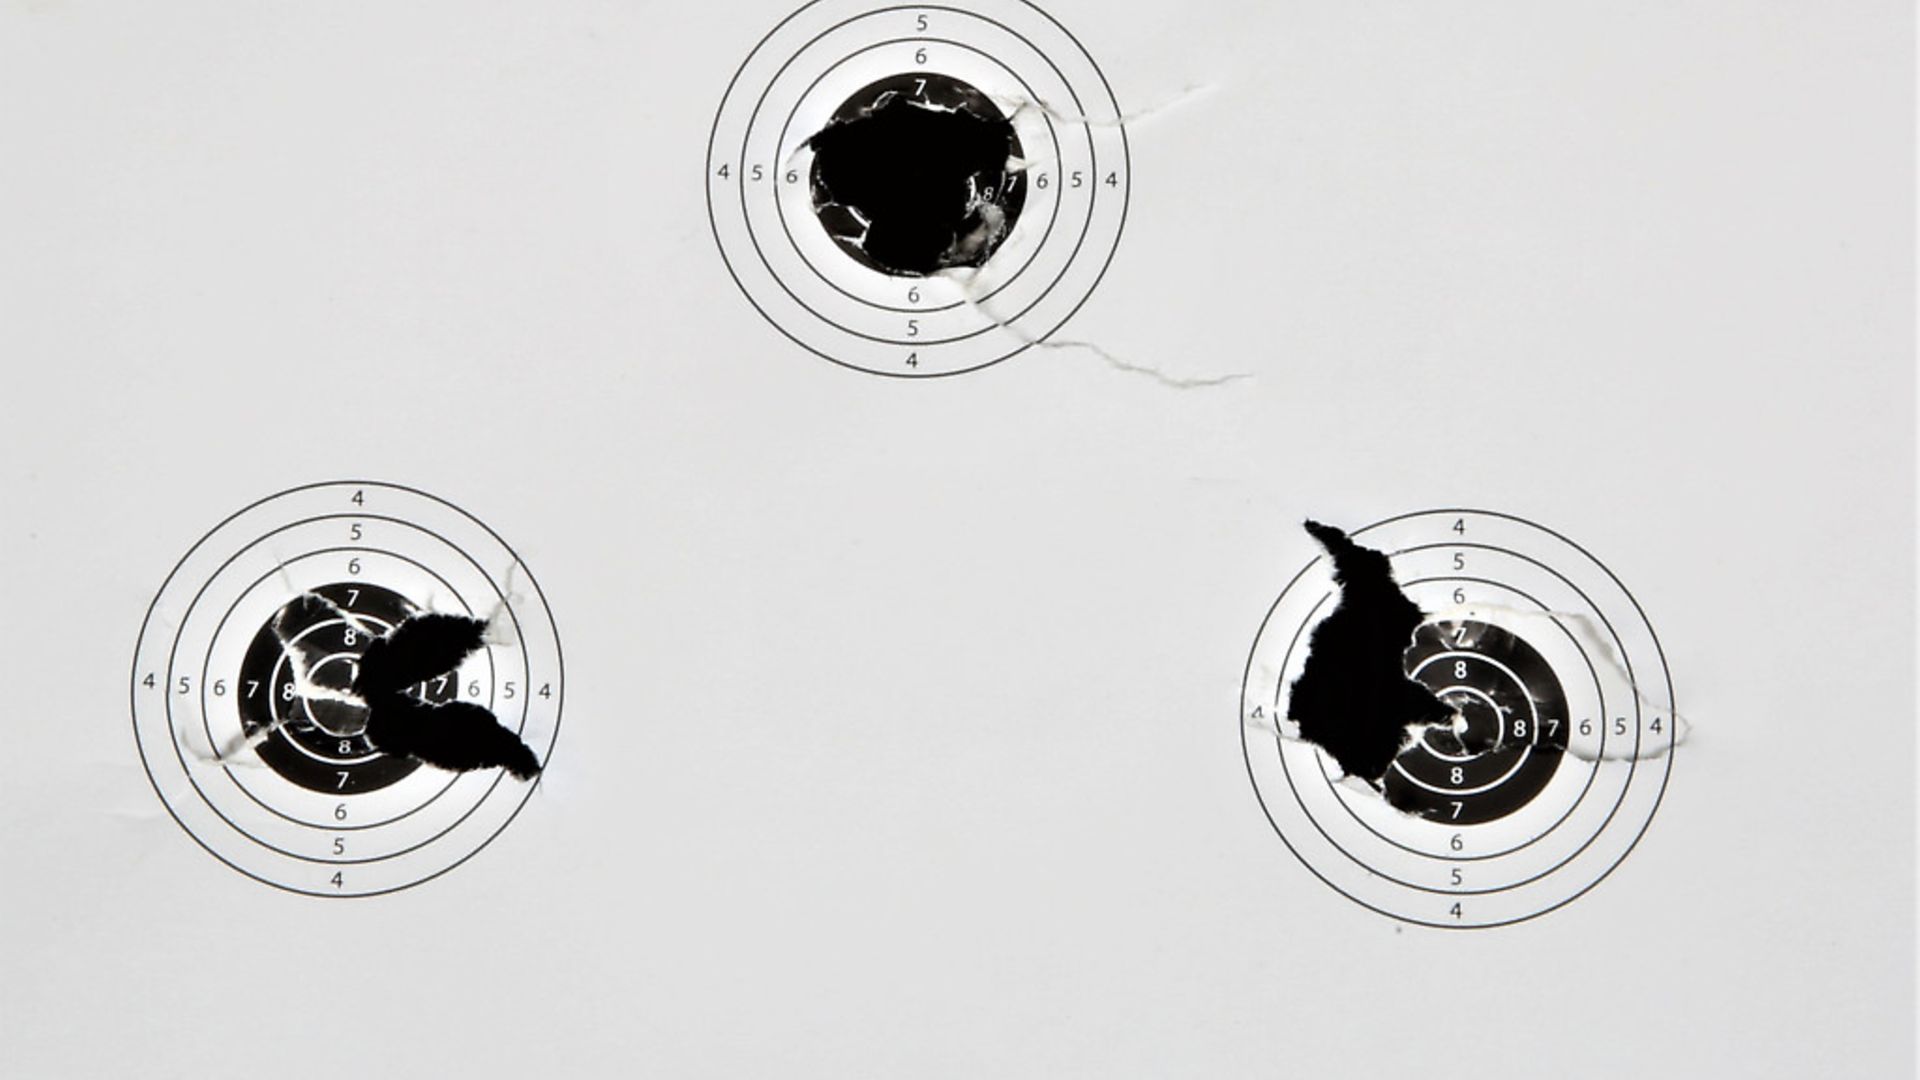
Once the rifle is stable and rested, you can load and aim at your box, and after firing a single shot, see the fall of shot in relation to where the scope is pointing. The turrets can now be adjusted in stages, shooting after each adjustment, to ‘shift’ the image you see through your scope until the centre of your cross-hair matches where your pellets’ impact. In a perfect world, you would now be done, but we don’t live there, so shoot another four or five shots to firmly establish a group, and make any final adjustments required to bring your cross-hair the centre of that group.
DECISION TIME
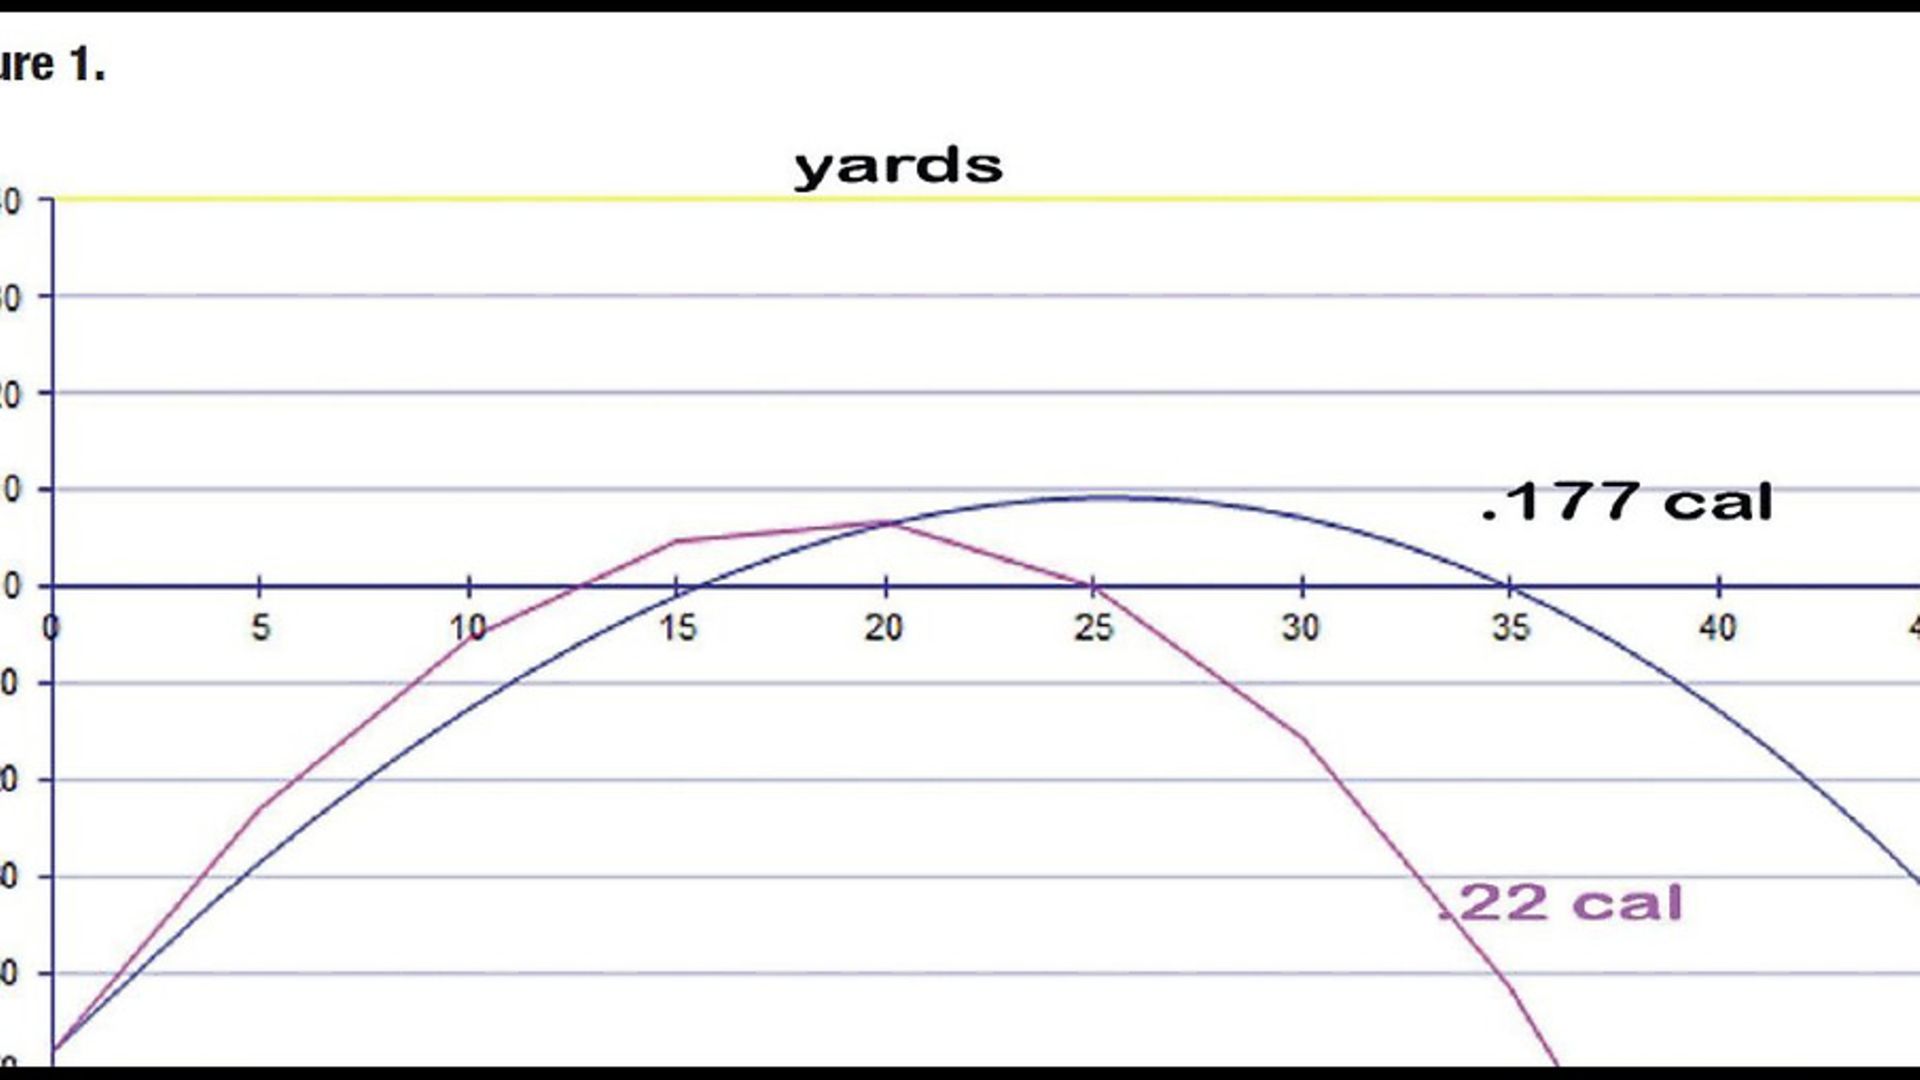
With this done, we have something like the diagram in Figure 1 going on.
Figure 1: pink = .22 black = .177
We are launching our pellet out there and its first port of call is our primary zero. Next, we must decide on the range we want for our secondary zero. This can be anything you choose, but I would recommend that it is the centre point of the ranges you normally shoot. This is further limited by the trajectory of your pellet, and that is defined by the pellet weight and velocity of your rifle. Now, chances are you are shooting a 12 ft.lb. .177 or .22, and if you are, I can tell you that 35 yards for the .177, and 25 yards for the .22, are the usual convention, but whatever you choose, now move your box or target out to that range. Next, shoot a group of five shots and again, adjust your scope cross hairs to cover the centre of the group.
Tip: Unless you are very experienced, adjust one turret at a time taking at least three shots after every adjustment.
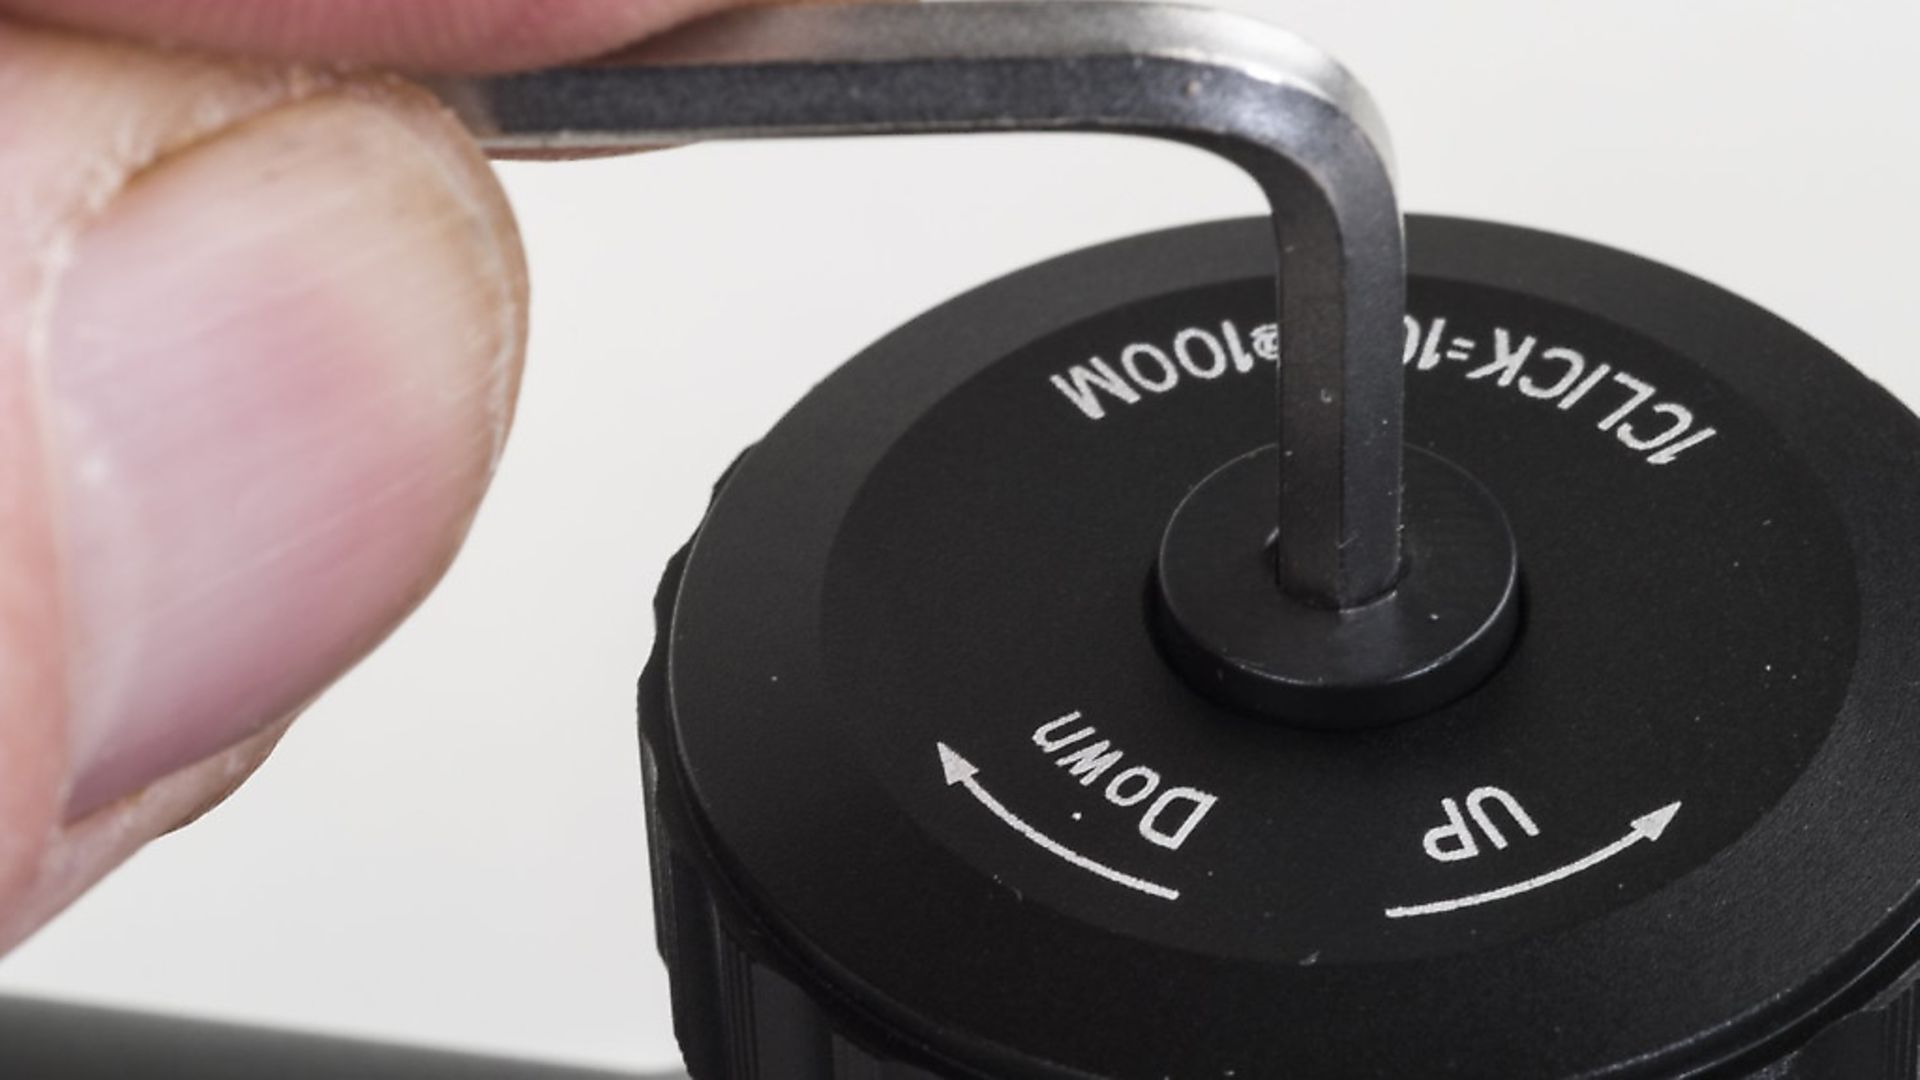
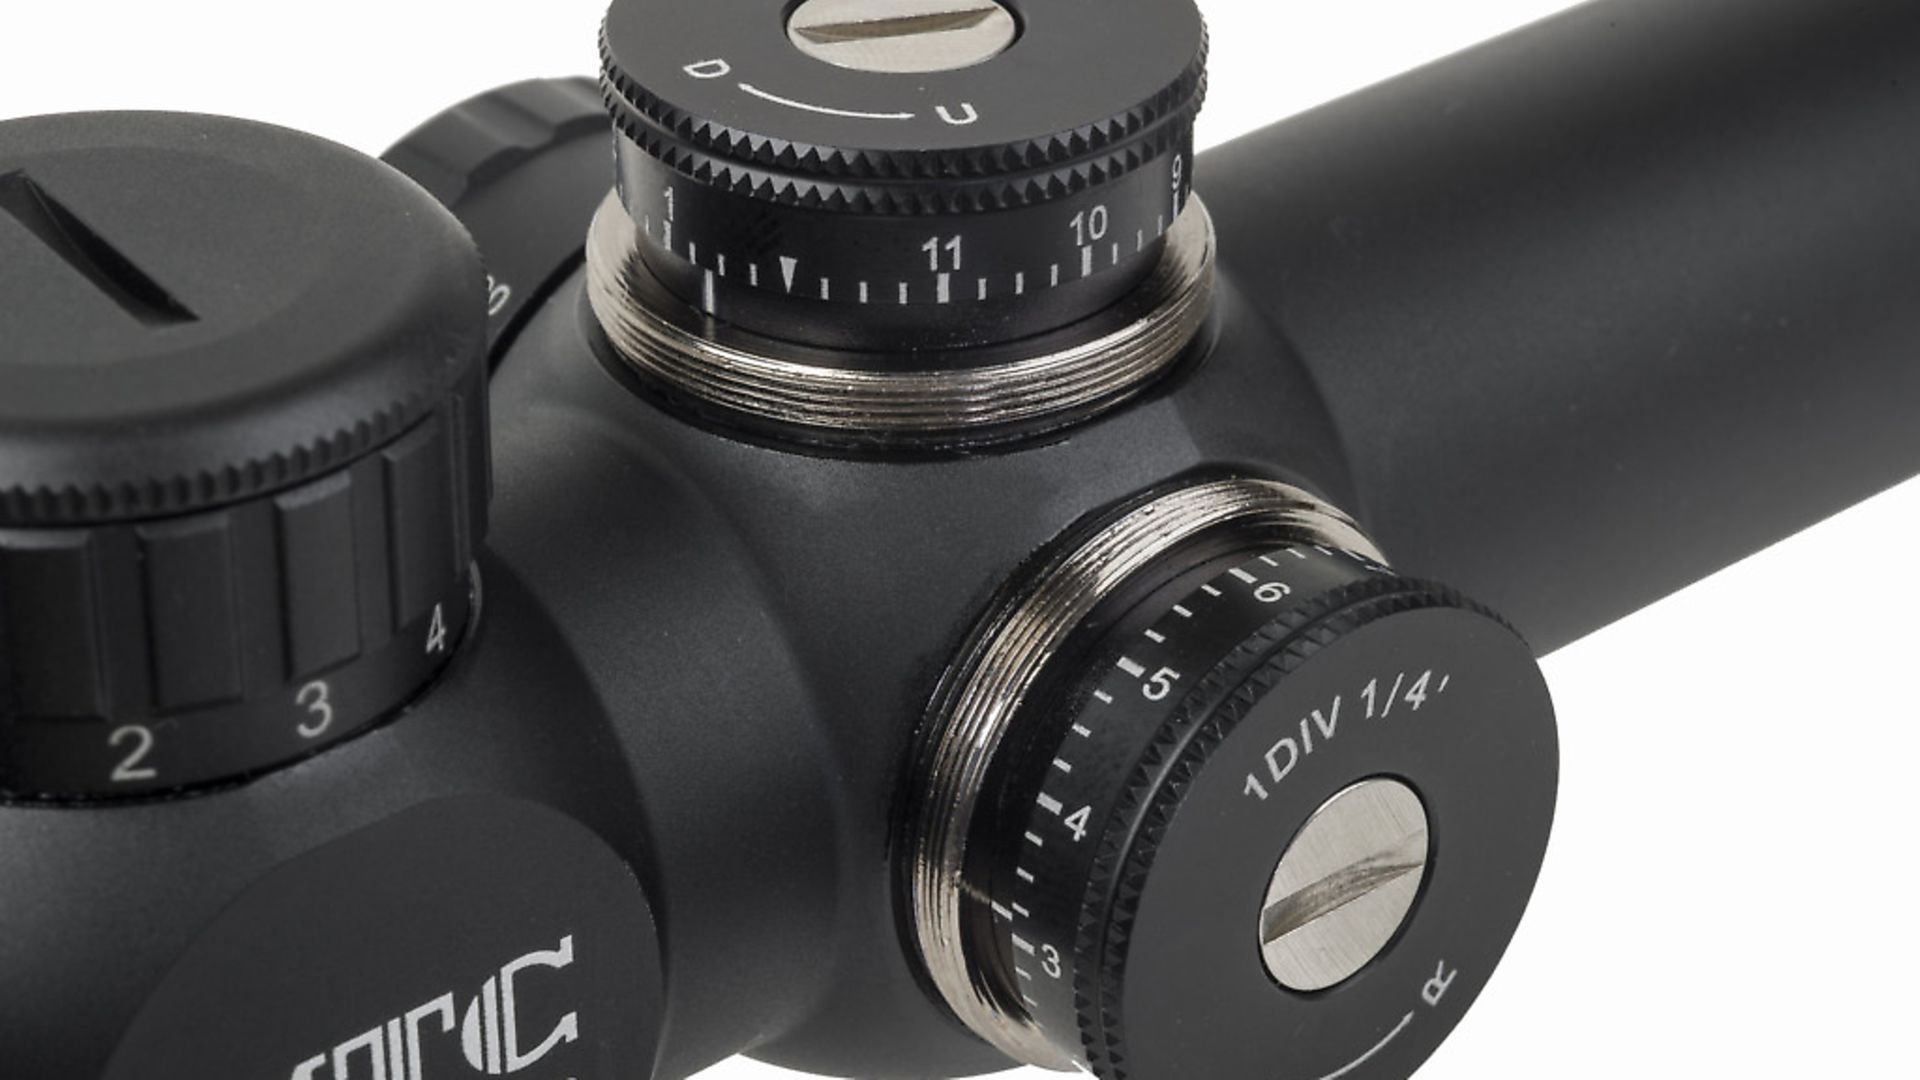
Tip: Turrets are numbered. At the end of the zeroing session, loosen the locking screw/clamp and realign the number to zero. This will give you a reference for another day should you need to adjust again.
THE LEARNING CURVE
As far as basic zeroing is concerned, we are done, but to make the most of what you’ve established, you need to establish known aim points at every range you’re likely to use.
Patch up your target, or set up a new one, and move it to the furthest point you are likely to shoot. Aiming directly at your new, centrally-positioned mark, take another five, carefully-aimed shots and examine the results. If all is well, these will be directly below the point of aim. Make a mental note, or actually draw on paper, where you would have to aim to repeat this.
Now, moving the target toward to at 5-yard (or metre), increments, repeat the process, establishing the aim points you’ll need at each range, until you reach the range of just 5 yards, or metres. You may be surprised to find that you’ll need to aim high for this one, but by now you’ll have ‘mapped’ the relationship between your sightline and your pellet’s line of flight. I promise that this will be one of the most valuable processes you can carry out in your quest to get the most from your air rifle.
A SIDEWAYS GLANCE
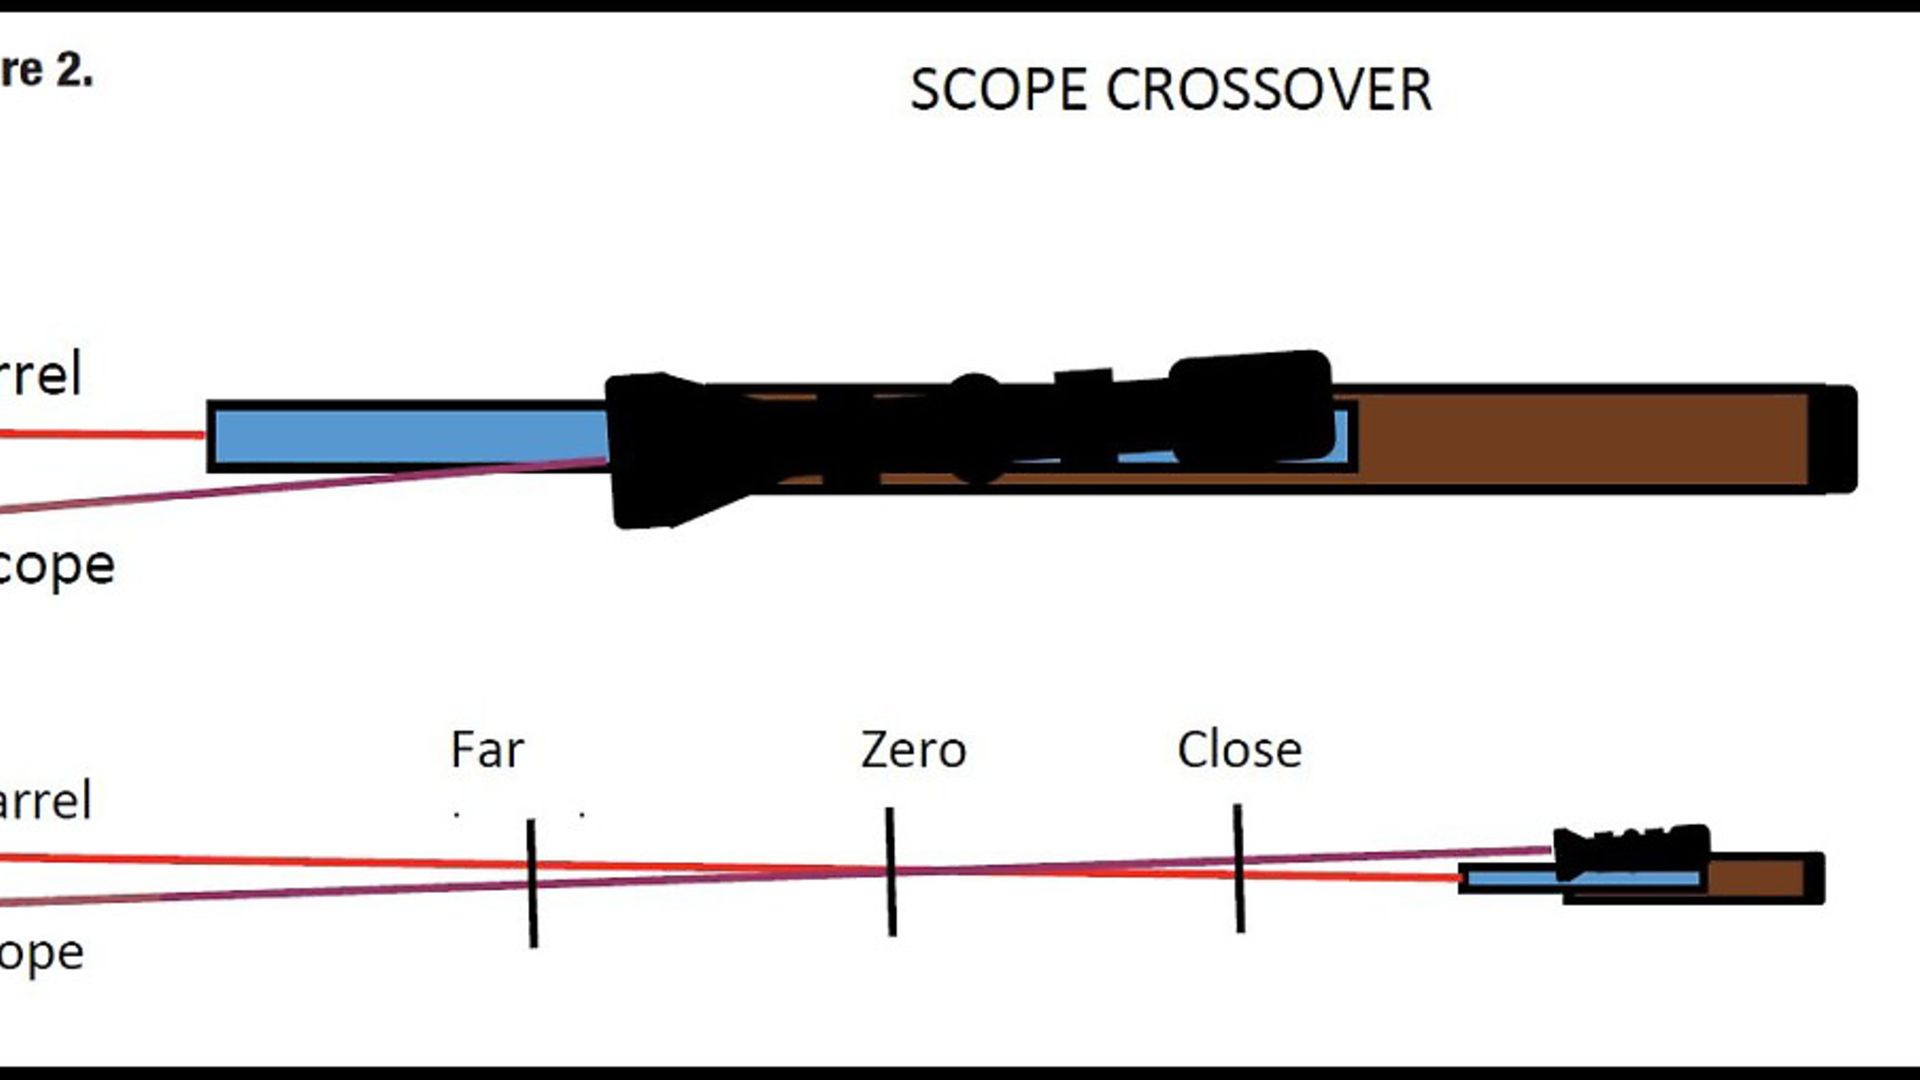
Sometimes, a problem known as ‘phantom windage’ or ‘crossover’ can afflict us, causing our shots to strike to the left, or right, of the target, even when there’s no wind to blow them off course. Like everything else in this sport, there’s a solution available if we apply the right amount of thought and the appropriate hardware. Crossover usually occurs when the scope is not quite in line with the bore of the barrel, and it doesn’t take too much misalignment for it to have an unacceptable effect.
FIXING THE SHIFT
Figure 2: shows, albeit in a deliberately exaggerated way, how a small misalignment of the barrel in relation to the scope can cause impact points to strike to one side past the zero range, and to the other on targets that are closer. What can you do if this happens? First, don’t panic; instead, take care of the basics. Check everything is in line as best you can, or get a gunsmith to do this for you. Barrels can be bent, their fixing systems can move, as can scope mounting rails, the optics of the scopes themselves, and scope mounts, especially cheap ones, can often be imperfectly made and cause this problem. Always try a trusted scope in a set of reliable mounts to confirm that the barrel is, indeed, out of alignment. Once that is confirmed, you’ll need to adjust the scope’s position to put it in line with the barrel.
SHIMS OR ADJUSTABLE?
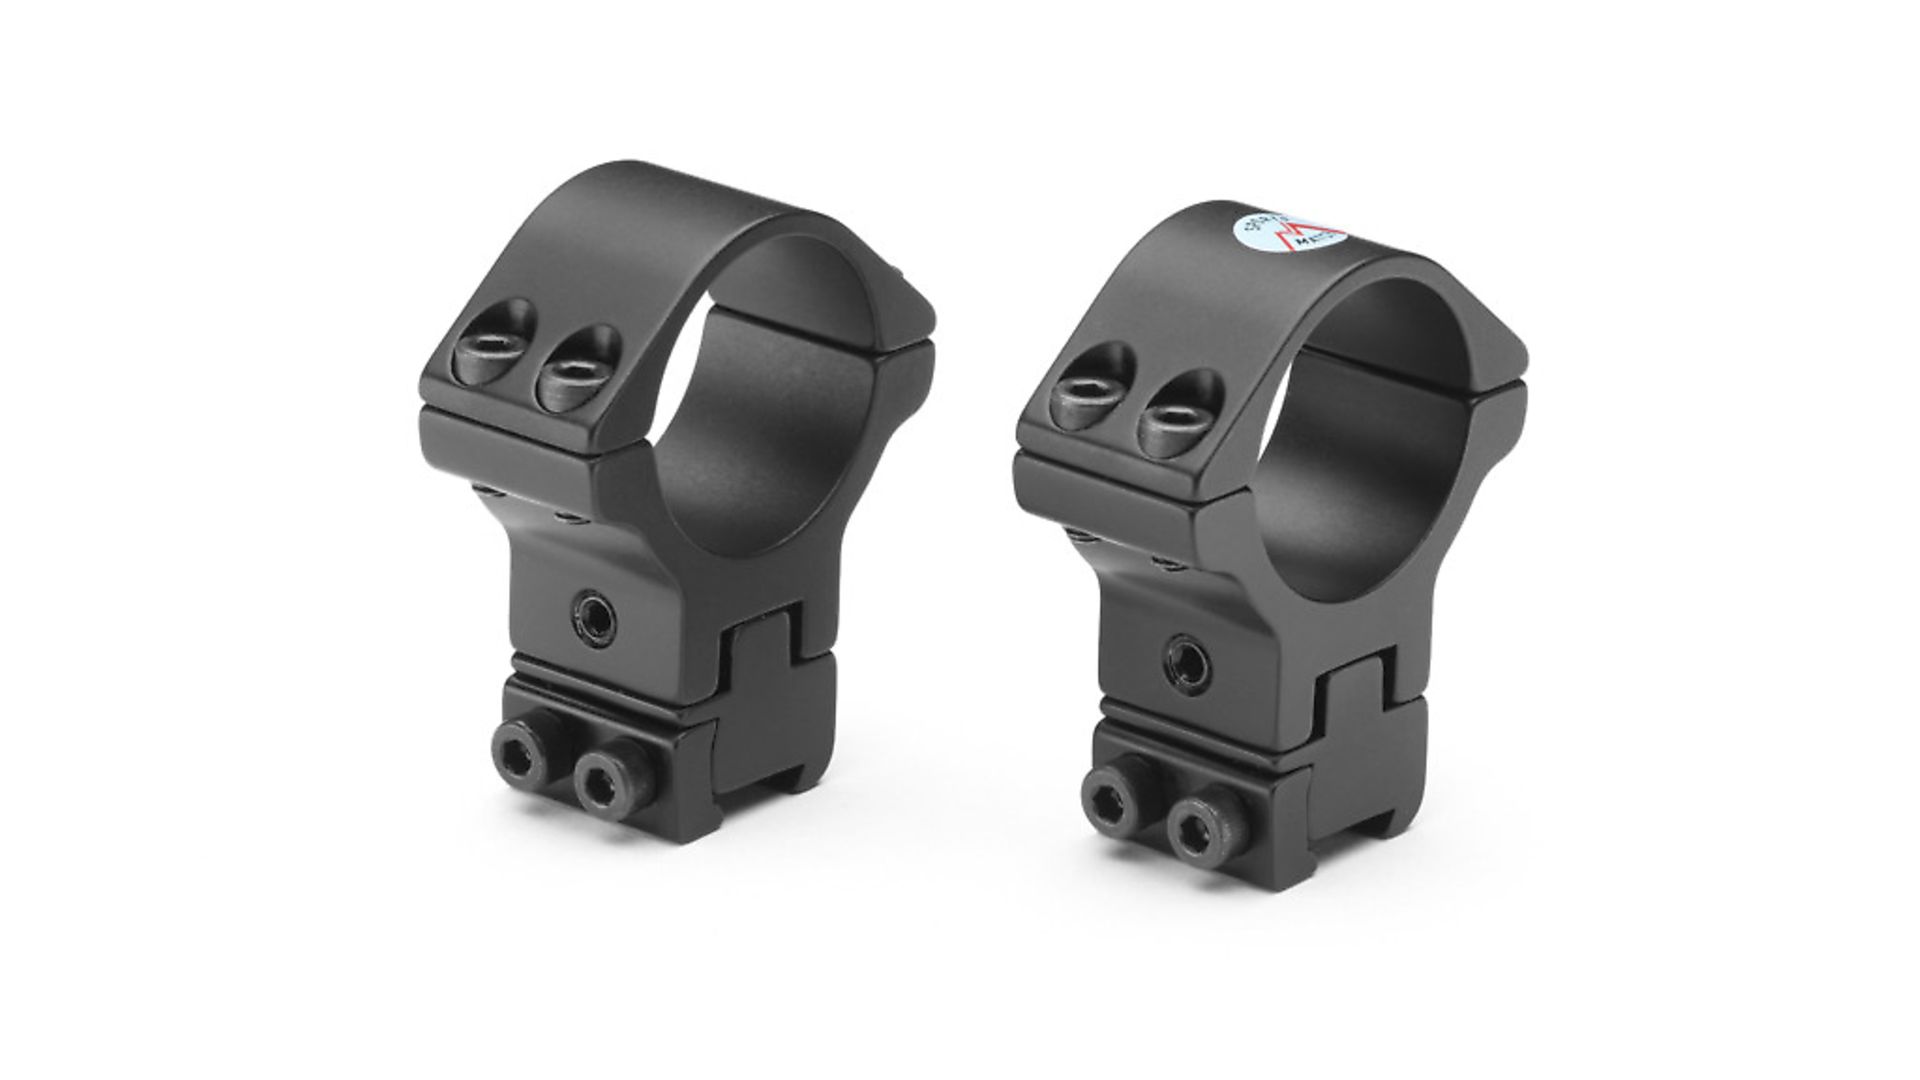
Small sections cut from an alloy drink tin, can be used to shim either the front or rear mount clamp where it attaches to the dovetail, or if you can afford them, get yourself a set of adjustable mounts. These days, I favour the adjustable mounts option, but whichever method you go for, always, always, always, check your rifle’s zero before each session, especially if you’re going hunting. Now and again, go through the whole range of the aim points you learned while establishing your zero, and re-learn all of that essential info, so you can use it when it matters most.
I hope this mini-series has proved useful to you, and helps set you up for years of accurate, enjoyable shooting.
Related Articles
Get the latest news delivered direct to your door
Subscribe to Airgun World
Unlock the world of airgun shooting with a subscription to Airgun World magazine, Britain’s biggest-selling airgun publication.
Written by passionate, long-term airgun enthusiasts, each issue delivers expert insights, comprehensive gear reviews, and invaluable tips to enhance your shooting skills. Whether you’re a seasoned shot or new to the sport, Airgun World offers essential content covering shooting techniques, classic airguns, and the latest equipment innovations.
Save on shop price when you subscribe and pay just £4.07 per issue – 42% cheaper than buying in-store at £6.99!
